
How to Replace a Water Shut-Off Valve: A Step-by-Step Guide
- Why You Might Need to Replace a Water Shut-Off Valve
- Tools Required for Replacing a Water Shut-Off Valve
- Step-by-Step Instructions for Replacing a Water Shut-Off Valve
- Common Mistakes to Avoid When Replacing Your Water Valve
- Real-Life Case: Replacing a Water Shut-Off Valve
Why You Might Need to Replace a Water Shut-Off Valve
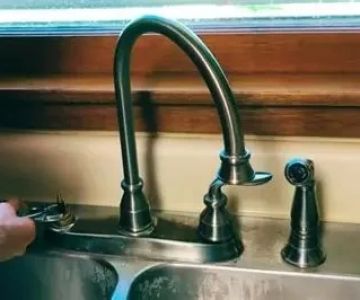
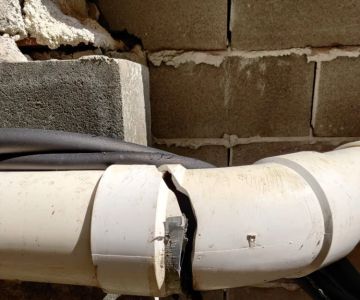
Water shut-off valves are essential for controlling water flow to various parts of your home. Over time, they can wear out, become corroded, or fail to operate correctly, making it necessary to replace them. Whether you're experiencing leaking, rust buildup, or difficulty turning the valve, replacing a malfunctioning valve is an important step in maintaining your home's plumbing system.
O'Neill Bros. Plumbing / oneill plumbing
RockvilleMontgomery CountyMaryland
12348 Wilkins Ave, Rockville, MD 20852, USA
Tools Required for Replacing a Water Shut-Off Valve
Before starting your DIY project, make sure you have the right tools for the job. Here's what you’ll need:
1. Pipe Wrench or Adjustable Wrench: A good quality wrench will help you loosen and tighten the fittings on the valve.
2. Pipe Cutter or Hacksaw: If you're replacing a valve on a copper or PVC pipe, you'll need a pipe cutter to remove the old valve.
3. Plumber’s Tape (Teflon Tape): This tape helps create a leak-proof seal between the valve and the pipe.
4. Replacement Valve: Make sure to buy a valve that matches the size and material of your existing plumbing system (e.g., copper, PVC, or steel).
Hardy Plumbing / hardy plumbing
Port ClintonSchuylkill CountyPennsylvania
149 Penn St, Port Clinton, PA 19549, USA
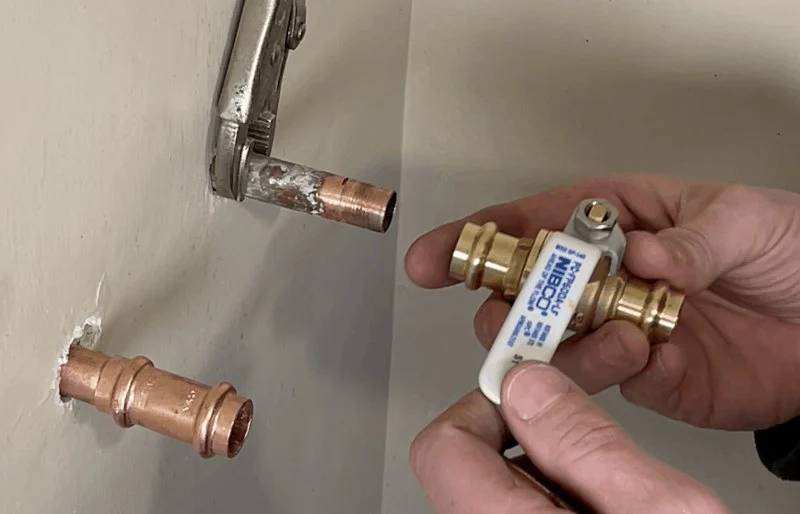
Step-by-Step Instructions for Replacing a Water Shut-Off Valve
Follow these steps to replace your water shut-off valve:
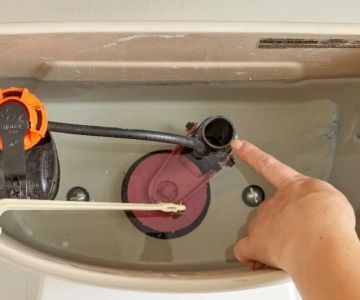
1. Turn Off the Water Supply: Before you start working, make sure the main water supply is turned off. This will prevent water from flowing while you work on the valve.
2. Release Pressure: Open a faucet near the valve to release any pressure that may still be in the pipes.
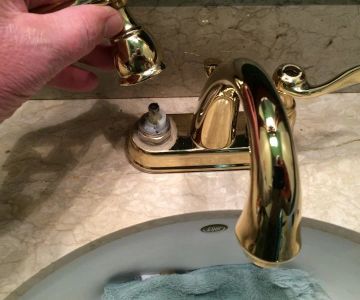
3. Remove the Old Valve: Use the pipe wrench to loosen the nuts connecting the old valve to the pipe. If the valve is stuck, you may need to use a pipe cutter or hacksaw to cut through the pipe just behind the valve. Be sure to clean the cut edges of the pipe before installing the new valve.
4. Install the New Valve: Slide the new valve onto the pipe and tighten the nuts using the pipe wrench. If necessary, apply plumber’s tape to the threads to ensure a watertight seal.
5. Test for Leaks: Once the valve is installed, turn the water supply back on and check for any leaks around the new valve. If you notice any leaks, tighten the connections slightly or apply additional plumber’s tape where necessary.
Common Mistakes to Avoid When Replacing Your Water Valve
Here are some common mistakes to watch out for when replacing a water shut-off valve:
1. Not Turning Off the Water Supply: It might seem obvious, but forgetting to turn off the water supply is one of the most common mistakes when replacing a valve. Always double-check that the water is turned off before you start.
2. Using the Wrong Valve Type: Make sure the replacement valve is compatible with your existing plumbing system. If you're unsure, take the old valve to the hardware store to ensure a proper match.
3. Over-Tightening Connections: While it’s important to tighten the valve securely, over-tightening can damage the pipe or valve, leading to leaks. Use the correct amount of force to secure the connections, but don’t force them too much.
Real-Life Case: Replacing a Water Shut-Off Valve
John, a homeowner from Texas, faced a common plumbing issue when his water shut-off valve began leaking, making it difficult to turn off the water supply to his kitchen. After a quick online search, he decided to tackle the repair himself. With a new valve, a pipe wrench, and some basic plumbing knowledge, John was able to replace the valve without calling a plumber, saving both time and money. His experience shows that with the right tools and instructions, replacing a water shut-off valve is a manageable task for many homeowners.
If you're ready to replace a water shut-off valve in your home, ensure you're prepared with the right tools, follow the instructions carefully, and remember to check for leaks once the job is done. If you're unsure or prefer professional help, reach out to a local plumbing expert for assistance.
 Water Heaters in a Hurry5.0 (11 reviews)
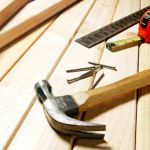 Wall Street Construction LLC5.0 (1 reviews)
 All Clear Plumbing & Drains5.0 (1028 reviews)
 Bennett Plumbing & Heating2.0 (3 reviews)
 Plan B Bathroom Remodeling, LLC5.0 (30 reviews)
 Neimeister Plumbing & Mechanical Contractors3.0 (6 reviews)
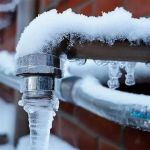 Top Tips for Frozen Pipes and How to Prevent Costly Damage
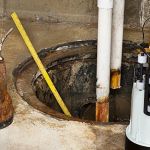 Should I Replace or Repair Sump Pump Failure? Expert Guide for Homeowners
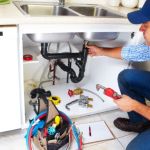 What to Do If Maintaining Your Plumbing System
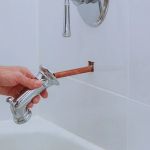 DIY Fixes for Maintaining Your Plumbing System: Simple Solutions
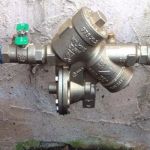 How to Install a Backflow Preventer at Home
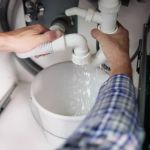 Beginner's Guide to Detecting a Hidden Water Leak