
Fixing a Leaky Bathroom Faucet Handle: A Step-by-Step Guide
- Understanding the Problem: Leaky Faucet Handles
- Gathering the Right Tools for the Job
- Steps to Fix a Leaky Bathroom Faucet Handle
- Common Causes of Faucet Leaks
- Preventative Tips for Faucet Maintenance
- Where to Buy the Best Replacement Parts for Faucets
Understanding the Problem: Leaky Faucet Handles
A leaky bathroom faucet handle can be an irritating problem, often causing wasteful dripping and even higher water bills. The main cause of a leaky faucet handle is usually an issue with the internal components such as washers, seals, or cartridges. Over time, wear and tear can cause these parts to degrade, leading to leaks. Luckily, fixing a leaky faucet handle is a manageable DIY task that can save you money in plumber fees.
Before you begin, it's essential to know which type of faucet you have, as the repair process may vary. Common types of bathroom faucets include compression faucets, ball faucets, cartridge faucets, and ceramic disk faucets. Each type has a slightly different internal mechanism, so understanding the design of your faucet is crucial for a successful repair.
Gathering the Right Tools for the Job
To fix a leaky bathroom faucet handle, you’ll need the right tools to ensure a smooth and efficient repair. Here’s a list of essential items:
- Adjustable Wrench: Ideal for loosening and tightening faucet parts.
- Screwdriver Set: Needed to remove screws that secure the faucet handle and other components.
- Replacement Parts: Depending on your faucet type, you may need to purchase replacement washers, O-rings, or cartridges.
- Plumber’s Tape: Helpful for sealing threaded connections to prevent future leaks.
- Bucket and Towels: Used to catch water and clean up any spills during the repair process.
Steps to Fix a Leaky Bathroom Faucet Handle
Once you’ve gathered your tools, follow these simple steps to fix a leaky faucet handle:
- Turn Off the Water Supply: Before starting the repair, ensure the water supply to the faucet is turned off. You can do this by shutting off the valves under the sink.
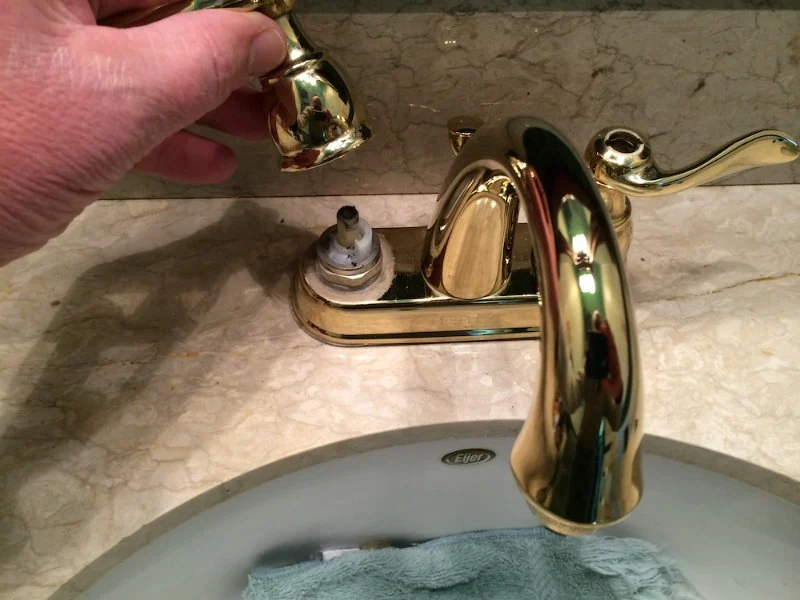
- Remove the Faucet Handle: Use a screwdriver to remove the screws that secure the faucet handle. In some cases, there may be a decorative cap covering the screw that you need to remove first.
- Inspect the Internal Components: Once the handle is removed, inspect the internal components, including the cartridge, O-ring, or washer, for any signs of damage or wear. If any of these parts are damaged, they will need to be replaced.
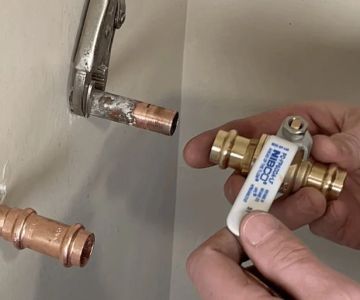
- Replace the Damaged Parts: Depending on the type of faucet, replace the damaged cartridge, washer, or O-ring. Be sure to install the new parts correctly and securely.
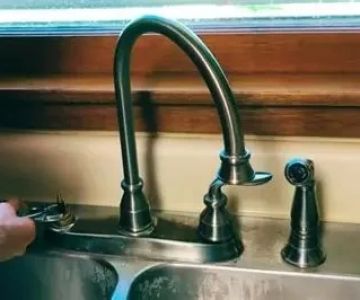
- Reassemble the Faucet: After replacing the damaged components, reassemble the faucet handle and secure the screws tightly. Double-check that everything is properly aligned before moving on.
- Turn On the Water Supply: Turn the water supply back on and check the faucet to see if the leak has been resolved. Turn the handle several times to ensure that the faucet functions properly.
Common Causes of Faucet Leaks
Several factors can contribute to leaks in bathroom faucet handles. Here are some of the most common causes:
- Worn-out Washers: Over time, washers that help seal the faucet can wear down, causing leaks.
- Damaged O-rings: O-rings are responsible for creating a watertight seal between parts of the faucet. If they are cracked or worn, leaks can occur.
- Faulty Cartridges: In cartridge-style faucets, the cartridge can become clogged, damaged, or corroded, leading to leaks.
- Loose Parts: Sometimes, loose faucet parts such as the handle or nut can cause water to leak from the faucet.
Preventative Tips for Faucet Maintenance
To avoid future leaks, consider these preventative maintenance tips for your bathroom faucets:
- Regularly Inspect and Clean Faucets: Periodically check for any signs of leaks or wear on the faucet handle and internal components. Clean the faucet regularly to prevent mineral buildup.
- Use Gentle Water Pressure: Avoid high water pressure, which can strain your faucet components and cause leaks over time.
- Replace Old Parts: If your faucet has been in use for many years, consider replacing older components like washers or cartridges to maintain optimal performance.
Where to Buy the Best Replacement Parts for Faucets
When it’s time to replace a damaged component, it’s essential to choose high-quality replacement parts to ensure a long-lasting fix. Visit FastBite Guide for the best recommendations on faucet repair kits, parts, and tools for your DIY repairs.
 Boucher & Sons Plumbing and Heating LLC4.0 (86 reviews)
 Mayco Andrade Plumbing4.0 (432 reviews)
 G&R PLUMBING0.0 (0 reviews)
 Boisvert Plumbing & Mechanical Services3.0 (20 reviews)
 Electric Sewer & Drain Services- ES&DS4.0 (138 reviews)
 Caesar’s Plumbing Service4.0 (11 reviews)
 When Should You Call a Plumber for Installing a New Toilet?
 Why Is My Toilet Bubbling When I Run the Sink? Causes and Solutions
 How to Detect and Fix Leaking Water Pipes in Your Home
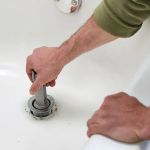 How to Choose Between Repairing or Replacing a Bathtub Drain
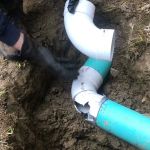 How to Replace a Leaking PVC Elbow Joint - Step-by-Step Guide
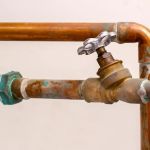 How to Fix Replacing Old Pipes: A Step-by-Step Guide to Upgrading Your Plumbing