
How to Replace a Broken Drain Vent Pipe: Step-by-Step Guide
- Understanding the Importance of Drain Vent Pipes
- How to Identify a Broken Drain Vent Pipe
- Preparing for the Drain Vent Pipe Replacement
- Step-by-Step Guide to Replacing a Broken Drain Vent Pipe
- Preventative Maintenance for Drain Vent Pipes
1. Understanding the Importance of Drain Vent Pipes
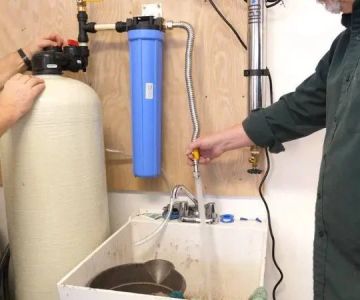
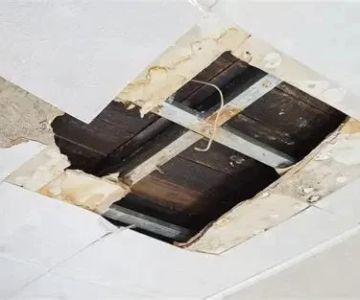
Drain vent pipes are a crucial part of your plumbing system. They allow air to flow into the plumbing system, helping wastewater to flow smoothly. Without a properly functioning drain vent, you may experience slow drainage or unpleasant odors in your home. Replacing a broken drain vent pipe is essential for maintaining a healthy and effective plumbing system.
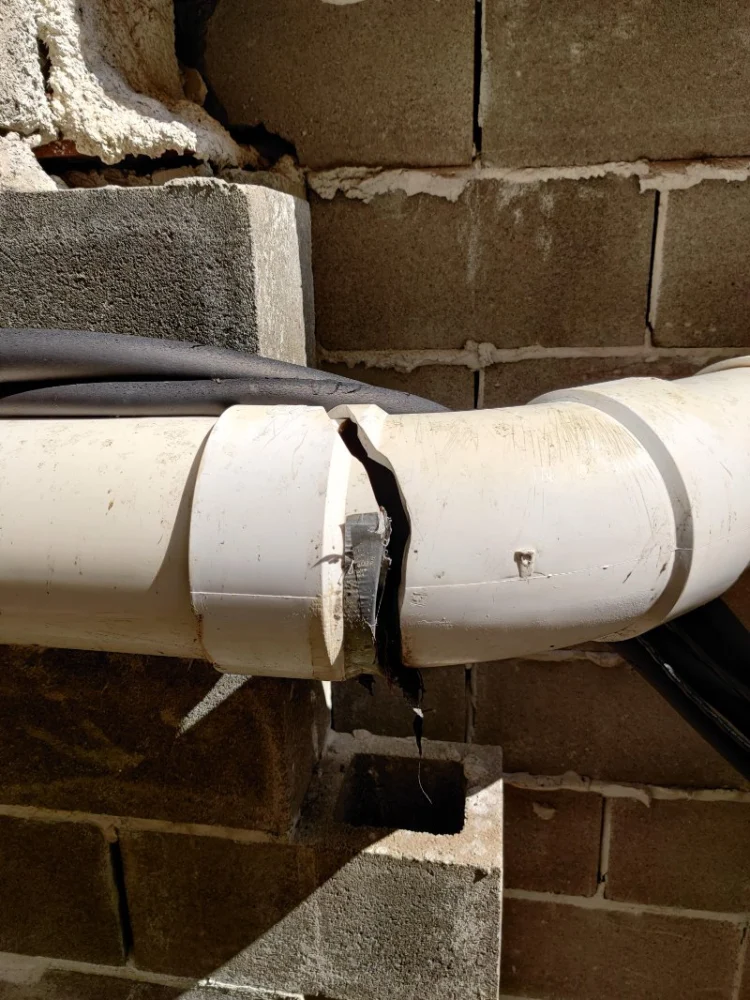
2. How to Identify a Broken Drain Vent Pipe
Before you begin replacing your drain vent pipe, it’s important to identify if it’s actually broken. Some common signs of a broken drain vent pipe include:
- Slow drainage: Water takes longer than usual to drain from sinks, tubs, and toilets.
- Unpleasant odors: A foul smell from drains may indicate that air is trapped and not flowing properly through the system.
- Gurgling sounds: Gurgling noises from drains can be a sign that air is not circulating as it should be.
3. Preparing for the Drain Vent Pipe Replacement
Proper preparation is key to a successful drain vent pipe replacement. Here’s what you’ll need:
- Replacement pipe (PVC or cast iron, depending on your plumbing system)
- Pipe cutter or hacksaw
- Pipe glue and primer (for PVC pipes)
- Plumber’s tape
- Gloves and safety glasses
- Wrench
Before starting, make sure the water supply is turned off, and you have easy access to the broken pipe.
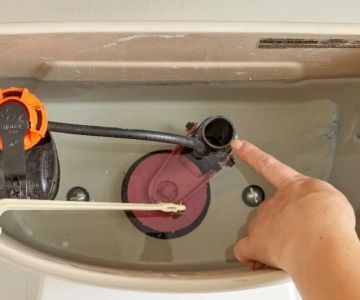
4. Step-by-Step Guide to Replacing a Broken Drain Vent Pipe
Now that you’re prepared, follow these steps to replace your broken drain vent pipe:
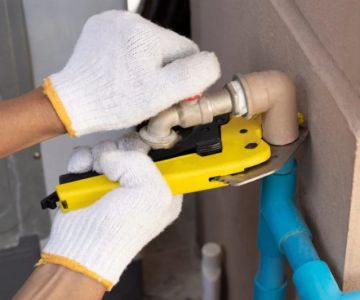
- Step 1: Locate the Broken Pipe - Identify the section of the drain vent pipe that is broken or damaged.
- Step 2: Cut the Broken Pipe - Use a pipe cutter or hacksaw to cut the damaged section of the pipe carefully.
- Step 3: Clean the Pipe Ends - Use a cloth or sandpaper to clean the edges of the pipe, ensuring they are smooth for a secure connection.
- Step 4: Attach the New Pipe - Fit the replacement pipe into place, making sure it aligns properly with the rest of the plumbing system.
- Step 5: Seal the Connections - Use plumber’s tape and glue (for PVC) to seal the connections between the new pipe and existing plumbing.
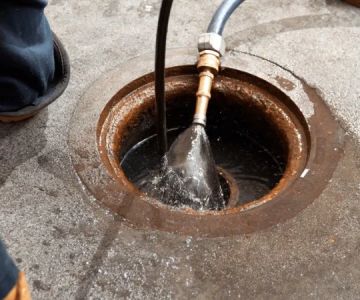
- Step 6: Test the System - Turn the water supply back on and check for leaks. Ensure everything is working properly by running water through the system.
5. Preventative Maintenance for Drain Vent Pipes
To avoid future issues with your drain vent pipes, here are a few preventative tips:
- Regularly check for signs of damage or wear.
- Clean vent pipes periodically to prevent blockages.
- Ensure proper air flow in your plumbing system by avoiding obstructions in the venting pipes.
By performing routine maintenance, you can keep your plumbing system functioning efficiently for years to come.

 Classic Plumbing & Heating5.0 (2 reviews)
 D R Stoltz Plumbing5.0 (4 reviews)
 Polo Plumbing & Heating4.0 (26 reviews)
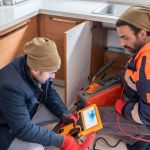 Highland Park Plumbing & Heating4.0 (16 reviews)
 Philip Berry Plumbing Co Inc5.0 (63 reviews)
 Maryland Plumbing & Heating0.0 (0 reviews)
 How to Know If You Need a Plumbing Upgrade for Your Home
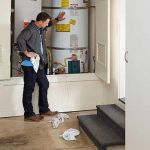 Why Is My a Broken Water Heater and How to Fix It
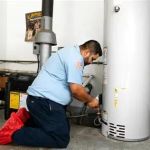 Top Tips for a Broken Water Heater: What Every U.S. Homeowner Should Know
 How Much Does It Cost to Replace Old Pipes? Expert Tips and Costs
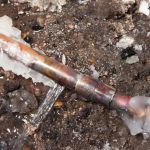 How to Fix a Frozen Pipe Without Causing Further Damage
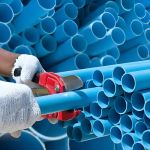 Top Tips for Choosing the Right Pipe Materials for Your Plumbing Needs