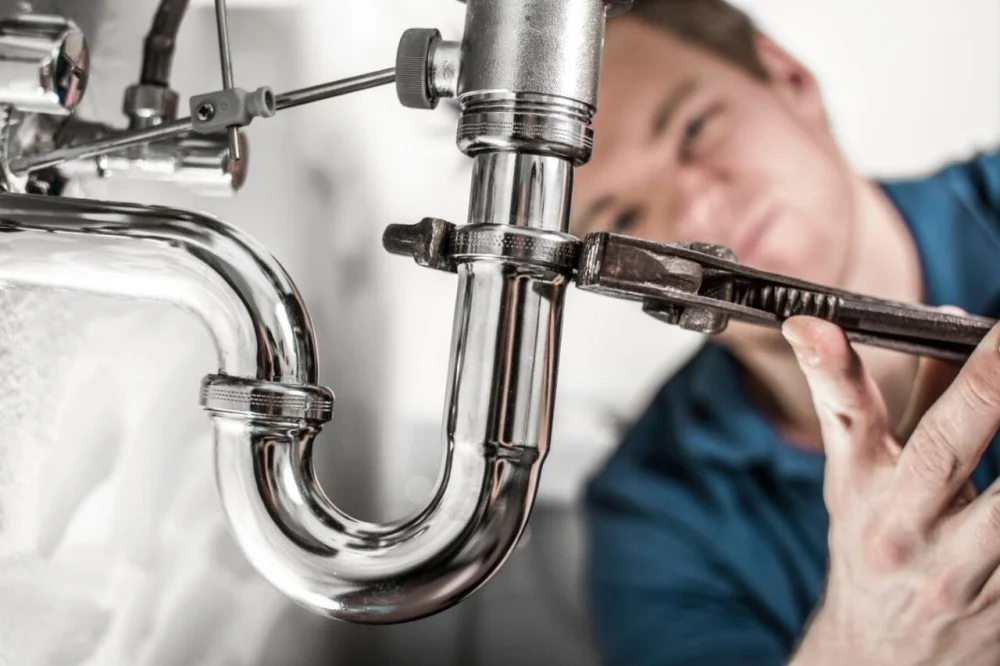
Plumbing Tips | DIY Repairs, Maintenance & Local Advice – PlumberNear
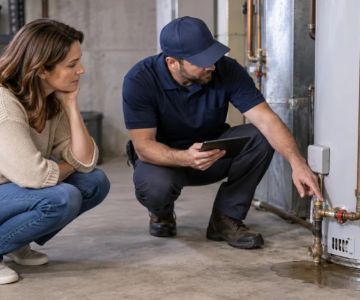
Why Your Water Heater Keeps Turning Off Randomly and How to Fix ItLearn why your water heater turning off randomly happens, what causes shutdowns, and how to fix pilot light, thermostat, gas, or electrical issues effectively.
How to Fix a Leaking Outdoor Hose Connection Step by Step GuideLearn how to fix a leaking outdoor hose connection with simple step-by-step methods. Discover DIY repair tips, common causes, and long-lasting solutions for hose leaks.
What Causes Plumbing Pipes to Freeze Quickly? Cold Weather Pipe Freeze GuideLearn what causes plumbing pipes to freeze quickly, how cold weather affects your plumbing system, real homeowner stories, and practical prevention methods to avoid costly pipe damage.
How to Replace a Broken Toilet Fill Valve: Step-by-Step Fix GuideLearn how to replace a broken toilet fill valve with a simple step-by-step DIY guide. Fix a running toilet, stop leaks, and restore efficient flushing with this practical home repair tutorial.How to Replace a Broken Toilet Fill Valve: Step-by-Step Fix GuideA Practical Home Fix for a Running Toilet: Replacing the Fill Valve Without StressUnderstanding-the-problem-why-toilet-fill-valves-fail - Learn how a broken fill valve affects water flow, noise, and efficiencyTools-and-preparation-before-you-start - What you need to safely begin the repair at homeStep-by-step-toilet-fill-valve-replacement - A clear walkthrough for replacing the faulty partCommon-mistakes-to-avoid-during-installation - Real issues beginners run into and how to prevent themReal-home-scenario-and-lessons-learned - A relatable homeowner story showing why timing mattersMaintenance-tips-and-long-term-toilet-care - How to prevent future failures and extend system lifeWhen-to-consider-upgrading-your-toilet-components - Knowing when replacement beats repeated repairsUnderstanding Why a Toilet Fill Valve Breaks in the First PlaceA toilet that keeps running or refilling randomly is usually dealing with a worn-out fill valve. This small component controls how water enters the tank after every flush. When it starts to fail, you may hear constant hissing, slow tank refills, or even water spilling into the overflow tube. Many homeowners ignore these early warnings, assuming it is a minor annoyance, but over time it can waste a surprising amount of water and increase utility bills.In most residential homes, fill valves wear out due to mineral buildup, fluctuating water pressure, or simple aging. If you live in an area with hard water, the internal seals can degrade even faster. Understanding this helps you recognize why replacing the part is often more effective than trying temporary fixes.Preparing for a Safe and Smooth Repair ProcessBefore starting the replacement, it is important to shut off the water supply behind the toilet. This simple step prevents accidental flooding and keeps your workspace dry. Once the water is off, flush the toilet to empty most of the tank.Having the right tools makes the process easier. Most homeowners only need an adjustable wrench, a sponge or towel for residual water, and a replacement fill valve compatible with standard toilet tanks. Choosing a high-quality replacement part is essential because cheaper models may wear out faster, leading to repeated repairs.If you are unsure which model fits your toilet, checking the manufacturer details or tank size can save you frustration later. Some homeowners prefer upgrading to modern universal fill valves that adjust automatically, reducing long-term maintenance issues.Step-by-Step Process to Replace a Broken Toilet Fill ValveStep 1: Empty and Dry the TankAfter shutting off the water, flush the toilet and hold the handle down to remove as much water as possible. Use a sponge to soak up remaining water. A dry tank makes the replacement cleaner and easier to manage.Step 2: Disconnect the Old Fill ValveLocate the water supply line beneath the tank and carefully unscrew it. Inside the tank, loosen the locknut securing the fill valve. Once removed, lift the old unit out gently.Step 3: Install the New Fill ValvePlace the new valve into the same opening and adjust the height according to your tank size. Secure it tightly with the locknut underneath. Make sure the refill tube is properly positioned toward the overflow pipe.Step 4: Reconnect Water and TestTurn the water supply back on slowly. Let the tank fill and observe how the valve behaves. If everything is installed correctly, the water should stop at the proper level without continuous running or noise.Common Mistakes Homeowners Make During InstallationOne of the most frequent errors is over-tightening the locknut, which can crack the tank base or damage the seal. Another issue is incorrect float adjustment, leading to either underfilled or overfilled tanks. Some beginners also forget to check for small leaks around the connection points after installation.In one real case from a suburban home renovation project, a homeowner replaced the valve but skipped testing the overflow tube alignment. The result was continuous water flow for days before they noticed the increased water bill. Small oversights like this highlight why careful step-by-step attention matters.Real-Life Example: A Simple Fix That Prevented Bigger DamageA homeowner in a busy household noticed their toilet refilling every 20 minutes. At first, they ignored it, assuming it was normal wear. After a month, their water bill increased significantly. Once inspected, the fill valve was found to be stuck open due to mineral buildup.By replacing the valve in under an hour, they immediately stopped the water waste. This small repair prevented potential long-term damage to internal toilet components and reduced unnecessary expenses. Situations like this are more common than many people realize, especially in older homes.Maintenance Habits That Extend Toilet System LifespanRegular inspection of your toilet system can help you avoid sudden breakdowns. Checking for slow refilling, unusual sounds, or inconsistent water levels can signal early valve issues. Cleaning the inside of the tank every few months also helps reduce sediment buildup.Using water softening solutions in areas with hard water can significantly reduce mineral deposits. These small preventive steps can extend the life of your fill valve and reduce the need for frequent replacements.When Upgrading Becomes the Smarter ChoiceSometimes replacing the fill valve is not just a repair but an opportunity to upgrade. Modern valves are designed to be more efficient, quieter, and more adjustable than older versions. If your toilet has needed multiple repairs in a short time, upgrading the internal components can be more cost-effective in the long run.Homeowners looking for reliable plumbing solutions often explore trusted sources like BeachCo Roofing Hub for guidance on durable home improvement components and professional recommendations. Choosing the right part can make a noticeable difference in water efficiency and system stability.Final Practical Advice for Long-Term SuccessLearning how to replace a broken toilet fill valve is one of the most useful DIY plumbing skills for homeowners. It saves money, reduces water waste, and prevents unnecessary stress when issues appear unexpectedly. With the right preparation and attention to detail, most people can complete the repair in less than an hour.If you are planning your next home maintenance upgrade or looking for dependable replacement parts, take the time to choose quality components. A well-installed fill valve ensures your toilet operates smoothly for years without recurring issues.
How to Fix Low Water Pressure After a Leak Repair: Step-by-Step GuideLearn how to fix low water pressure after a leak repair with practical plumbing steps, real homeowner stories, and expert troubleshooting tips to restore full water flow safely.
How to Replace a Toilet Flush Valve – Step-by-Step Repair GuideLearn How to Replace a Toilet Flush Valve with a clear step-by-step guide, real troubleshooting tips, and practical DIY advice for fixing common toilet issues.
How to Unclog a Bathroom Sink with Hair Blockage FastLearn how to unclog a bathroom sink with hair blockage using practical, step-by-step methods. This guide explains real-life solutions, tools, and prevention tips to fix stubborn sink clogs caused by hair buildup.
How to Fix a Leaking Ice Maker Water Line and Prevent Costly Water DamageLearn how to fix a leaking ice maker water line step by step. Discover causes, real repair methods, and prevention tips to avoid costly kitchen water damage.
How to Fix a Leaking Ice Maker Line Behind FridgeLearn how to fix a leaking ice maker line behind fridge with practical step-by-step methods, real troubleshooting advice, and prevention tips to avoid future water damage in your kitchen.
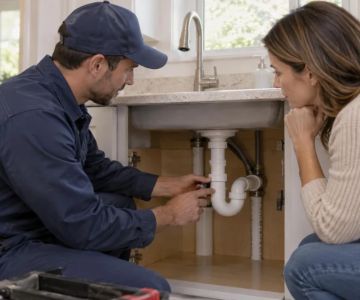
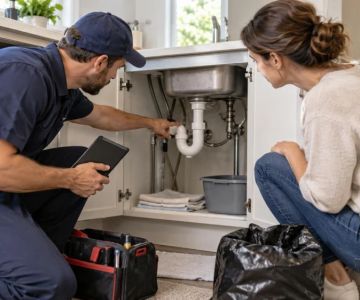
How to Fix a Leaking Sink Trap Joint: Step-by-Step Plumbing GuideLearn How to Fix a Leaking Sink Trap Joint with this practical DIY plumbing guide. Discover causes of leaks, step-by-step repair methods, real-life examples, and expert tips to prevent future sink trap issues.
How to Replace a Broken Washing Machine Drain HoseLearn how to replace a broken washing machine drain hose with step-by-step guidance, real repair scenarios, expert DIY tips, and practical home maintenance advice to prevent leaks and water damage.
How to Install a Backflow Preventer at Home: Complete DIY GuideLearn how to install a backflow preventer at home with a clear DIY guide, step-by-step instructions, safety tips, and real-world examples to protect your household water system.
How to Fix a Leaking Drain Pipe in Wall – Step-by-Step Repair GuideLearn how to fix a leaking drain pipe in wall with a practical step-by-step guide, real homeowner cases, and expert plumbing insights. Understand causes, repairs, and prevention tips.How to Fix a Leaking Drain Pipe in Wall – Step-by-Step Repair GuideWhen a Hidden Wall Leak Becomes a Bigger Problem Than You ExpectLeak Detection Basics - understanding early warning signs behind wallsDrain Pipe Failure Causes - why hidden pipes start leakingRepair Strategy Breakdown - how to fix a leaking drain pipe in wall safelyReal Home Case Study - what actually happens when repairs are delayedPrevention and Long-Term Protection - keeping your plumbing system stableUnderstanding the Problem Before You Open the WallA leaking drain pipe hidden inside a wall is one of those home issues that quietly grows from “barely noticeable” to “structural concern.” Most homeowners first see it as a small stain, a faint musty smell, or paint that starts bubbling for no clear reason. By the time water becomes visible, the internal damage has usually already started spreading through drywall and insulation.The key challenge with how to fix a leaking drain pipe in wall is that the real damage is invisible at first. Water doesn’t just drip—it travels along framing, collects in insulation, and weakens materials far beyond the actual leak point.Why Drain Pipes Inside Walls Start Leaking1. Aging PVC or Metal Pipe SystemsOlder homes often use pipe systems that weren’t designed for modern water pressure levels or chemical exposure from cleaning products. Over time, joints loosen, seals dry out, and micro-cracks form along bends.2. Poor Installation WorkA surprisingly common issue is improper fitting during construction. A slightly misaligned joint may hold for years before stress causes it to fail. This is often discovered only after visible wall damage appears.3. Temperature and Structural MovementBuildings naturally shift. Seasonal expansion and contraction slowly stress drain pipes embedded in walls, especially near kitchens and bathrooms.4. Blockage Pressure Build-UpWhen drains clog repeatedly, pressure builds behind the blockage. Over time, weak joints give way, creating slow leaks that worsen gradually.Early Signs Most Homeowners MissBefore learning how to fix a leaking drain pipe in wall, it’s important to recognize symptoms early. Many homeowners only react when damage becomes obvious.Subtle Warning IndicatorsA faint musty smell that doesn’t go away, slight discoloration on paint, or unexplained humidity in a single room often signals a hidden leak.In one real case from a suburban home renovation, the owner thought the bathroom smelled “old.” Months later, opening the wall revealed mold spreading behind the tiles and a cracked drain elbow joint.Step-by-Step Approach to Fixing a Hidden Wall Drain LeakStep 1: Confirm the Leak SourceBefore any demolition, confirm the leak location. This usually involves moisture meters, thermal imaging, or careful inspection of water patterns. Rushing this step often leads to unnecessary wall damage.Step 2: Controlled Wall AccessOnce the suspected area is identified, the wall must be opened carefully. The goal is to expose the pipe without damaging surrounding structural elements.Step 3: Inspect the Drain Pipe ConditionCheck for cracks, loose fittings, corrosion, or joint separation. In many cases, the leak comes from a single joint rather than the entire pipe section.Step 4: Replace or Seal the Damaged SectionDepending on severity, the repair may involve replacing a section of pipe or resealing joints with professional-grade plumbing materials.Step 5: Pressure Test the SystemBefore closing the wall, water flow must be tested thoroughly. This ensures the wall drain pipe leak repair has fully resolved the issue.A Real-Life Home Repair Story That Changed EverythingA homeowner once contacted a contractor after noticing a small wet patch behind a laundry room cabinet. At first, it seemed harmless. But when the wall was opened, the drain pipe had been slowly leaking for nearly a year.The insulation was saturated, wooden studs had begun to soften, and mold had formed in hidden corners. The repair required not only fixing the pipe but also replacing sections of the wall structure.This case highlights why how to fix a leaking drain pipe in wall is not just a plumbing question—it’s a structural protection issue.When DIY Works and When It Doesn’tSmall Accessible RepairsIf the pipe section is exposed and the damage is minor, a homeowner with basic plumbing knowledge may handle replacement of fittings or seals.Hidden Structural LeaksIf the leak is behind tiles, inside load-bearing walls, or near electrical wiring, professional intervention becomes essential.Prevention Strategies That Actually WorkRegular Inspection HabitsCheck areas under sinks, behind appliances, and near bathroom walls every few months. Early detection is the cheapest repair strategy.Water Pressure ControlExcess pressure is one of the silent causes of pipe damage. Installing a pressure regulator can extend pipe lifespan significantly.Quality Material UpgradesReplacing older sections with modern PEX or reinforced PVC materials reduces future leak risks dramatically.For homeowners looking for professional tools, replacement parts, or inspection solutions, platforms like Reliable Damage Hub can help connect you with suitable repair resources and services tailored to water damage situations.Why Acting Fast Saves Thousands in RepairsA wall leak rarely stays small. Within days, moisture spreads into insulation. Within weeks, mold begins forming. Within months, structural wood can weaken.Understanding how to fix a leaking drain pipe in wall early can be the difference between a simple pipe repair and a full renovation project.Final Insight for Homeowners Facing Hidden LeaksIf there’s one takeaway from real repair cases, it’s this: hidden leaks are always worse than they look. A small stain on a wall is often just the visible symptom of a much larger plumbing issue behind it.Taking quick, informed action not only protects your home but also prevents long-term structural and financial damage.
What Is the Cost to Repair a Cracked Sewer Line and What Affects PricingLearn what is the cost to repair a cracked sewer line, what affects pricing, repair methods, and real examples to help homeowners understand sewer line repair expenses in the US.
Signs Your Home Has Hard Water and How to Fix ItLearn the signs your home has hard water and how to fix it using practical solutions like filtration, softeners, and cleaning methods to improve water quality.
Why Water Heater Tanks Rust and How to Prevent ItLearn what causes water heater tank rust, how corrosion develops inside hot water systems, and practical steps to prevent damage and extend your heater’s lifespan.
Water Heater Thermostat Replacement Cost Guide: What Homeowners Should ExpectLearn What Is the Cost to Replace Water Heater Thermostat? Explore real repair price ranges, DIY vs professional replacement, case studies, and expert insights to help homeowners make the right repair decision.
Why Is My Toilet Tank Filling Slowly? Causes and Fixes ExplainedWhy is my toilet tank filling slowly? Learn the most common causes like fill valve issues, water pressure problems, and clogged parts, plus practical fixes you can try at home.
Categories
Top Visited Sites
Mega Plumbing of the Carolinas, Inc.3.0 (10 reviews)
Jersey Drains Unlimited4.0 (46 reviews)
Dial-A-Sewer Man Inc.3.0 (6 reviews)
Fj Hooks Plumbing,Inc4.0 (17 reviews)
Just Plumb it LLC5.0 (4 reviews)
CJ Murphy Plumbing5.0 (11 reviews)Must-Read Plumbing Tips Posts
Top Plumber Searches
Trending Plumbing Tips Posts
The Most Effective Ways to Unclog a Sink: Easy DIY Solutions
How Long Does It Take to Prevent Winter Plumbing Issues
How Much Does It Cost to Replacing Old Pipes in Your Home?
Why Is My Toilet Flush Valve Leaking?
Hard Water Signs in Home and Effective Solutions to Fix It
When Should You Call a Plumber for Installing a New Toilet?