
Step-by-Step Guide to Installing a Backflow Preventer at Home
- Why-Backflow-Prevention-is-Crucial
- What-You-Need-to-Install-a-Backflow-Preventer
- Step-by-Step-Backflow-Preventer-Installation
- Common-Mistakes-to-Avoid-During-Installation
- Real-Homeowner-Case-Study
- Maintaining-Your-Backflow-Preventer
1. Why Backflow Prevention is Crucial
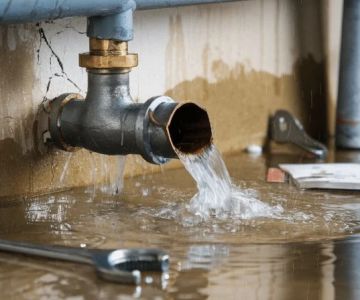
Imagine your home’s water supply suddenly being contaminated due to backflow. This can happen if water from external sources, like a sprinkler system or a nearby pool, flows back into your home's plumbing system. Not only is this a health hazard, but it can also cause damage to your pipes and fixtures.
Backflow prevention is essential to keep your water supply safe and free from contaminants. Installing a backflow preventer is a simple and effective way to ensure your plumbing remains secure and your drinking water stays clean.

Warrior Plumbing & Heating / warrior plumbing
4123 Roland Ave, Baltimore, MD 21211, USA
1.1 Protecting Your Family’s Health
Without a backflow preventer, your home’s water system could become contaminated with harmful substances like pesticides, chemicals, or even sewage. A properly installed backflow preventer blocks this potential threat and safeguards your family’s health.
Stashluk Mechanical Contractors Inc. / stashluk
Franklin TownshipHunterdon CountyNew Jersey
998 Croton Rd, Pittstown, NJ 08867, USA
1.2 Preventing Plumbing Damage
Backflow not only poses health risks but can also damage your plumbing system. Contaminated water could lead to rust, corrosion, and the breakdown of plumbing components. Investing in a backflow preventer prevents these issues and extends the life of your plumbing system.
2. What You Need to Install a Backflow Preventer
Installing a backflow preventer is a straightforward process if you have the right tools and equipment. Here’s what you need to get started:
2.1 Tools Required
- Pipe wrench
- Channel-lock pliers
- Teflon tape
- Pipe cutter (if necessary)
- Backflow preventer valve kit
- Adjustable wrench
2.2 The Backflow Preventer Kit
You'll need to select a backflow preventer that is compatible with your plumbing system. Some common options include:
- Check valve preventers
- Pressure vacuum breakers
- Reduced pressure zone (RPZ) preventers
Be sure to choose the right type based on local regulations and the specifics of your plumbing system. Most DIY home improvement stores sell these kits, but it’s best to consult a professional if you're unsure about which one to choose.
2.3 Local Permits and Regulations
Before starting the installation, check with your local water authority or municipality to see if you need a permit. In some areas, backflow preventer installation is regulated, and an inspection may be required after installation.
3. Step-by-Step Backflow Preventer Installation
Installing a backflow preventer doesn’t require professional plumbing skills, but it’s important to follow the correct steps to ensure everything functions properly.
3.1 Turn Off the Water Supply
The first step in any plumbing installation is to shut off the water supply to the house. This prevents water from flowing through the system while you work and ensures safety throughout the installation.
3.2 Locate the Installation Point
The ideal place to install a backflow preventer is on the main water supply line, just after the water meter. This ensures it blocks any potential backflow before it enters the rest of your plumbing system.
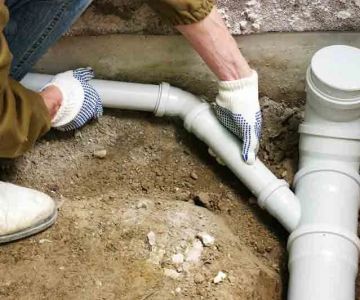
3.3 Remove Existing Valves or Fittings
If there are any old valves or fittings where you plan to install the backflow preventer, use a pipe wrench or channel-lock pliers to remove them. Clean the area and ensure the pipes are free from any debris.
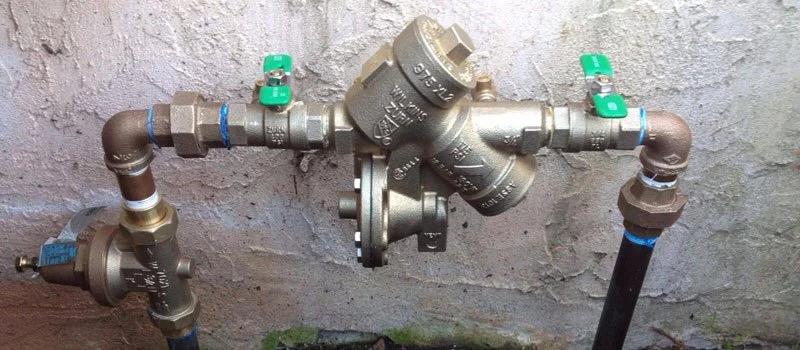
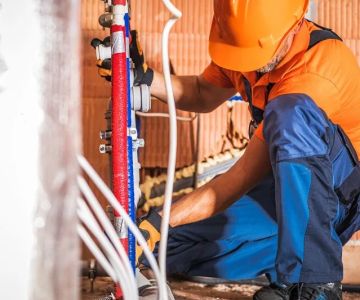
3.4 Install the Backflow Preventer
Carefully install the backflow preventer according to the manufacturer’s instructions. Typically, the valve will screw onto the pipe, and you’ll need to use Teflon tape on the threads to prevent leaks. Make sure the valve is oriented correctly, with the inlet and outlet aligned properly.
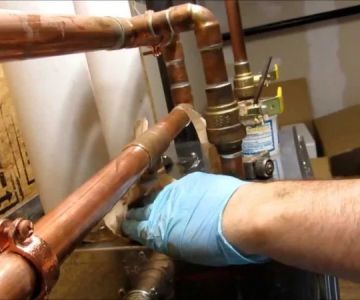
3.5 Tighten Connections
Once the backflow preventer is in place, use an adjustable wrench to tighten all connections securely. Don’t overtighten, as this can cause damage to the pipe or valve.
3.6 Test the Installation
After installation, turn the water supply back on and test the system. Check for any leaks around the installed preventer and verify that water is flowing correctly. You should also perform a backflow test to ensure the preventer is working as intended.
4. Common Mistakes to Avoid During Installation
While installing a backflow preventer is manageable, there are a few common mistakes that can lead to problems:
4.1 Incorrect Orientation
One of the most common mistakes is installing the backflow preventer in the wrong direction. Double-check the flow direction indicated on the valve to ensure proper installation.
4.2 Skipping Maintenance
After installation, neglecting to maintain the backflow preventer can lead to malfunctions. Regularly inspect the valve and clean it to ensure it continues to function effectively.
4.3 Not Following Local Regulations
Be sure to check and comply with any local plumbing codes or regulations to avoid fines or having to reinstall the system.
5. Real Homeowner Case Study
A homeowner in California shared their experience installing a backflow preventer to protect their irrigation system from contaminating their household water supply. They chose a pressure vacuum breaker backflow preventer and followed a detailed online guide to install it themselves. After a few hours of work, they had the system up and running, and they were able to ensure the safety of their water supply without professional help. This case study shows that backflow prevention is an achievable DIY project for most homeowners.
6. Maintaining Your Backflow Preventer
Once your backflow preventer is installed, regular maintenance is essential to keep it in good working condition.
6.1 Annual Inspections
Check the preventer every year to ensure it’s free from debris and functioning properly. Many local authorities require annual inspections, so it’s a good idea to schedule these inspections on time.
6.2 Clean and Replace Parts
Clean the valve periodically and replace any worn-out components, like seals or springs, to maintain optimal performance.
By following these maintenance steps, you can ensure that your backflow preventer continues to protect your water supply for years to come.


 Kino's Plumbing and Drain5.0 (64 reviews)
 George´s Drain Cleaning Services4.0 (27 reviews)
 Johnson's Plumbing & Heating5.0 (8 reviews)
 Glenn's Plumbing Services, Inc.3.0 (3 reviews)
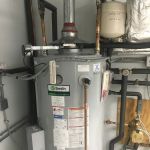 JJ&P Services LLC5.0 (6 reviews)
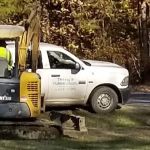 Terry's Plumbing & Utilities2.0 (10 reviews)
 How to Fix Low Water Pressure
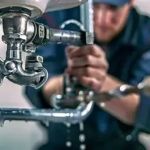 Best Ways to Maintaining Your Plumbing System – Expert Tips for U.S. Homeowners
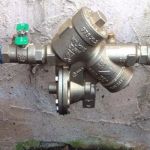 How to Install a Backflow Preventer at Home
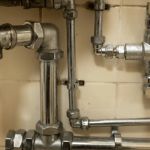 Expert Advice on Choosing the Right Pipe Materials for Your Home
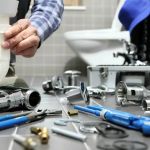 Ultimate Guide to Finding a Reliable Plumber in the U.S.
 Top Tips for Choosing the Right Pipe Materials for Your Plumbing Needs