
Replacing a Broken Shower Drain Cover Made Simple
- 1-Identifying-the-Problem-and-Choosing-aReplacement
- 2-Gathering-Tools-and-Supplies-for-the-Job
- 3-Removing-the-Old-Drain-Cover-Safely
- 4-Preparing-the-Drain-for-Installation
- 5-Installing-the-New-Drain-Cover-Correctly
- 6-Testing-and-Finished-Tips-for-Long-LastingResults
- 7-Real-Life-DIY-Experience-and-Purchase-Guide
1. Identifying the Problem and Choosing a Replacement
Before starting, it’s crucial to determine whether your shower drain cover is cracked, corroded, or simply worn out. Measuring the existing drain cover ensures you select the correct size for replacement. Materials vary from stainless steel, plastic, to brass; each has pros and cons. Stainless steel is durable and rust-resistant, while plastic is affordable and easy to handle. Selecting the right replacement prevents future leaks and maintains your bathroom’s appearance.
O'Neill Bros. Plumbing / oneill plumbing
RockvilleMontgomery CountyMaryland
12348 Wilkins Ave, Rockville, MD 20852, USA
2. Gathering Tools and Supplies for the Job
Essential tools include a screwdriver, pliers, utility knife, plumber’s putty, and a cleaning brush. Having the correct replacement cover ready is also necessary. Optional items such as gloves, protective eyewear, and a flashlight can make the task safer and more comfortable. Organizing your tools before beginning ensures a smooth repair process and reduces frustration during the project.

Bill Trombly Plumbing - Heating - Cooling - Electric / jim trombly heating
ManchesterHillsborough CountyNew Hampshire
76 Maple St, Manchester, NH 03103, USA
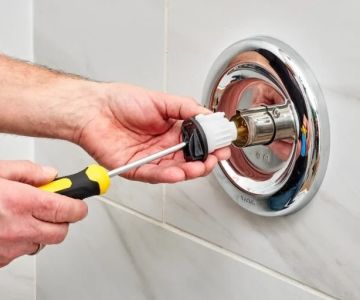
3. Removing the Old Drain Cover Safely
Start by loosening screws or clips holding the old drain cover. For stuck or corroded screws, applying a penetrating lubricant can help. Carefully lift the cover to avoid damaging the surrounding tile or shower pan. If the drain cover is glued, gently use a utility knife to separate it from the drain. Removing it with patience prevents accidental damage and prepares the area for a secure new installation.
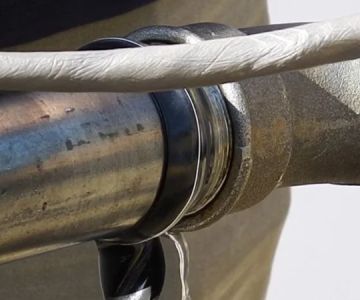
4. Preparing the Drain for Installation
Clean the drain thoroughly to remove soap scum, rust, or debris. Inspect the drain flange for cracks or damage, as this can affect sealing. Applying a thin layer of plumber’s putty around the drain flange ensures a watertight fit for the new cover. This step is crucial for preventing leaks and maintaining proper drainage functionality.
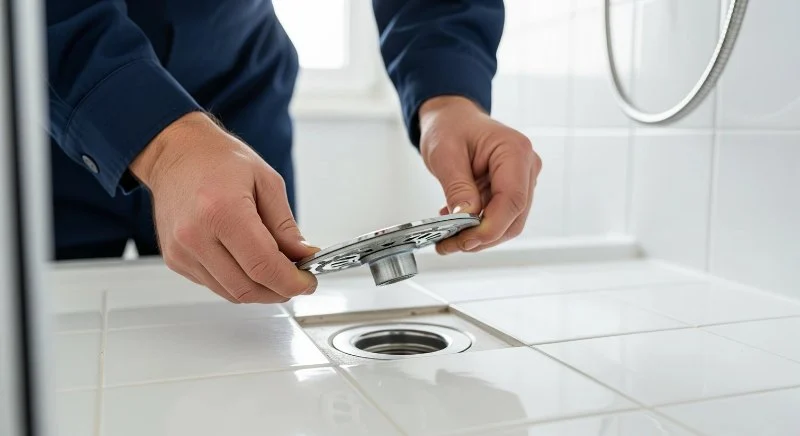
5. Installing the New Drain Cover Correctly
Position the new drain cover over the flange and align the screw holes. Tighten screws evenly to secure the cover without overtightening, which may crack plastic covers. For screwless designs, press firmly until it clicks into place. Ensure the cover sits flush with the shower floor to avoid tripping hazards and allow water to drain efficiently. Proper installation guarantees durability and a polished bathroom look.
6. Testing and Finished Tips for Long-Lasting Results
After installation, run water to ensure it drains smoothly and check for leaks around the edges. If necessary, adjust screws or reapply plumber’s putty for a perfect seal. Regular maintenance, such as removing hair and cleaning the drain, prolongs the lifespan of your new cover. Following these tips reduces the likelihood of recurring issues and keeps your shower functional and hygienic.
7. Real-Life DIY Experience and Purchase Guide
Jessica, a homeowner from Ohio, shared that replacing her broken shower drain cover seemed intimidating. By following a step-by-step approach, gathering the correct tools, and using a stainless steel replacement, she completed the task in under 30 minutes. Stories like hers demonstrate that with proper guidance, anyone can tackle this simple bathroom repair. For quality replacement covers and trusted products, visit P2Bars to explore options that match your shower design and ensure a reliable fix.


 AAA Advanced Plumbing & Drain Cleaning, Inc.4.0 (517 reviews)
 Smith Plumbing & Heating/Kitchen & Bath4.0 (80 reviews)
 TRUJILLO ROOTER0.0 (0 reviews)
 Mark Lorefice Plumbing and Heating0.0 (0 reviews)
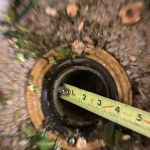 Williams Plumbing and Repairs4.0 (9 reviews)
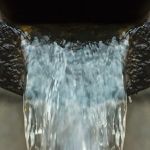 All Flow Sewer & Drain Service5.0 (200 reviews)
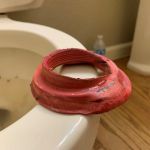 How to Replace a Toilet Seal: A Simple DIY Guide
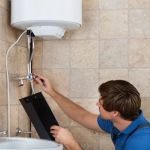 Is It Safe to Use a Broken Water Heater?
 How Much Does It Cost to Find a Reliable Plumber in the U.S.?
 How to Prevent and Fix a Frozen Pipe in Cold Weather
 How Much Does It Cost to Detect a Hidden Water Leak?
 What Causes Replacing Old Pipes