
How to Fix a Leaking Outdoor Pipe Joint: A Complete Guide
- Common Causes of Pipe Joint Leaks
- Tools You'll Need
- Step-by-Step Guide to Fix the Leak
- Preventing Future Leaks
- Why Choose Local Hardware Stores for Repairs
Common Causes of Pipe Joint Leaks
Leaking outdoor pipe joints can be caused by several factors. Understanding these causes can help you pinpoint the issue quickly and effectively.
1. Aging or Worn-out Seals
Over time, the seals around pipe joints can degrade due to exposure to weather elements like sun, rain, and cold. This leads to leaks as the seal no longer provides a tight connection.
2. High Water Pressure
If your home has high water pressure, it can cause joints to loosen or even crack. This is especially common in outdoor pipes that are exposed to extreme conditions.
3. Poor Installation
Sometimes, leaks can be traced back to improper installation of the pipe joints. If the joints weren't correctly aligned or tightened during the initial installation, they can develop leaks over time.
4. Freezing Weather
In colder climates, water inside outdoor pipes can freeze, causing the pipe to crack. When the ice thaws, the damage may cause a leak at the joint.
Tools You'll Need
To successfully fix a leaking outdoor pipe joint, you will need a few basic plumbing tools. Having the right tools will make the job quicker and easier.
- Pipe wrench or adjustable wrench
- PVC pipe cutter (if cutting a pipe is necessary)
- Plumber’s tape
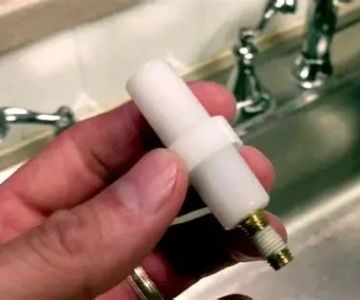
- Replacement pipe joint or connectors
- Waterproof sealant or joint compound
- Rag or sponge to clean the area
- Bucket to catch any residual water
Step-by-Step Guide to Fix the Leak
Once you have all your tools ready, follow these steps to fix the leaking outdoor pipe joint:
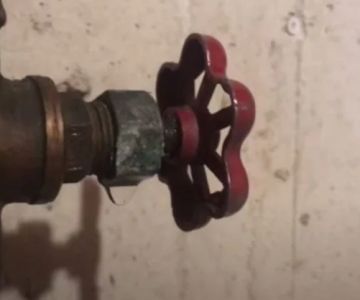
1. Turn Off the Water Supply
Before doing any repairs, ensure the water supply to the outdoor pipe is turned off. This will prevent water from leaking during the repair process.
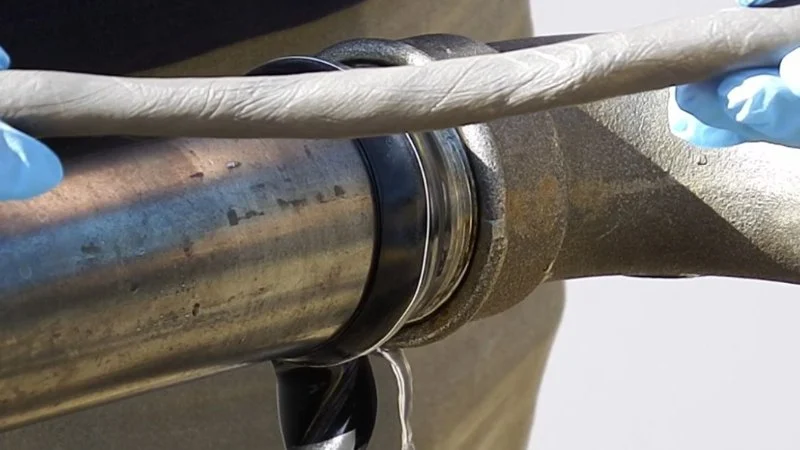
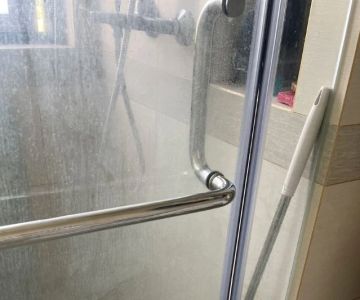
2. Inspect the Pipe Joint
Carefully inspect the pipe joint to determine the source of the leak. Look for visible cracks, signs of wear, or loose connections. In some cases, you may need to remove the joint to get a clearer view of the issue.
3. Tighten or Replace Loose Connections
If the leak is coming from a loose connection, use a pipe wrench to tighten the joint. If this doesn’t resolve the issue, the joint may need to be replaced entirely.
4. Apply Waterproof Sealant or Joint Compound
If the leak is due to a worn-out seal or minor cracks, you can apply waterproof sealant or joint compound around the joint. Allow the compound to set before turning the water supply back on.
5. Replace the Joint if Necessary
If the joint is cracked or damaged beyond repair, you may need to replace it. Cut the pipe on either side of the joint, remove the old connector, and install a new one using plumber’s tape to ensure a watertight seal.
6. Test the Repair
Once the repair is complete, turn the water supply back on and check for any remaining leaks. If the leak is resolved, you can proceed with finishing the job. If the leak persists, double-check the connections or consult a professional plumber.
Preventing Future Leaks
To avoid future leaks in your outdoor pipe joints, consider these preventive measures:
1. Regular Maintenance
Regularly inspect your outdoor pipes for signs of wear, especially after extreme weather events. Tightening loose joints or replacing worn seals early can prevent major leaks.
2. Install Pressure Regulators
If you have high water pressure, consider installing a pressure regulator to protect your pipes and joints from excessive force that could cause leaks.
3. Insulate Pipes in Cold Weather
In areas that experience freezing temperatures, insulate your outdoor pipes to prevent freezing and cracking during winter months. This simple step can save you a lot of trouble in the long run.
Why Choose Local Hardware Stores for Repairs
For all your outdoor pipe repair needs, including replacement parts and tools, visiting a local hardware store is a great option. Local stores often carry high-quality materials that are perfect for DIY repairs. Plus, you can get expert advice from the staff on the best products for your project. Shopping locally ensures that you get fast access to the right materials, reducing the time and effort it takes to fix the leak.
 WaterHouse Plumbing Company4.0 (20 reviews)
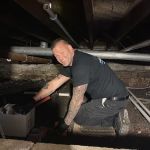 Freedom Plumbing and Drain4.0 (157 reviews)
 Generation Plumbing5.0 (5 reviews)
 Greenlight Home Services4.0 (56 reviews)
 Doc's Plumbing & Handyman Service4.0 (23 reviews)
 Michael Russo Plumbing & Heating Co., Inc.4.0 (47 reviews)
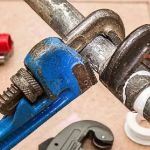 How to Choose the Right Pipe Materials for Your Plumbing Project
 Best Ways to Maintain Your Plumbing System
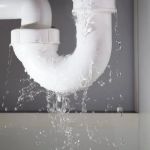 Why Is My Home Detecting a Hidden Water Leak – Expert Causes and Solutions
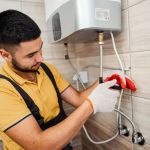 How Much Does It Cost to Fix a Broken Water Heater?
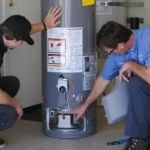 Step-by-Step Guide to Fixing a Broken Water Heater
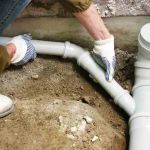 What Is the Cost to Replace a Broken Sewer Pipe? Find Out Today