
Practical Guide to Fix a Leaking Pipe Behind Cabinet
- 1-Identifying-the-Leak
- 2-Preparing-Tools-and-Safety
- 3-Draining-and-Accessing-the-Pipe
- 4-Detecting-the-Leak-Source
- 5-Repair-Methods
- 6-Testing-and-Preventive-Tips
- 7-Real-Life-Case-and-Tips
- 8-Product-Recommendation-and-Further-Action
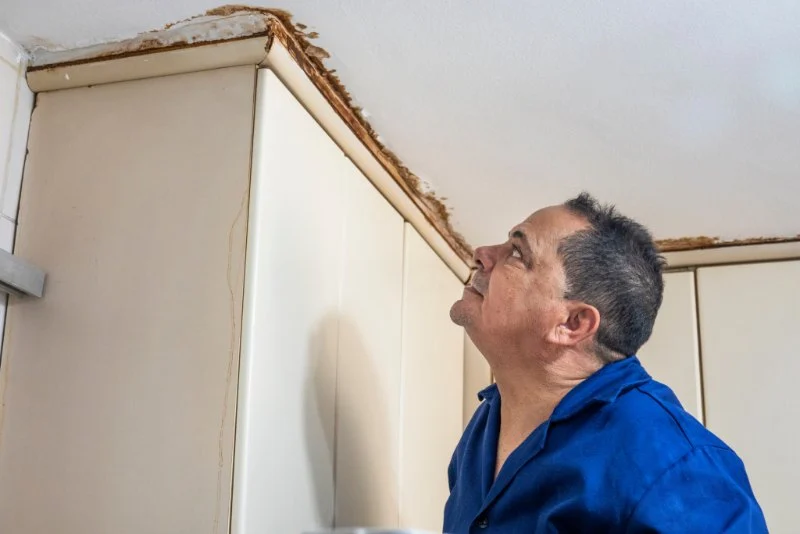
1. Identifying the Leak
The first step in fixing a leaking pipe behind a cabinet is identifying the source. Common indicators include water stains, mold, dripping sounds, or a musty odor. In many homes, leaks occur under sinks or near dishwashers. A careful visual inspection combined with gentle probing can help locate the exact area of concern.
1.1 Signs to Watch For
Noticeable pooling water, warped cabinet materials, or bubbling paint are strong clues. If ignored, even small leaks can cause significant structural damage over time.
2. Preparing Tools and Safety Measures
Before tackling the repair, gather essential tools such as pipe wrenches, adjustable pliers, replacement fittings, sealant, and a bucket. Safety is paramount:
- Turn off the main water supply to prevent flooding.
- Use protective gloves and goggles.
- Lay towels or a plastic sheet to catch drips.
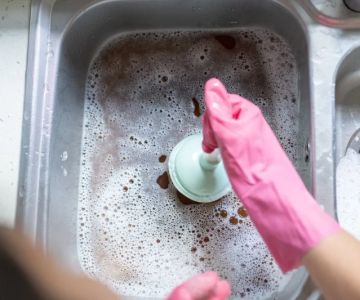
3. Draining and Accessing the Pipe
Once safety measures are in place, open the faucets connected to the leaking pipe to drain remaining water. Carefully remove cabinet panels if necessary, making sure not to damage walls or adjacent plumbing. Adequate lighting and access are crucial for efficient repair work.
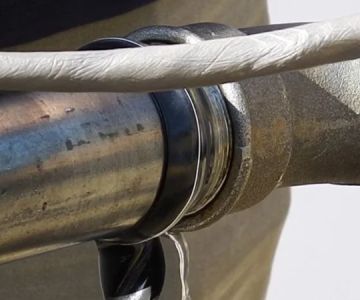
4. Detecting the Leak Source
Leaks can originate from loose joints, cracks, or corroded areas. Running a small amount of water while observing the pipe can reveal hidden drips. For stubborn leaks, using a dry paper towel to check damp spots or employing a moisture meter can be helpful.
5. Repair Methods
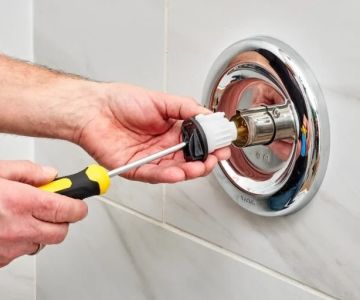
5.1 Tightening and Replacing Joints
If the leak is at a threaded joint, use a pipe wrench to carefully tighten it. For persistent leaks, replace the fitting with a new one using plumber’s tape for a secure seal.
5.2 Patch Kits and Epoxy
Minor cracks can be addressed with pipe repair epoxy or rubber patch kits. These provide a temporary or semi-permanent solution without replacing the pipe.
5.3 Full Pipe Replacement
For extensive corrosion or multiple leaks, replacing the damaged section with a new pipe is recommended. Use appropriate materials such as PEX, copper, or PVC, depending on the existing plumbing.
6. Testing and Preventive Tips
After completing the repair, slowly turn on the water and check for leaks. Dry all areas and monitor over several hours. Preventive measures include:
- Regular inspection for early signs of leaks.
- Maintaining proper water pressure to reduce strain on pipes.
- Keeping cabinet interiors dry and well-ventilated.
7. Real-Life Case and Tips
Jane, a homeowner in Chicago, noticed a faint dripping behind her kitchen cabinet. Using a combination of tightening the joint and applying pipe epoxy, she fixed the leak herself within an hour, avoiding costly plumber fees. Her story illustrates that with proper guidance, DIY pipe repairs are feasible and safe.
8. Product Recommendation and Further Action
For homeowners looking for reliable repair solutions, high-quality pipe repair kits and sealants are essential. Consider exploring professional-grade tools and kits that ensure a durable fix. For detailed guidance, product options, and step-by-step tutorials on fixing a leaking pipe behind cabinet, visit resources like For Doctors for trusted recommendations. Acting promptly can prevent further water damage and restore peace of mind.

 Quahog Plumbing4.0 (412 reviews)
 A Hampton Roads Plumbing & Sewer3.0 (64 reviews)
 Atlantic Plumbing, Heating & Air Conditioning, Inc.4.0 (538 reviews)
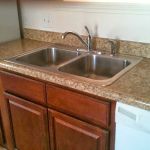 Avalon Plumbing1.0 (2 reviews)
 Horvitz Plumbing & Heating4.0 (108 reviews)
 Draino2.0 (13 reviews)
 Step-by-Step Guide to Detecting a Hidden Water Leak in Your Home
 Diagnosing Plumbing Noises: What They Mean and When to Call a Plumber
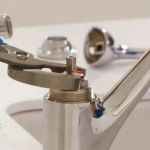 Best Ways to Fix a Leaking Faucet
 Why Is My Water Heater Pilot Light Orange? Causes and Solutions
 What to Know About Roof Insurance Claims After Hail or Wind Damage
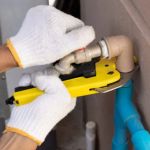 How to Fix a Broken PVC Water Line: A Step-by-Step Guide