
1. Understanding Shower Valve Leaks
A leaking shower valve body is a common problem that can cause water damage if left unchecked. The shower valve controls the flow of water, and when there is a leak, it’s usually due to worn-out parts, poor installation, or excessive water pressure. Identifying and fixing this issue quickly can save you from expensive repairs and water wastage.
Stashluk Mechanical Contractors Inc. / stashluk
Franklin TownshipHunterdon CountyNew Jersey
998 Croton Rd, Pittstown, NJ 08867, USA
2. Identifying Common Causes of Shower Valve Leaks
Understanding the cause of your shower valve leak is crucial before starting repairs. Here are the most common reasons:
Worn-out Seals or O-rings – Over time, seals and O-rings inside the valve body degrade, causing water to leak from the valve.
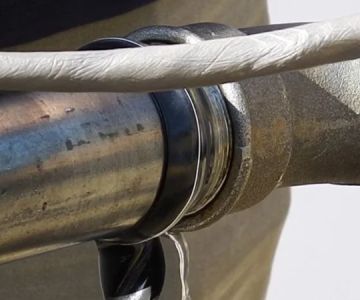
Corrosion – Mineral buildup or rust can weaken the valve components, leading to leaks.
Loose or Damaged Components – If the valve body is not securely installed or the cartridge is loose, leaks can develop.
Excessive Water Pressure – High water pressure can stress the valve and cause it to leak. This issue often requires professional help to fix the pressure regulator.
Mike the Plumber / mike the plumber
1545 Ocean Ave A3, Bohemia, NY 11716, USA
3. Tools You’ll Need to Fix the Leak
Before you start fixing your leaking shower valve, gather the necessary tools:
Adjustable Wrench – To remove and tighten nuts on the valve.
Screwdriver Set – For removing screws and accessing internal components.
Plumber’s Tape – To ensure a tight seal when reassembling the valve.
Replacement Parts – Depending on the cause of the leak, you may need new O-rings, seals, or a complete valve cartridge.
Pipe Cleaner or Descaler – If there is mineral buildup or corrosion inside the valve, these tools can help clean the parts.
4. Step-by-Step Guide to Fix a Leaking Shower Valve Body
Here’s a detailed, easy-to-follow guide to fixing your leaking shower valve body:
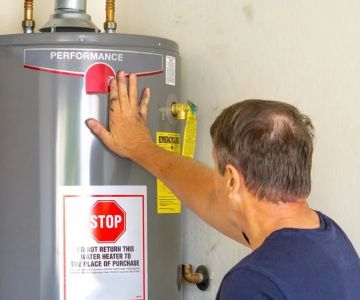
1. Turn Off the Water Supply – Before doing any work, ensure the water supply to the shower is turned off to avoid flooding.
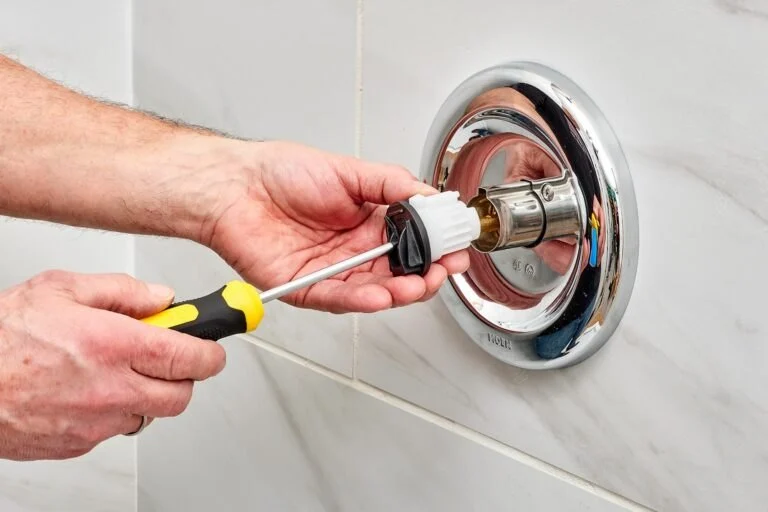
2. Remove the Handle and Trim – Use a screwdriver to remove the shower handle and any trim pieces covering the valve body.
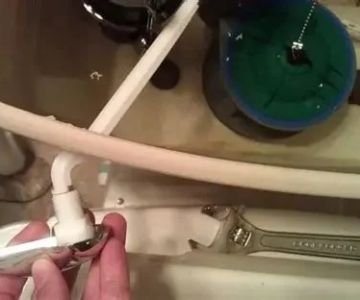
3. Unscrew the Valve Body – Use the adjustable wrench to loosen and remove the screws or nuts holding the valve body in place.
4. Inspect the Valve Components – Once the valve body is removed, check the O-rings, seals, and cartridge for wear or damage.
5. Replace the Damaged Parts – If any parts are damaged, replace them with new ones. Be sure to apply plumber’s tape to the threads to ensure a secure seal.
6. Reassemble the Valve – After replacing the parts, carefully reassemble the valve body and tighten everything securely.
7. Test the Valve – Turn on the water supply and test the shower for leaks. If the leak persists, double-check the seals and O-rings or consider replacing the entire valve cartridge.
5. Preventative Maintenance for Your Shower Valve
To prevent future leaks, it’s important to regularly maintain your shower valve. Here are some tips:
Clean Regularly – Clean the valve and surrounding area to remove mineral buildup or rust.
Monitor Water Pressure – Ensure the water pressure is within the recommended range to prevent strain on the valve.
Check Seals and O-rings – Regularly check for signs of wear and replace them as needed to avoid leaks.
Annual Inspections – Consider having a professional plumber inspect your shower valve once a year to catch any issues before they become major problems.
6. Conclusion and Further Recommendations
Fixing a leaking shower valve body is a manageable DIY task for most homeowners, provided you have the right tools and knowledge. By following the steps above, you can ensure that your shower valve is functioning properly and prevent water damage in your bathroom. However, if the problem persists or you’re unsure about the repair, don’t hesitate to consult a professional plumber.
For more expert advice and high-quality plumbing tools, visit P2Bars to find the right products to tackle any plumbing issue.

 AAA Plumbing & Heating Services3.0 (4 reviews)
 Big Red Services - Plumbing, Heating, Cooling, and HVAC Services5.0 (153 reviews)
 Uppercut Plumbing4.0 (121 reviews)
 L & F Plumbing3.0 (2 reviews)
 A. Stevens Plumbing & Heating Inc.4.0 (39 reviews)
 Exceptional Service Today5.0 (10 reviews)
 What to Know Before Hiring a Plumber: Key Questions to Ask
 How to Deal with Common Plumbing Problems in Your Kitchen
 What Causes Installing a New Toilet: Essential Tips and Considerations
 What Is the Cost to Replace Old Plumbing Pipes?
 Why Is My Toilet Randomly Running at Night? Common Causes and Fixes
 Ultimate Guide to Low Water Pressure: Causes, Solutions, and Expert Tips