
Replacing a Bathroom Shower Valve the Right Way: A Practical Homeowner’s Guide
- Step-by-Step Planning for Shower Valve Installation - understanding tools, preparation, and safety basics
- - Removing the Old Shower Valve Without Damaging Pipes - handling hidden plumbing challenges
- - Installing and Securing the New Valve - alignment, sealing, and pressure testing methods
- - Real Home Case Example - how one small leak turned into a full remodel lesson
- - Long-Term Maintenance Tips - preventing leaks, corrosion, and temperature issues
Why Shower Valve Replacement Matters More Than Most Homeowners Realize
A bathroom shower valve is one of those hidden components most people never think about—until the water suddenly turns icy cold or dangerously hot without warning. The valve controls the mix of hot and cold water, and when it wears out, everything from comfort to safety is affected.
In many older American homes, especially those built before modern plumbing standards, valves often corrode internally or develop mineral buildup. This leads to uneven pressure, dripping showerheads, or inconsistent temperatures. That’s usually when homeowners start searching for guidance on How to Install a New Bathroom Shower Valve.
Before jumping into tools and steps, it helps to understand that this is not just a mechanical swap—it’s a precision plumbing task that directly affects water flow balance throughout the bathroom system.

Stashluk Mechanical Contractors Inc. / stashluk
Franklin TownshipHunterdon CountyNew Jersey
998 Croton Rd, Pittstown, NJ 08867, USA
Understanding the System Behind Your Shower Wall
Inside your bathroom wall sits the shower valve body, connected to both hot and cold water lines. It regulates how water mixes before it reaches the showerhead. When it fails, the symptoms often appear subtle at first.
A homeowner in Arizona once shared a common story: their shower would suddenly spike to scalding temperatures whenever someone flushed a toilet elsewhere in the house. The issue wasn’t the water heater—it was a failing pressure-balancing valve behind the tile wall.
This is why proper replacement is so important. A correctly installed valve ensures stable temperature control, protects against sudden pressure changes, and improves overall water efficiency.
Go Green Plumbing, Heating, Air & Electrical / go green plumbing heating and air
GreensboroGuilford CountyNorth Carolina
300 Pomona Dr, Greensboro, NC 27407, USA
Preparing for Installation Without Guesswork
Before starting the actual installation, preparation determines whether the project goes smoothly or turns into a wall-repair nightmare.
First, water supply must be completely shut off. This includes both hot and cold lines. Then the shower trim (handle, escutcheon plate, and visible hardware) is removed to expose the valve body.
At this stage, many homeowners discover unexpected issues like corroded fittings or non-standard pipe spacing. This is common in older homes and should be anticipated before purchasing a replacement valve.
A smart approach is to identify your existing valve brand or take detailed photos before shopping. If unsure, consulting a plumbing supply expert through Plumbers Supply Hub can help match the correct replacement model and avoid costly returns.
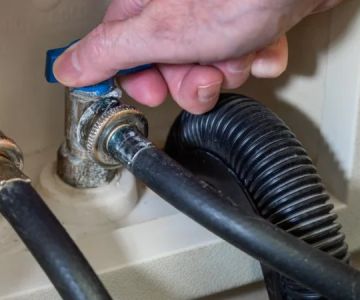
Removing the Old Valve Without Damaging Plumbing Lines
This step is where patience becomes more important than force. The old valve is usually soldered or tightly fastened to copper or PEX lines inside the wall.
Using the correct cutting tools and heat method is essential. Overheating copper pipes can weaken surrounding joints, while excessive force can crack fittings deeper in the wall where repairs become expensive.
One contractor in Chicago shared a job where a rushed removal caused a hidden leak behind ceramic tiles, turning a simple $200 valve replacement into a full $2,000 bathroom repair. That kind of scenario is exactly why careful handling matters.
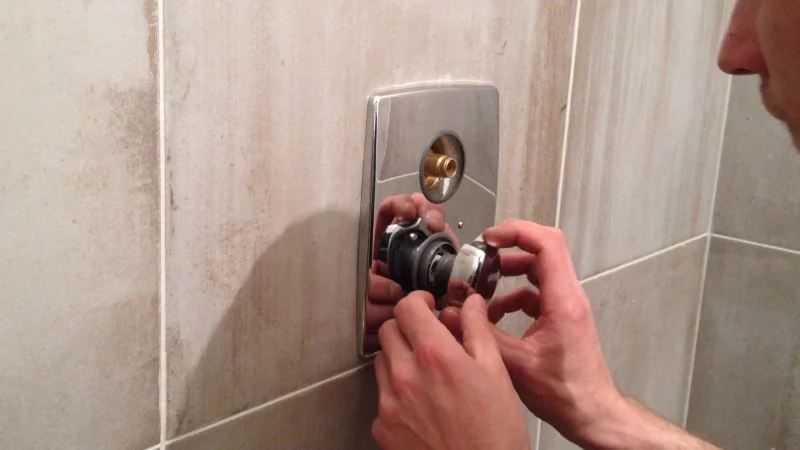
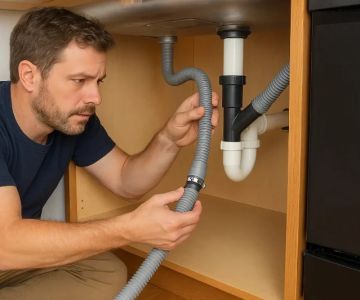
Installing the New Shower Valve Step by Step
Once the old unit is removed, the new valve must be positioned precisely within the stud cavity. Alignment is critical because even a slight tilt can affect handle operation and water flow balance.
The installation typically involves securing the valve body to framing studs, connecting hot and cold water lines, and ensuring all joints are sealed properly. Depending on the system type, soldering or push-fit connectors may be used.
After connection, the system should be pressure-tested before closing the wall. This step confirms there are no hidden leaks and that the valve responds correctly to temperature adjustments.
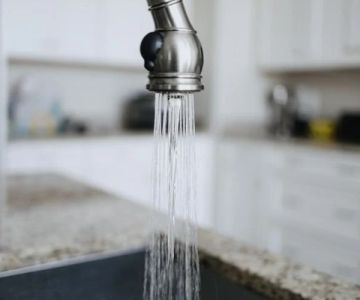
Testing Water Flow and Temperature Control
Once water is turned back on, testing becomes the most satisfying moment of the process. A properly installed valve should deliver smooth transition between hot and cold without sudden spikes.
If the shower temperature fluctuates, it may indicate reversed hot/cold connections or internal cartridge misalignment. These are common beginner mistakes and usually easy to correct without reopening the wall.
A homeowner in Florida once described the relief of fixing their unstable shower temperature after weeks of frustration—it turned out the valve cartridge was simply not seated correctly. Small detail, big difference.
Real-World Insight: Why Many DIY Installations Fail
Most failures in shower valve installation don’t come from lack of effort—they come from misdiagnosis. Homeowners often replace the valve when the issue is actually pressure imbalance elsewhere in the system.
Another common issue is buying incompatible replacement valves. Modern plumbing systems often require specific pressure-balancing or thermostatic units that match existing pipe layouts.
This is where professional guidance or verified product selection becomes extremely valuable. Resources like Plumbers Supply Hub help homeowners avoid mismatches and choose components designed for long-term reliability.
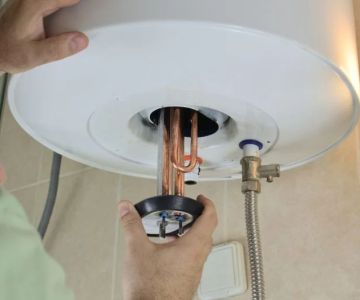
Long-Term Care After Installation
After installation, maintaining your shower valve ensures it lasts for many years without issues. Hard water buildup is one of the biggest enemies of valve cartridges, especially in regions with high mineral content.
Flushing the system occasionally and checking for early signs of dripping or stiffness in the handle can prevent larger repairs later.
If a valve begins to feel resistant or noisy, it often signals internal wear rather than external plumbing failure. Addressing it early can save both time and wall repair costs.
Why Choosing the Right Parts Matters for Future Reliability
Not all shower valves are built the same. Some are designed for basic functionality, while others offer advanced temperature control and pressure regulation. Choosing the right model directly impacts comfort and long-term durability.
Investing in a quality valve system reduces maintenance frequency and improves daily shower experience significantly. It also adds long-term value to your bathroom plumbing system.
For homeowners planning upgrades or replacements, checking verified plumbing parts and guidance through Plumbers Supply Hub can make the entire process more predictable and stress-free.
 Alberti & Sons Plumbing4.0 (87 reviews)
 A Sewer Services4.0 (17 reviews)
 Golden Rule Plumbing & Contracting, LLC4.0 (819 reviews)
 Greater Works Plumbing4.0 (199 reviews)
 Lezgus Plumbing Heating & Cooling Corp4.0 (27 reviews)
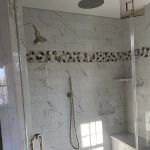 Saba Plumbing & Heating5.0 (2 reviews)
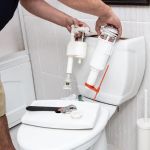 Why Is My Toilet Running? Common Causes and How to Fix It
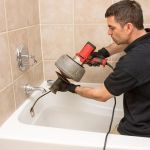 When Should You Call a Plumber for Unclogging a Bathtub Drain
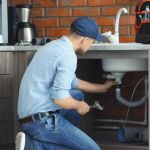 Why Plumbing Maintenance is Essential for Homeowners
 When Should You Call a Plumber for Water Damage in Your Bathroom? | PlumberNear
 Common Reasons Your Garbage Disposal Keeps Tripping the Breaker
 How to Install a Bathroom Sink: A Beginner's Guide