
When Your Laundry Stops Flowing: A Practical Guide to Fixing Water Valve Issues
- - understanding washing machine water valve function and failure signs
- - tools, safety preparation, and shutdown steps before repair
- - step-by-step process for replacing a faulty water inlet valve
- - real household repair story and troubleshooting insights
- - common mistakes during DIY appliance repair and how to avoid them
- - maintenance tips to extend washing machine lifespan after repair
Why the Water Valve Matters More Than Most People Realize
Learning How to Replace a Washing Machine Water Valve starts with understanding what this small but critical component actually does. The water inlet valve controls the flow of hot and cold water into your washing machine. Without it working properly, your laundry routine can come to a complete stop.
In many U.S. households, especially in older homes, this valve is often overlooked until something goes wrong—usually a leak, slow filling cycle, or complete failure to start washing cycles.
Mike the Plumber / mike the plumber
1545 Ocean Ave A3, Bohemia, NY 11716, USA
Early warning signs most homeowners miss
A malfunctioning water valve does not always fail suddenly. It often shows subtle signs first, such as inconsistent water levels, unusual humming sounds, or cycles that take longer than usual to fill.
Ignoring these signs can lead to bigger issues like water damage or pump strain.
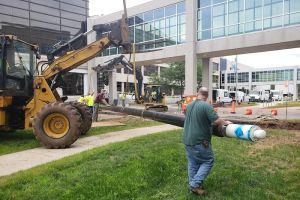
Stashluk Mechanical Contractors Inc. / stashluk
Franklin TownshipHunterdon CountyNew Jersey
998 Croton Rd, Pittstown, NJ 08867, USA
Understanding How a Washing Machine Water Valve Works
Before diving into How to Replace a Washing Machine Water Valve, it is helpful to understand its internal function. The valve is typically an electronically controlled solenoid system that opens and closes based on signals from the washing machine’s control board.
Hot and cold water control mechanism
Most machines use a dual-valve system—one for hot water and one for cold. When the wash cycle begins, the control board sends a signal to open the valve, allowing water to flow into the drum.
If either side fails, you may notice imbalance in water temperature or incomplete cycles.
A Real-Life Repair Story: When a Simple Leak Became a Weekend Project
A homeowner in Ohio shared a relatable experience while learning How to Replace a Washing Machine Water Valve. What started as a small drip behind the washing machine turned into a noticeable puddle after a few laundry cycles.
The moment the problem escalated
At first, the leak seemed minor and was dismissed as condensation. However, within a week, water damage began affecting the laundry room floor, prompting immediate inspection.
What was discovered during inspection
After pulling the machine away from the wall, the issue was traced back to a cracked inlet valve housing. Mineral buildup from hard water had weakened the internal structure over time.
This is a common issue in many households across regions with high mineral content in water supply.
Preparation Before Replacing a Washing Machine Water Valve
Proper preparation is essential when learning How to Replace a Washing Machine Water Valve. Skipping safety steps can lead to electrical hazards or water leaks.
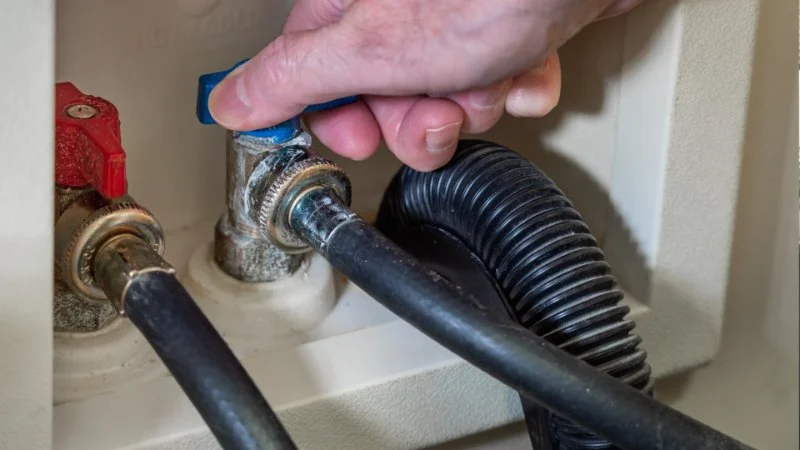
Turning off power and water supply
The first step is always disconnecting the washing machine from electricity. After that, shut off both hot and cold water supply valves to prevent accidental flooding.
Gathering essential tools
Basic tools usually include a screwdriver set, adjustable wrench, bucket, and towel for residual water. Having everything ready ensures a smoother repair process.
Step-by-Step Guide to Replacing the Water Valve
Now we move into the core process of How to Replace a Washing Machine Water Valve. While designs vary slightly between brands, the general procedure remains consistent.
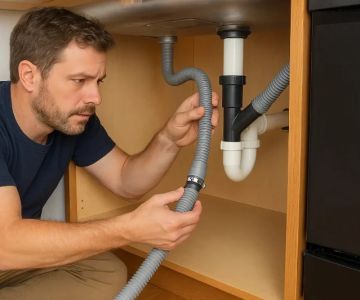
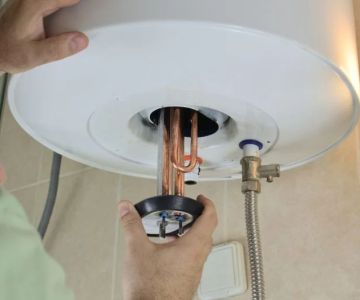
Step 1: Access the rear panel
Carefully move the washing machine away from the wall and remove the back or top panel depending on model design. This exposes the internal valve assembly.
Step 2: Disconnect water hoses
Use a wrench to loosen hose connections. Expect some residual water to spill, so a towel or bucket should be placed underneath.
Step 3: Remove electrical connectors
The valve is connected to the machine via electrical wiring harnesses. Carefully disconnect these without pulling on the wires directly.
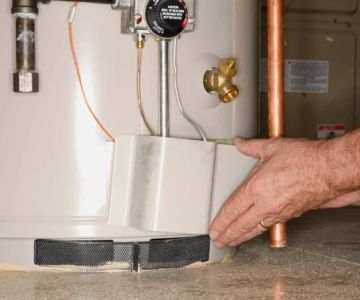
Step 4: Unscrew and remove the faulty valve
Once hoses and connectors are detached, unscrew the mounting bracket holding the valve in place and remove it from the machine.
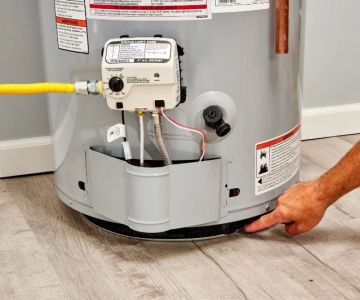
Step 5: Install the new water valve
Position the replacement valve in the same orientation as the original. Secure it with screws, reconnect wiring, and reattach water hoses firmly.
Step 6: Test for leaks and functionality
Turn water supply back on slowly and check for leaks. Run a short wash cycle without laundry to ensure proper operation.
Common Mistakes During DIY Washing Machine Repair
Many people attempting How to Replace a Washing Machine Water Valve for the first time encounter avoidable mistakes that lead to frustration or repeated repairs.
Over-tightening water connections
Applying too much force when tightening hoses can damage threads or crack fittings, leading to future leaks.
Ignoring internal sediment buildup
In many cases, valve failure is linked to sediment buildup from hard water. Replacing the valve without checking water filters can shorten the lifespan of the new part.
Skipping post-repair testing
Some homeowners reassemble the machine without running a test cycle, only to discover leaks later when the machine is fully loaded.
How to Extend the Life of Your New Water Valve
Understanding How to Replace a Washing Machine Water Valve is only part of the solution. Long-term maintenance ensures you do not face the same issue again soon.
Regular cleaning of inlet filters
Small mesh filters inside the water inlet should be cleaned periodically to prevent sediment buildup that strains the valve system.
Using water softening solutions in hard water areas
Hard water is one of the biggest contributors to valve failure. Installing a water softener can significantly extend appliance lifespan.
Periodic inspection of hoses and fittings
Checking hoses every few months helps detect early wear before leaks become serious.
Why DIY Repair Can Be Worth It for Homeowners
Many homeowners hesitate when learning How to Replace a Washing Machine Water Valve, but in reality, it is one of the more manageable appliance repairs.
While professional service is always an option, understanding basic repair skills can save time and reduce costs in the long run.
For those looking to source reliable replacement parts or explore compatible valve options, trusted appliance resources and repair marketplaces such as HomeFix Appliance Hub can help ensure you choose the right components for your specific washer model.
Bringing Your Laundry Routine Back to Normal
A faulty water valve can disrupt daily life more than expected, but with the right approach, it is a highly fixable issue. By following a structured process and understanding each step clearly, homeowners can confidently restore their washing machine’s performance.
Mastering How to Replace a Washing Machine Water Valve not only solves an immediate problem but also builds practical repair confidence for future household maintenance tasks.

 Weaver Plumbing3.0 (2 reviews)
 Green Plumbing & Heating4.0 (13 reviews)
 Wright Brothers Plumbing4.0 (46 reviews)
 Island Piping Solutions Ltd.5.0 (2 reviews)
 KNC Plumbing LLC5.0 (9 reviews)
 Wulfekotte & Co Plumbing & Heating5.0 (4 reviews)
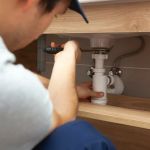 What Is the Cost to Replace Bathroom Sink Plumbing? Complete Guide
 How to Install a Bathroom Sink: A Beginner's Guide
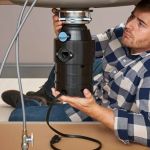 Why Is My Garbage Disposal Not Working? How to Fix It
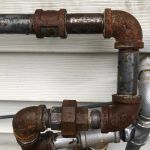 How Often Should You Replace Old Pipes?
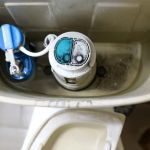 What Causes Mold Around Toilet Base and How to Prevent It
 How to Fix a Leaking Toilet Supply Line Like a Pro