
How to Fix a Leaking Compression Fitting: A Step-by-Step Guide
- Identifying the Leak in a Compression Fitting
- Gathering Tools and Materials for Repair
- Shutting Off the Water Supply
- Disassembling the Compression Fitting
- Inspecting and Cleaning the Fitting
- Reassembling and Testing the Fitting
- When to Call a Professional Plumber
Identifying the Leak in a Compression Fitting
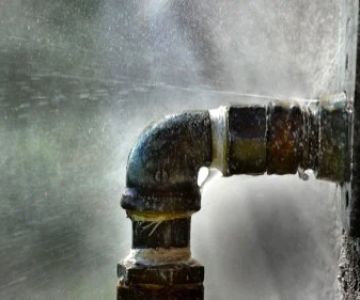
The first step in fixing a leaking compression fitting is identifying the leak's source. Compression fittings are commonly used in plumbing systems to connect pipes. The most common places for leaks to occur are where the fitting meets the pipe or at the nut that secures the fitting. You may notice water dripping or signs of dampness around the connection.
Before starting the repair, make sure to inspect the entire fitting carefully. Sometimes the leak could be caused by a worn-out seal, debris trapped in the fitting, or an improperly tightened nut. Identifying the cause will help you determine whether a simple tightening will solve the problem or if replacement parts are necessary.
Gathering Tools and Materials for Repair
To fix a leaking compression fitting, you'll need a few basic tools. Here’s a list of the tools and materials required:
- Adjustable wrench: To tighten or loosen the compression fitting nut.
- Pipe cutter: If you need to replace any part of the pipe.
- Replacement compression fittings or seals: In case the existing ones are worn out.
- Rags or towels: To clean up any water or debris around the fitting.
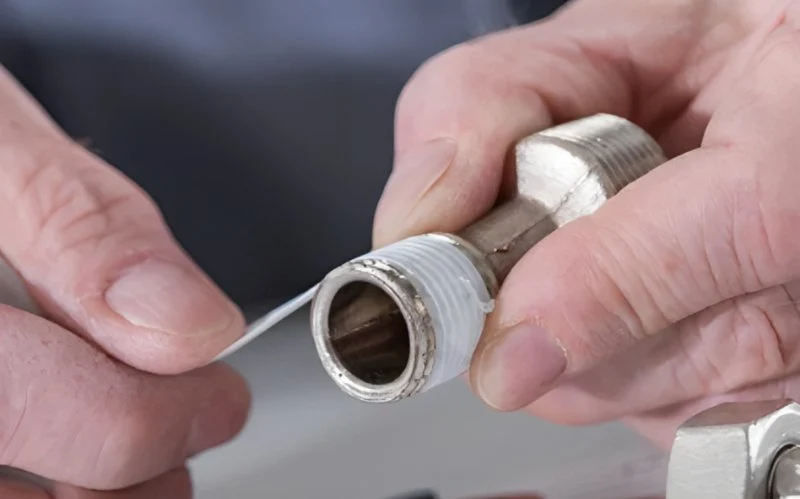
- Plumber's tape: To ensure a tight seal and prevent future leaks.
Having these tools ready will ensure the repair process goes smoothly and prevent unnecessary delays.
Shutting Off the Water Supply
Before starting any plumbing repair, always shut off the water supply to avoid flooding your space. Find the main water shutoff valve in your home and turn it off to stop the flow of water. Then, open a faucet or valve to drain any remaining water from the pipes. This step is crucial for working safely and effectively on your compression fitting.
Disassembling the Compression Fitting
Now that the water supply is off, you can begin disassembling the compression fitting. Use your adjustable wrench to loosen the nut securing the fitting. Carefully unscrew the nut and remove the compression ring. Be gentle during this process to avoid damaging the pipe or the fitting, which may lead to additional repairs.
If the pipe is damaged or cracked near the fitting, you may need to cut the pipe and replace it. Use a pipe cutter to remove any damaged sections, ensuring the new pipe fits snugly with the compression fitting.
Inspecting and Cleaning the Fitting
After disassembling the fitting, carefully inspect the components for any signs of wear and tear, including scratches, cracks, or rust. If you notice any damage to the compression ring or the fitting, it’s best to replace the affected part before reassembling the fitting.
Next, clean the fitting and pipe with a rag to remove any dirt, debris, or old plumbing tape that might prevent a tight seal. This will ensure that the new seal is properly seated and reduces the risk of future leaks.
Reassembling and Testing the Fitting
Once everything is clean and inspected, you can reassemble the compression fitting. Slide the compression ring back onto the pipe, then screw the nut onto the fitting. Use your adjustable wrench to tighten the nut securely, but avoid over-tightening, which could damage the fitting or pipe.
After reassembling the fitting, turn the water supply back on and check for any signs of leakage. Run water through the pipe and examine the fitting closely. If no water leaks, your repair is complete! If the leak persists, you may need to adjust the nut slightly or replace the compression ring.
When to Call a Professional Plumber
In some cases, the leak may be too difficult to repair on your own, or you may not have the proper tools to complete the job. If the compression fitting continues to leak after you've tried tightening it or replacing the seal, it may be time to call a professional plumber. A plumber will have the expertise to diagnose the issue and provide a long-lasting solution.
Don’t hesitate to contact a professional if you're unsure about the repair or if you're dealing with more complex plumbing issues. It's always better to seek help than to risk causing further damage.
 Universal Services Plumbing Heating Cooling5.0 (39 reviews)
 First Class Mechanical4.0 (437 reviews)
 Ray W Moyer Inc2.0 (3 reviews)
 Ron Elwell's Plumbing5.0 (4 reviews)
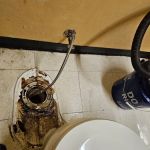 Emerald Plumbing Co.4.0 (101 reviews)
 Alpine Plumbing & Heating4.0 (24 reviews)
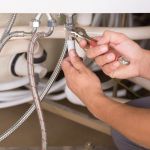 How to Maintain Your Home's Plumbing During the Summer
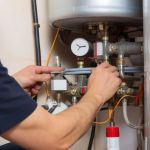 How to Troubleshoot Low Hot Water Pressure in Your Home
 How Often Should You Check for Water Damage in Your Bathroom
 Step-by-Step Guide to Clogged Drains: What to Do and When to Call a Plumber
 Expert Advice on Installing a New Toilet: A Step-by-Step Guide
 What to Do If Reducing Your Water Bill | Expert Tips