
What to Do If Replacing Old Pipes
- Why Replacing Old Pipes is Essential
- How to Identify Old Pipes in Your Home
- Steps for Replacing Old Pipes
- Choosing the Right Piping Material
- Hiring a Plumber or DIY?
Replacing old pipes in your home is not just a matter of convenience – it’s a critical part of maintaining the safety and functionality of your plumbing system. Over time, pipes can deteriorate, leading to leaks, water damage, and even potential health risks. If you live in an older home or suspect that your pipes are nearing the end of their lifespan, replacing them is the right move. In this guide, we’ll walk you through the steps of replacing old pipes, how to identify signs of damage, and how to ensure your plumbing system remains in top condition for years to come.

Mike the Plumber / mike the plumber
1545 Ocean Ave A3, Bohemia, NY 11716, USA
What to Do If Replacing Old Pipes
Replacing old pipes can seem like a daunting task, but with the right knowledge and preparation, it becomes much more manageable. Whether you’re dealing with leaky pipes or outdated materials, knowing when and how to replace them is key to avoiding costly damage and improving the overall efficiency of your plumbing system. Below, we’ll outline the steps you should take when replacing old pipes in your home.

Stashluk Mechanical Contractors Inc. / stashluk
Franklin TownshipHunterdon CountyNew Jersey
998 Croton Rd, Pittstown, NJ 08867, USA
Why Replacing Old Pipes is Essential
Old pipes, especially those made of outdated materials, can cause several issues in your home. Over time, materials like galvanized steel, copper, or cast iron corrode and weaken, leading to leaks and possible flooding. Additionally, old pipes can harbor bacteria and mold, affecting your water quality. Let’s take a look at the major reasons why replacing old pipes is so important:
1. Prevent Leaks and Water Damage
Leaky pipes are one of the most common issues in homes with old plumbing. Water can slowly seep through cracks and joints, damaging your walls, floors, and foundation. Replacing old pipes before they start leaking can save you from costly water damage and repairs.
2. Improve Water Quality
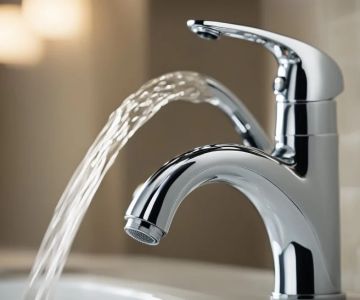
As pipes age, they can start to rust or collect sediment, which can affect your water quality. If you’ve noticed a decrease in water pressure or discoloration, it could be time to replace your pipes. New pipes provide cleaner, safer drinking water for you and your family.
3. Increase Home Value
Upgrading the plumbing in your home can increase its value. Potential buyers are often concerned about the condition of the plumbing system, and new pipes can make your home more attractive if you decide to sell.
How to Identify Old Pipes in Your Home
Before you start replacing old pipes, it’s essential to identify which pipes in your home need replacement. Here are some signs that your pipes may be reaching the end of their lifespan:
1. Frequent Leaks
If you’re experiencing multiple leaks throughout your home, your pipes may be deteriorating. Even small leaks can lead to significant water damage, so addressing them quickly is important.
2. Low Water Pressure
If the water pressure in your home has dropped, it could be due to pipe blockages or corrosion. Over time, mineral buildup and rust can restrict water flow, causing low pressure.
3. Water Discoloration
If your water has a brownish or reddish tint, it could indicate rust inside your pipes. This is a clear sign that your pipes are deteriorating and need to be replaced.
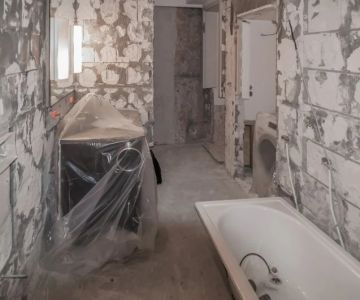
Steps for Replacing Old Pipes
Replacing old pipes requires careful planning and execution. While some homeowners may choose to hire a professional plumber, others may want to take on the project themselves. Below are the general steps involved in replacing old pipes:
1. Assess the Problem
The first step is to assess the extent of the problem. Are there localized leaks, or are multiple areas affected? Understanding the scale of the issue will help you decide whether to replace all the pipes or just specific sections.
2. Shut Off the Water Supply
Before beginning any work, turn off the water supply to your home. This will prevent water from flowing through the pipes while you work on replacing them.
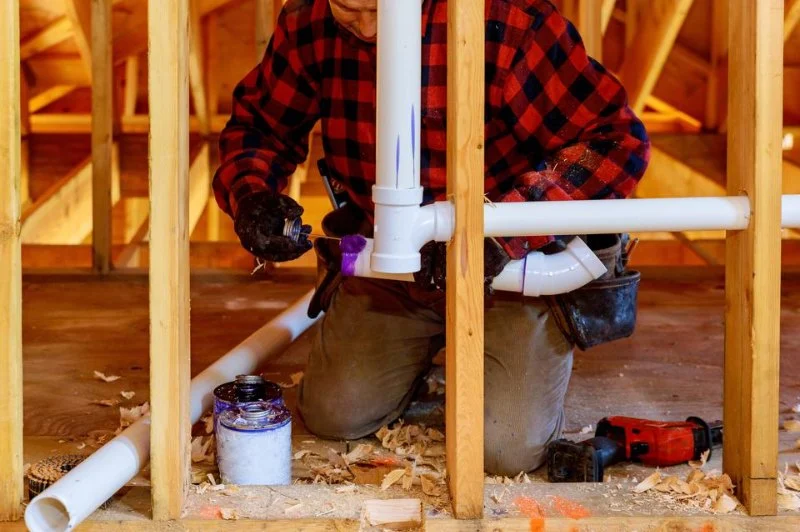
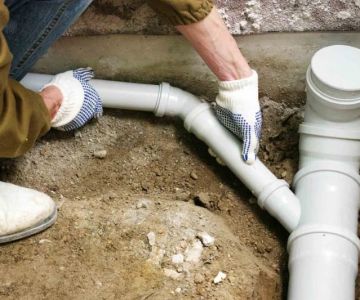
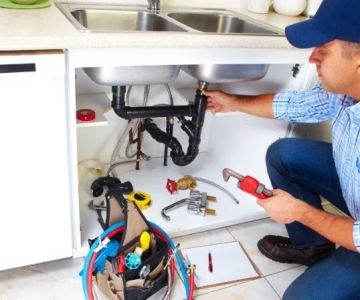
3. Remove the Old Pipes
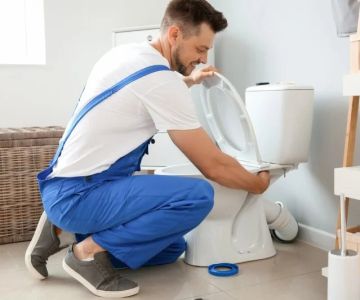
Carefully remove the old pipes. If they’re made of galvanized steel or other materials prone to rust, use caution to avoid injury from sharp edges. If you’re unsure how to disconnect the pipes, it’s best to consult a professional plumber.
4. Install the New Pipes
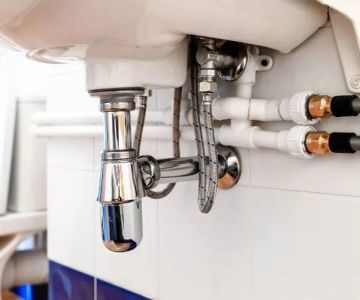
Once the old pipes are removed, install the new ones. Be sure to choose pipes made from materials that are durable and suitable for your home’s needs, such as PEX, copper, or CPVC. Ensure all joints are properly sealed to prevent leaks.
5. Test the System
After the new pipes are installed, turn the water supply back on and check for leaks. Run the water in various parts of your home to ensure everything is working as expected.
Choosing the Right Piping Material
When replacing old pipes, choosing the right material is crucial for the longevity and effectiveness of your plumbing system. Below are some common materials used for pipe replacements:
1. PEX (Cross-Linked Polyethylene)
PEX is a popular choice for residential plumbing due to its flexibility, ease of installation, and resistance to freezing. It is also more affordable than copper, making it a great option for homeowners on a budget.
2. Copper
Copper has been a trusted material for plumbing for decades. It’s durable, long-lasting, and resistant to corrosion. However, it can be more expensive than PEX or PVC pipes, and installation can be more complex.
3. CPVC (Chlorinated Polyvinyl Chloride)
CPVC is another affordable and easy-to-install material. It’s resistant to corrosion and is a good option for both hot and cold water lines.
Hiring a Plumber or DIY?
When it comes to replacing old pipes, homeowners often face the decision of whether to tackle the project themselves or hire a professional plumber. Here are some things to consider:
1. DIY
Replacing pipes yourself can save you money on labor costs. However, it requires a certain level of skill, tools, and knowledge of plumbing systems. If you’re comfortable working with plumbing and have the right tools, DIY could be a viable option.
2. Hiring a Professional Plumber
If you’re not experienced with plumbing, hiring a professional is a safe bet. A licensed plumber can ensure that the work is done correctly and up to code, saving you time and potentially preventing costly mistakes down the road.
Replacing old pipes is an important step in maintaining your home’s plumbing system and ensuring clean, reliable water. Whether you choose to tackle the project yourself or hire a professional, it's crucial to act before problems escalate. For assistance with finding the right plumbing services and products, visit P2Bars for expert advice and recommendations on plumbing products.
 Guarded Plumbing LLC4.0 (21 reviews)
 J&C Plumbing and Sewer Service, Inc.4.0 (272 reviews)
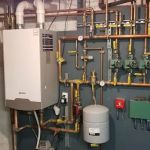 Gould Plumbing & Heating4.0 (37 reviews)
 Order A Plumber Inc.5.0 (3 reviews)
 Blanchard Oil Company4.0 (51 reviews)
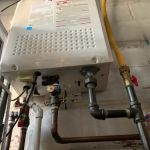 Fairfax Electric Plumbing-Gas4.0 (160 reviews)
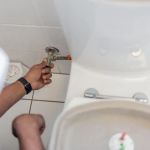 Beginner's Guide to Installing a New Toilet: Step-by-Step Tips
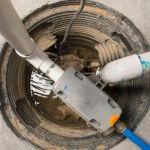 Signs You Need Sewer Line Backups Resolved Immediately
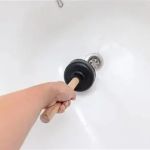 How to Fix and Unclog a Bathtub Drain Like a Pro
 Step-by-Step Guide to Clogged Drains and How to Fix Them
 Is It Safe to Installing a New Toilet
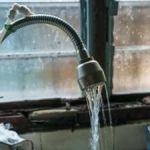 How Often Should You Check Low Water Pressure in Your Home