
- why-installing-a-toilet-yourself-is-doable-for-beginners
- tools-and-materials-youll-need
- step-by-step-how-to-remove-an-old-toilet
- how-to-install-a-new-toilet-safely-and-correctly
- common-mistakes-new-diyers-should-avoid
- real-life-case-how-one-homeowner-nailed-their-first-install
- need-help-heres-why-plumbernear-is-your-backup-plan
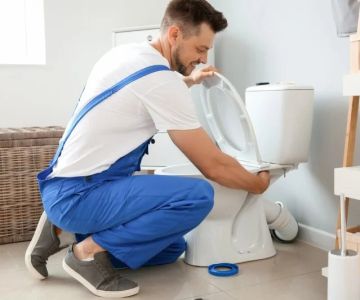
1. Why Installing a Toilet Yourself Is Doable for Beginners
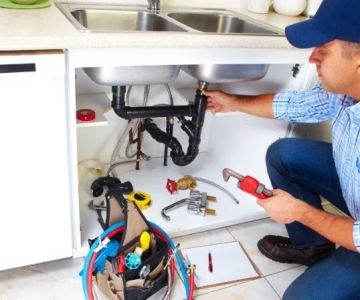
The idea of installing a new toilet can sound intimidating—but with the right guidance, it's a surprisingly beginner-friendly DIY project. In fact, many homeowners in the U.S. take it on themselves to save money and learn more about their plumbing.
A standard toilet installation doesn’t require advanced tools or a plumbing license—just some patience, a strong back, and attention to detail. If your current toilet is leaking, wobbling, or constantly running, replacing it is a great first step toward a more efficient bathroom.
Mike the Plumber / mike the plumber
1545 Ocean Ave A3, Bohemia, NY 11716, USA
2. Tools and Materials You’ll Need
Before you start, gather everything you need to avoid mid-project trips to the store. Most of these items are easy to find at your local hardware store.
Sewer Xpress Corp / pipe xpress inc
Eastampton TownshipBurlington CountyNew Jersey
649 Powell Rd, Eastampton Township, NJ 08060, USA
2.1 Basic Tools
Adjustable wrench, flathead screwdriver, utility knife, level, bucket, sponge, putty knife, and possibly a hacksaw (for cutting old bolts).
2.2 Materials
New toilet (bowl and tank), wax ring or rubber seal, toilet mounting bolts, bolt caps, closet flange (if replacing), and plumber’s putty or silicone caulk for sealing the base.
3. Step-by-Step: How to Remove an Old Toilet
Removing your old toilet is half the job. Here's how to do it cleanly and safely:
3.1 Shut Off the Water
Turn off the supply valve behind the toilet. Flush to drain the tank and use a sponge or towel to remove any remaining water in the bowl and tank.
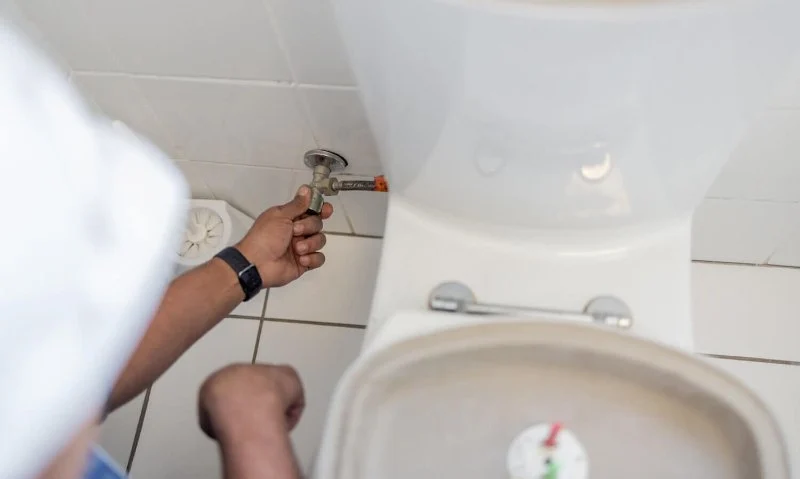
3.2 Disconnect the Water Line
Use an adjustable wrench to detach the water line from the tank. Be prepared for a little water to drip out.
3.3 Unbolt and Lift
Remove the bolt caps and unscrew the nuts. Gently rock the toilet side to side to break the wax seal, then lift it off. Have a trash bag or cardboard ready to set it on.
3.4 Plug the Drain
Stuff a rag into the floor drain to prevent sewer gases from escaping and tools from falling in while you work.
4. How to Install a New Toilet Safely and Correctly
Now that the old toilet is out, it's time to install the new one. Take your time with these steps to ensure a leak-free setup.
4.1 Set the Wax Ring
Place the wax ring on the toilet’s outlet or directly onto the flange on the floor—either method works. Align the toilet bowl carefully over the bolts and press it down with your body weight to compress the ring.
4.2 Secure the Toilet
Add washers and nuts to the mounting bolts and hand-tighten, then finish with a wrench. Don't overtighten or you could crack the porcelain. Use a level to ensure even seating.
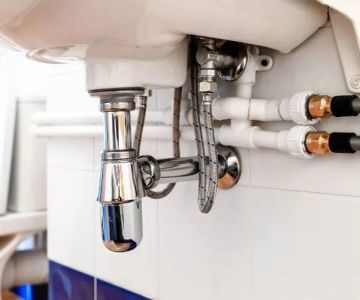
4.3 Attach the Tank
If it’s a two-piece toilet, install the tank to the bowl with included bolts and gaskets. Then reattach the water supply line, open the shutoff valve, and let the tank fill.
4.4 Test for Leaks
Flush a few times and inspect for leaks at the base and connection points. If everything’s dry and steady—congrats! You’ve installed a toilet.
5. Common Mistakes New DIYers Should Avoid
Even simple toilet installations can go sideways if you're not careful. Here are a few frequent slip-ups to dodge:
5.1 Not Leveling the Toilet
An uneven toilet can lead to rocking, leaks, or even cracking. Always use a level and add shims as needed.
5.2 Skipping a New Wax Ring
Trying to reuse the old wax ring is a gamble. They’re cheap and essential for a proper seal—always install a fresh one.
5.3 Over-Tightening Bolts
Toilet bowls and tanks are ceramic—not designed for brute force. Over-tightening can lead to irreparable cracks.
6. Real-Life Case: How One Homeowner Nailed Their First Install
In 2023, a first-time homeowner in Ohio documented their toilet installation on a DIY forum. With just a beginner toolkit and a couple of YouTube tutorials, they replaced a 20-year-old leaking unit. The key? They took their time, measured twice, and used PlumberNear to source a reliable dual-flush toilet at a fair price.
The entire job took three hours and cost under $250—compared to a $600 quote from a local contractor. Their confidence grew, and next up: a new vanity install.
7. Need Help? Here’s Why PlumberNear Is Your Backup Plan
Even with the best instructions, plumbing surprises happen. If your flange is damaged, your floor uneven, or you're simply unsure, it’s okay to bring in backup. PlumberNear connects homeowners across the U.S. with trusted, licensed plumbers for help with installation, repairs, or inspections.
Whether you want someone to double-check your work or take over mid-project, PlumberNear is your go-to for honest pricing, verified reviews, and fast booking. DIY with confidence—knowing the pros are just a click away.
 Guarded Plumbing LLC4.0 (21 reviews)
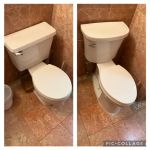 J&C Plumbing and Sewer Service, Inc.4.0 (272 reviews)
 Gould Plumbing & Heating4.0 (37 reviews)
 Order A Plumber Inc.5.0 (3 reviews)
 Blanchard Oil Company4.0 (51 reviews)
 Fairfax Electric Plumbing-Gas4.0 (160 reviews)
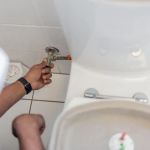 Beginner's Guide to Installing a New Toilet: Step-by-Step Tips
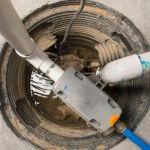 Signs You Need Sewer Line Backups Resolved Immediately
 How to Fix and Unclog a Bathtub Drain Like a Pro
 Step-by-Step Guide to Clogged Drains and How to Fix Them
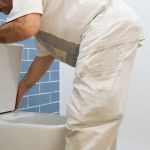 Is It Safe to Installing a New Toilet
 How Often Should You Check Low Water Pressure in Your Home