

Step-by-Step Guide to Replacing Old Pipes
- 1. Preparation: Assessing the Need for Pipe Replacement
- 2. Tools and Materials Required for Replacing Pipes
- 3. Step-by-Step Process to Replace Old Pipes
- 4. Common Challenges and How to Overcome Them
- 5. When to Call a Professional
- 6. Conclusion: Maintaining Your New Pipes
1. Preparation: Assessing the Need for Pipe Replacement
Before replacing old pipes, it’s important to first assess the condition of your current plumbing system. Over time, pipes may corrode, leak, or get clogged, leading to serious plumbing issues. If you notice any of the following signs, it may be time to consider replacing your pipes:
- Frequent leaks or pipe bursts
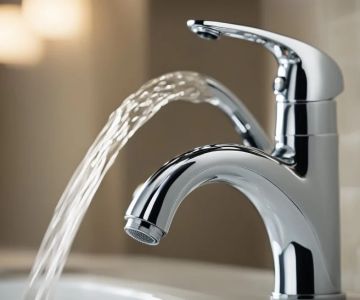
- Discolored or foul-smelling water
- Low water pressure or inconsistent flow
- Visible corrosion or rust on pipes
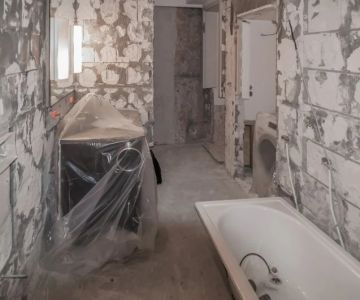
Understanding the scope of the problem is essential before starting any pipe replacement project. Conducting a thorough inspection, either yourself or with the help of a professional, will ensure that you know exactly what needs to be replaced and the best approach to do it.
JetBlast Inc. Water Blasting Sewer & Drain Cleaning / jet blast drain cleaning
BaltimoreAnne Arundel CountyMaryland
6800 Fort Smallwood Rd, Baltimore, MD 21226, USA
2. Tools and Materials Required for Replacing Pipes
Replacing old pipes requires the right set of tools and materials. Here is a list of essential tools and materials you will need:
- Piping material (PVC, copper, or PEX depending on your system)
- Pipe cutters or hacksaw
- Pipe fittings (elbows, tees, couplings)
- PVC glue or soldering equipment (depending on material)
- Pipe wrench
- Tape measure
- Plumber’s tape for sealing threads
- Pipe insulation (optional, for energy efficiency)
It’s important to select the right material for your new pipes, as the choice depends on the type of water system in your home, the region you live in, and budget considerations. PVC is often used for drain lines, while PEX and copper are ideal for supply lines due to their flexibility and durability.
Hardy Plumbing / hardy plumbing
Port ClintonSchuylkill CountyPennsylvania
149 Penn St, Port Clinton, PA 19549, USA
3. Step-by-Step Process to Replace Old Pipes
Replacing old pipes involves several key steps that must be done carefully to avoid any mistakes. Here is a general step-by-step guide:
Step 1: Turn off the Water Supply
Before you begin, turn off the water supply to your house to prevent any flooding. You can usually find the main water shut-off valve near the water meter. Ensure that all water is drained from the pipes before starting work.
Step 2: Remove the Old Pipes
Next, locate the old pipes that need replacing. Use a pipe wrench to loosen any fittings, and carefully cut the pipes using a hacksaw or pipe cutter. Be sure to remove any excess pieces and debris from the work area.
Step 3: Measure and Cut the New Pipes
Take precise measurements of the length needed for the new pipes. Cut the new pipes to size and ensure the cuts are straight for a secure fit. Always dry-fit the pieces first before permanently joining them to ensure proper alignment.
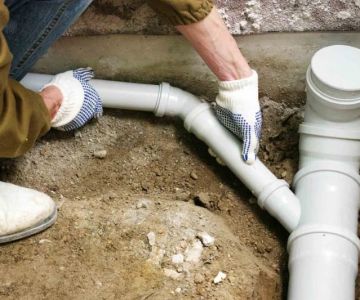
Step 4: Install the New Pipes
For PVC pipes, apply PVC glue to both the pipe and the fitting before joining them. For copper pipes, you may need to solder the joints, while PEX can often be connected with specialized fittings and clamps. Follow the manufacturer’s instructions for the specific pipe material you're using.
Step 5: Test the New System
Once the new pipes are in place, turn the water supply back on slowly. Check for any leaks and ensure that the water pressure is consistent throughout the system. If any leaks are detected, tighten the fittings or reseal them as necessary.
4. Common Challenges and How to Overcome Them
During the pipe replacement process, there are several challenges you might encounter:
- Corrosion: Older pipes may be corroded, making them difficult to remove. In these cases, you may need to use a cutting tool or a pipe wrench to break the pipes free.
- Hard-to-Reach Areas: In tight spaces, such as behind walls or under floors, it can be challenging to remove and replace pipes. A flexible pipe system like PEX may be ideal in these areas for ease of installation.
- Fitting Issues: Improperly sized fittings can lead to leaks and water damage. Always ensure that you are using the right size and type of fittings for your new pipes.
If you encounter any of these issues, take your time to find the best solution, and don’t hesitate to call a professional plumber if needed.
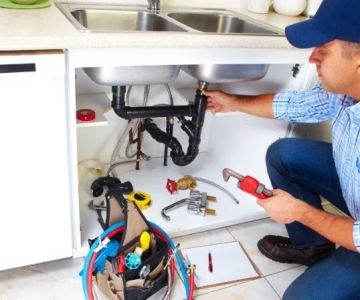
5. When to Call a Professional
Replacing pipes can be a daunting task, and sometimes it’s best to call in a professional plumber. If you feel uncomfortable with any part of the process, such as soldering copper pipes or working in tight spaces, it’s better to seek help. A licensed plumber can ensure that the job is done safely and up to code, which is important for long-term durability and peace of mind.
6. Conclusion: Maintaining Your New Pipes
Replacing old pipes is an important investment in your home’s plumbing system. Once your new pipes are installed, maintaining them is essential to prevent future issues. Regularly inspect your pipes for leaks, corrosion, and signs of wear, and make necessary repairs promptly to avoid costly damage.
For the best tools, supplies, and services related to pipe replacement, visit PlumberNear to find everything you need. By staying proactive with your plumbing maintenance, you can ensure that your pipes remain in top condition for years to come.
 Guarded Plumbing LLC4.0 (21 reviews)
 J&C Plumbing and Sewer Service, Inc.4.0 (272 reviews)
 Gould Plumbing & Heating4.0 (37 reviews)
 Order A Plumber Inc.5.0 (3 reviews)
 Blanchard Oil Company4.0 (51 reviews)
 Fairfax Electric Plumbing-Gas4.0 (160 reviews)
 Beginner's Guide to Installing a New Toilet: Step-by-Step Tips
 Signs You Need Sewer Line Backups Resolved Immediately
 How to Fix and Unclog a Bathtub Drain Like a Pro
 Step-by-Step Guide to Clogged Drains and How to Fix Them
 Is It Safe to Installing a New Toilet
 How Often Should You Check Low Water Pressure in Your Home