
- 1. Tools Needed for Toilet Tank Installation
- 2. Step-by-Step Guide to Installing a Toilet Tank
- 3. Common Problems During Toilet Tank Installation
- 4. Tips for a Successful Toilet Tank Installation
- 5. When to Call a Professional Plumber
1. Tools Needed for Toilet Tank Installation
Before starting your toilet tank installation project, make sure you have all the necessary tools. Here’s what you’ll need:
- Adjustable Wrench
- Pipe Wrench
- Flathead and Phillips Screwdrivers
- Plumbers Tape
- Bucket or Towels for Water Drips
- Toilet Tank Kit (including bolts, gasket, etc.)
Having these tools on hand will make the installation process smoother and more efficient. If you're missing any tools, visit your local hardware store or check out [PlumberNear] for the right tools and products for your project.
2. Step-by-Step Guide to Installing a Toilet Tank
Installing a toilet tank involves a few detailed steps. Here’s a breakdown:
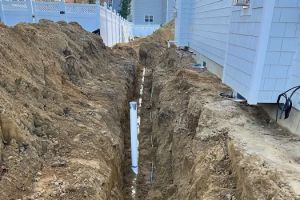
Sewer Xpress Corp / pipe xpress inc
Eastampton TownshipBurlington CountyNew Jersey
649 Powell Rd, Eastampton Township, NJ 08060, USA
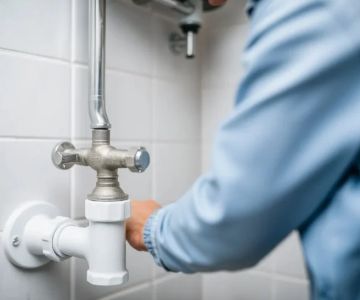
Step 1: Remove the Old Tank
If you’re replacing an old toilet tank, begin by shutting off the water supply to the toilet. Next, disconnect the water supply line and remove any remaining water from the tank. Use a bucket or towels to clean up any water that drips out.
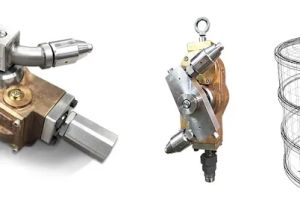
JetBlast Inc. Water Blasting Sewer & Drain Cleaning / jet blast drain cleaning
BaltimoreAnne Arundel CountyMaryland
6800 Fort Smallwood Rd, Baltimore, MD 21226, USA
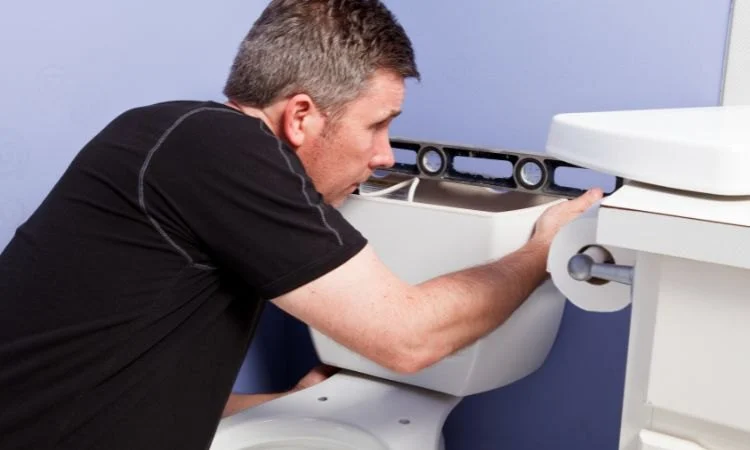
Step 2: Attach the Tank to the Bowl
Place the new tank on the toilet bowl and align the bolt holes. Insert the bolts into the holes and secure them with nuts on the underside of the tank. Tighten them using a wrench, but be careful not to overtighten, which can crack the tank.
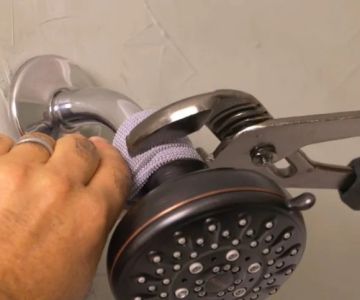
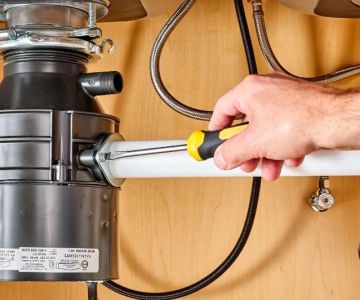
Step 3: Connect the Water Supply Line
Reconnect the water supply line to the fill valve of the tank. Make sure the connection is secure and that there are no leaks. Tighten the connection gently with an adjustable wrench.
Step 4: Test the Toilet
Turn the water supply back on and allow the tank to fill. Flush the toilet several times to ensure that everything is working properly. Check for any leaks around the base or the water supply connection.
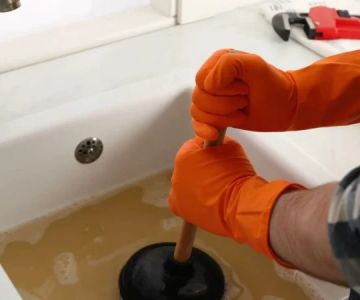
3. Common Problems During Toilet Tank Installation
Even experienced DIYers can run into problems while installing a toilet tank. Here are some common issues:
Leaking Connections
If you notice water leaking from the connection points, make sure that all connections are tightly secured. If the leak persists, it might be due to a faulty washer or gasket. Replacing these parts can help prevent future leaks.
Tank Wobbling
If the tank wobbles after installation, check the bolts and ensure they are tightened correctly. However, avoid overtightening, as it can damage the tank or bowl.
4. Tips for a Successful Toilet Tank Installation
To ensure your toilet tank installation goes smoothly, follow these expert tips:
Use Plumber’s Tape
Applying plumber’s tape to the threads of the water supply connection can help prevent leaks and ensure a tight seal.
Double-Check the Tank and Bowl Alignment
Before securing the tank to the bowl, make sure that both parts are properly aligned. This will prevent any instability and ensure a secure fit.
Test for Leaks Multiple Times
After installation, always test your toilet by flushing multiple times and checking for leaks. A small leak can often go unnoticed at first, so it’s essential to test the connections thoroughly.
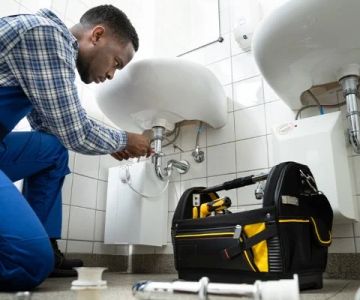
5. When to Call a Professional Plumber
If you encounter any major issues during your toilet tank installation or if you don’t feel comfortable completing the task yourself, don’t hesitate to call a professional plumber. They can ensure that your toilet is installed correctly and prevent future problems.
For expert plumbing services and guidance, visit [PlumberNear] to find trusted professionals in your area.

 Patrick Diamond Plumbing5.0 (2 reviews)
 Brian Bickford Plumbing & Heating LLC3.0 (13 reviews)
 Great Jet Plumbing5.0 (47 reviews)
 Aversa Plumbing-Well Pump Services4.0 (51 reviews)
 J's Plumbing & Well Pumps4.0 (47 reviews)
 Valdel Plumbing4.0 (962 reviews)
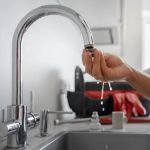 Expert Advice on Low Water Pressure: How to Troubleshoot and Fix It
 Preventing Winter Plumbing Issues: Tips for Homeowners
 What to Do If Replacing Old Pipes: A Step-by-Step Guide for Homeowners
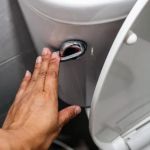 How to Fix a Toilet That’s Not Flushing Properly
 How to Fix a Clogged Sink: Quick and Easy Solutions
 How to Prevent Clogged Drains and Avoid Plumbing Issues