
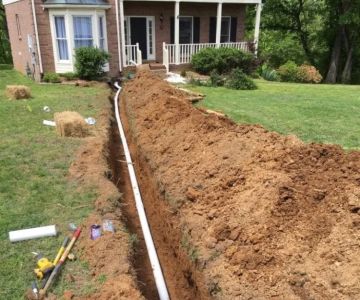
- - understanding the need for pipe replacement
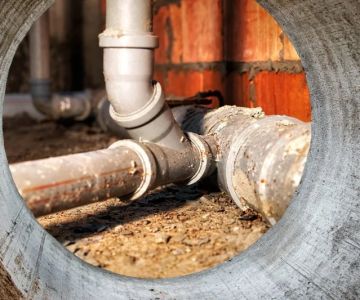
- - signs you need to replace old pipes
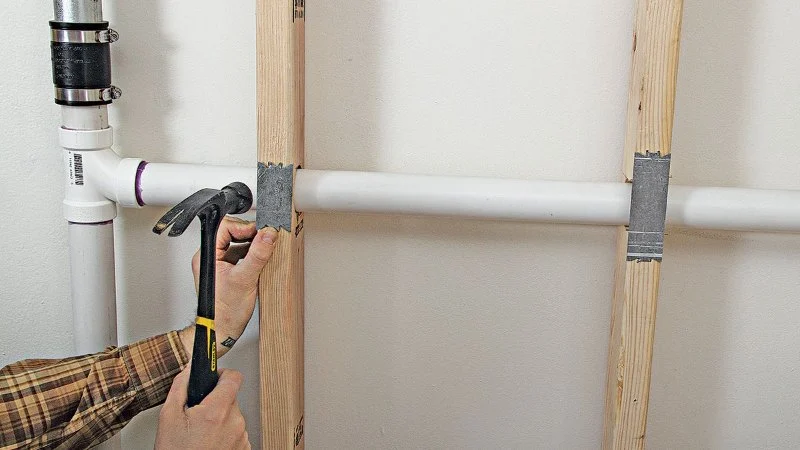
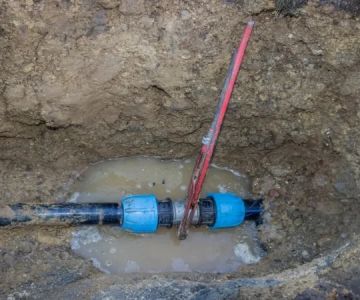
- - how to replace old pipes yourself
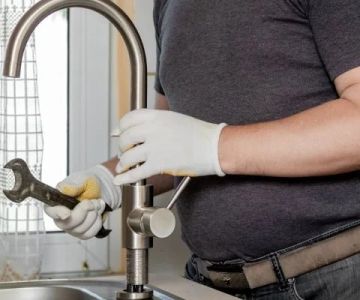
- - professional plumbing services for pipe replacement
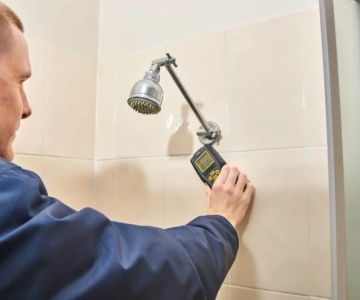
- - what to expect during the pipe replacement process
- - how to maintain new pipes after replacement
 Lock’s Plumbing, LLC4.0 (11 reviews)
 Barrett Plumbing and Heating, Inc.5.0 (2 reviews)
 Heath & Field Plumbing & Heating, Inc.4.0 (23 reviews)
 MiselBerger, Inc.5.0 (30 reviews)
 Progressive Service Company3.0 (3 reviews)
 J&R Plumbing LLC0.0 (0 reviews)
 Signs You Need Maintaining Your Plumbing System: Key Indicators
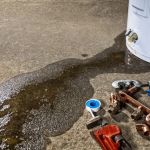 What Causes a Broken Water Heater and How to Prevent It
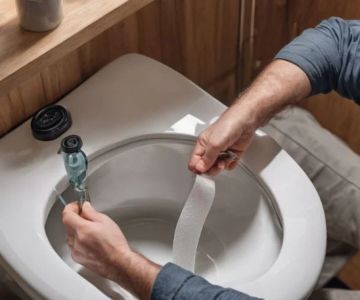
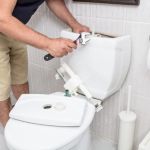 Plumber's Tips for Fixing a Running Toilet
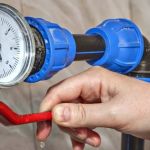 Beginner's Guide to a Broken Water Heater – What to Do and When to Call for Help
 DIY Fixes for Reducing Your Water Bill
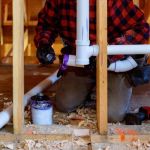 DIY Fixes for Understanding Plumbing Codes