
A Practical Home Guide to Controlling Water Pressure Safely and Effectively
- understanding-why-water-pressure-control-matters-for-every-home
- tools-and-preparation-before-pressure-reducing-valve-installation
- step-by-step-pressure-reducing-valve-installation-process
- real-home-case-story-of-water-pressure-problems-and-fix
- maintenance-tips-and-when-to-call-a-professional-plumber
Understanding Why Water Pressure Control Matters for Every Home
Many homeowners don’t think about water pressure until something goes wrong. A shower that suddenly feels like a fire hose, leaking faucets, or even banging pipes inside the walls are all signs that your system may be under too much pressure. This is exactly where a pressure reducing valve becomes important in protecting your plumbing system and extending the life of your appliances.
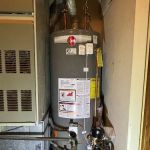
A pressure reducing valve, often shortened to PRV, is designed to regulate incoming water pressure from the municipal supply. In many U.S. homes, water pressure can exceed 80–100 psi, which is far above the recommended safe range of 40–60 psi. Over time, this excess force can damage pipes, water heaters, dishwashers, and washing machines.
Understanding how to install a pressure reducing valve in your home is not just a technical skill—it’s a way to protect your investment and avoid costly repairs down the line.
O'Neill Bros. Plumbing / oneill plumbing
RockvilleMontgomery CountyMaryland
12348 Wilkins Ave, Rockville, MD 20852, USA
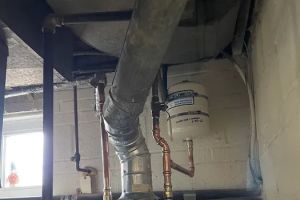
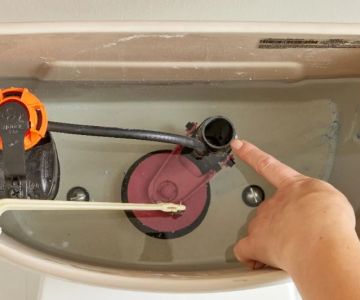
Tools and Preparation Before Pressure Reducing Valve Installation
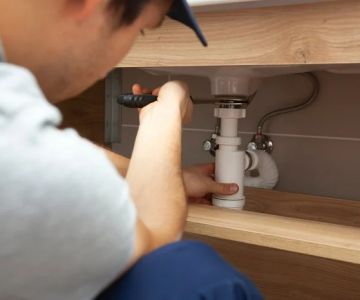
Before starting any plumbing work, preparation is everything. Installing a plumbing pressure valve requires basic plumbing knowledge, but more importantly, it requires patience and attention to detail.
Most homeowners will need a few essential tools: a pipe cutter or hacksaw, adjustable wrenches, Teflon tape, a bucket for draining water, and of course, the correct size pressure reducing valve for their main water line. It’s important to match the valve size with your existing pipe diameter to avoid flow restriction or installation issues.
One commonly overlooked step is shutting off the main water supply completely and relieving pressure by opening nearby faucets. Skipping this step can lead to unexpected water bursts during installation, which is both messy and unsafe.
A helpful tip from experienced plumbers is to inspect the surrounding pipes before installation. Older galvanized pipes may need replacement or reinforcement before adding a new valve system.

coastal & son, llc / aj appliance toms river nj
Toms RiverOcean CountyNew Jersey
1106 Verdant Rd, Toms River, NJ 08753, USA
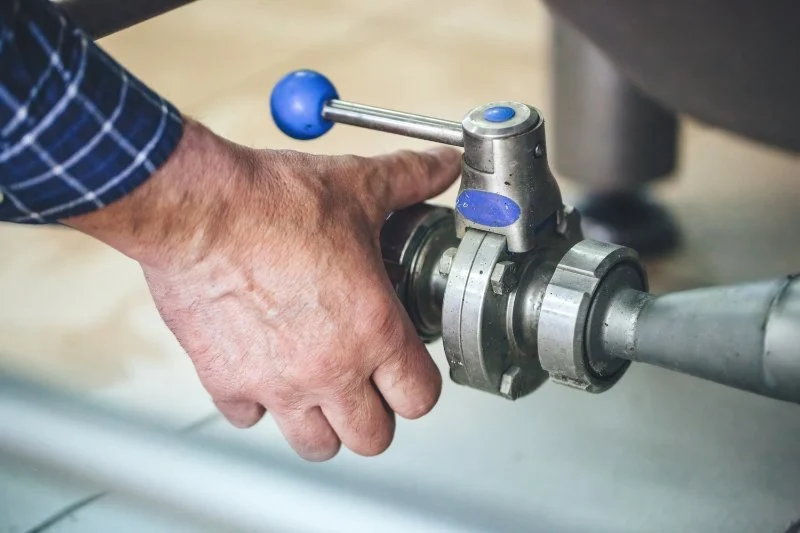
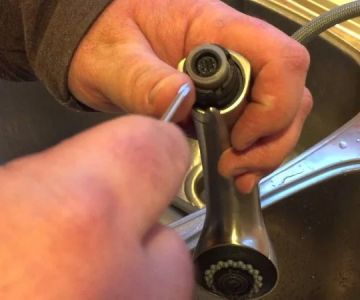
Step-by-Step Pressure Reducing Valve Installation Process
The actual process of installing a pressure reducing valve is straightforward if done carefully. However, rushing through it can lead to leaks or improper pressure control later.
First, locate the main water line entry point, typically found near the water meter. This is the ideal position for installing the valve because it regulates pressure before water distributes throughout the home.
Next, cut a section of the pipe where the valve will be installed. This step requires precision because an uneven cut can lead to sealing problems. Once the pipe is prepared, the PRV should be positioned according to the directional arrow marked on its body, ensuring correct water flow direction.
After fitting the valve, secure it tightly using the appropriate connectors. Apply Teflon tape to threaded joints to prevent leaks. Once everything is in place, slowly turn the water supply back on and check for leaks.
Finally, adjust the pressure setting on the valve. Most homes function best between 50–60 psi, but this can be adjusted based on personal preference and plumbing system capacity.
This process, while manageable for experienced DIY homeowners, can also be completed by professionals if uncertainty arises. Choosing the right approach depends on comfort level and plumbing experience.
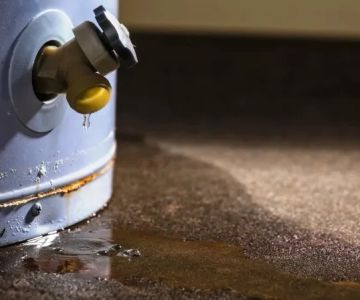
Real Home Case Story of Water Pressure Problems and Fix
A homeowner in suburban Texas once shared a frustrating experience: every time they turned on the kitchen faucet, the water splashed violently, soaking countertops and wasting water. At first, they assumed it was a faucet defect, but after replacing it twice, the issue remained.
A plumber eventually discovered that the municipal water pressure entering the house was nearly 95 psi—far too high for a standard residential system. After installing a pressure reducing valve, the transformation was immediate. Water flow became smooth, appliances stopped making strange noises, and even the water bill decreased slightly due to reduced waste.
This story highlights how many homeowners misdiagnose symptoms when the real issue is excessive water pressure. A simple PRV installation resolved what seemed like a complex plumbing mystery.
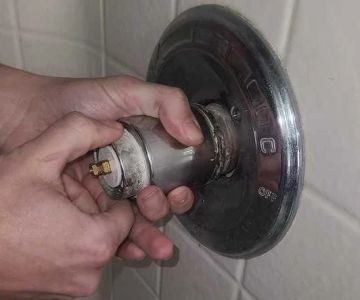
Maintenance Tips and When to Call a Professional Plumber
Even after installation, a pressure reducing valve requires occasional monitoring. Over time, internal components may wear out, especially in areas with hard water. Checking pressure levels every few months helps ensure the system is working correctly.
If water pressure suddenly changes again after installation, it could indicate sediment buildup or valve failure. In such cases, cleaning or replacing the valve may be necessary.
While many homeowners enjoy DIY plumbing projects, there are times when professional help is the safer choice. If the main water line is difficult to access or if old piping systems are involved, hiring an experienced plumber can prevent costly mistakes.
For homeowners looking to explore reliable tools, replacement valves, or complete plumbing kits, platforms like plumbing supply specialists can help you find the right equipment for your specific system and water pressure needs.
Installing a pressure reducing valve in your home is more than just a technical upgrade—it’s a long-term investment in comfort, safety, and system durability. Whether you choose to DIY or call a professional, understanding the process ensures you make informed decisions that protect your home for years to come.
 Gary Thomas Plumbing5.0 (2 reviews)
 Alan Plumbing5.0 (2 reviews)
 A1 Discount Plumber Raynham4.0 (6 reviews)
 J.R. Drain Cleaning4.0 (9 reviews)
 WaterHouse Toilet Repair0.0 (0 reviews)
 Alexander and Sons Plumbing & Hvac4.0 (99 reviews)
 Step-by-Step Guide to Detecting a Hidden Water Leak in Your Home
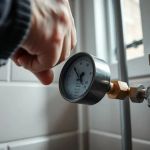 How to Fix Low Water Pressure
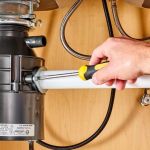 How to Install a New Garbage Disposal: A Complete Guide
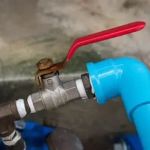 How to Shut Off Water to Your House in an Emergency: Step-by-Step Guide
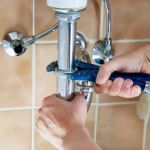 Top Tips for Replacing Old Pipes
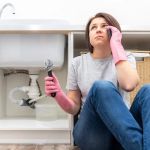 Why Is My Diagnosing Plumbing Noises and How to Fix Them