
Installing a New Basement Floor Drain: A Complete Guide
- 1- Why You Need a Basement Floor Drain
- 2- Preparing for Your Basement Floor Drain Installation
- 3- Tools and Materials Needed for the Job
- 4- Step-by-Step Basement Floor Drain Installation
- 5- Common Issues to Avoid During Installation
- 6- After Installation: Maintenance and Tips
Why You Need a Basement Floor Drain
Basements are prone to water accumulation, especially in areas with heavy rainfall or snowmelt. Installing a basement floor drain can help prevent flooding by directing water away from the foundation, ensuring your basement stays dry. A floor drain can also assist with maintaining overall basement hygiene by quickly removing any spills, cleaning water, or moisture buildup.
Preventing Water Damage
Water can cause serious damage to your basement if left unchecked. A floor drain acts as a safeguard, reducing the chances of mold growth, rust, and other water-related issues. It’s a worthwhile investment for homeowners looking to protect their property.
Cost-Effective Solution
While it might seem like an additional expense, installing a basement floor drain can save you money in the long run by preventing expensive repairs from water damage. It’s a one-time installation that can add value and security to your home.
Preparing for Your Basement Floor Drain Installation
Before diving into the installation process, it's crucial to properly prepare your basement. This includes assessing your current drainage situation and determining the best location for your floor drain.
Assessing the Floor Slope
For a floor drain to function correctly, the basement floor should have a slight slope towards the drain. If your basement floor is flat or slanted in the wrong direction, you may need to regrade the floor to ensure the water flows properly towards the drain.
Choosing the Right Location
Choose a spot in your basement where water is most likely to accumulate, such as near exterior walls or areas with poor drainage. Avoid placing the drain too far from the walls, as it can become ineffective in redirecting water.
Obtaining Permits
In some regions, basement floor drain installation may require a permit. Be sure to check with your local authorities to ensure you meet all legal requirements before starting the project.
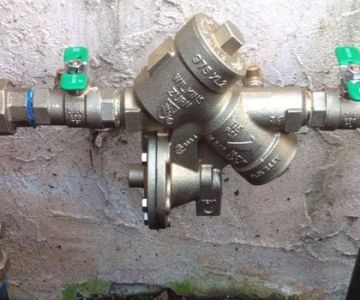
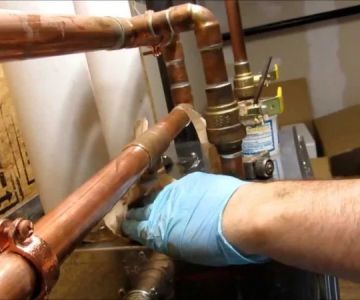
Tools and Materials Needed for the Job
Here’s a list of tools and materials you’ll need to complete your basement floor drain installation:
Tools
- Shovel or concrete saw
- Drill with a masonry bit
- Pipe cutter
- Level
- Bucket for collecting debris
- Rubber gloves and safety glasses
Materials
- Floor drain kit (with drain cover, pipe, and trap)
- PVC or ABS pipe
- Concrete mix
- Gravel or sand for drainage base
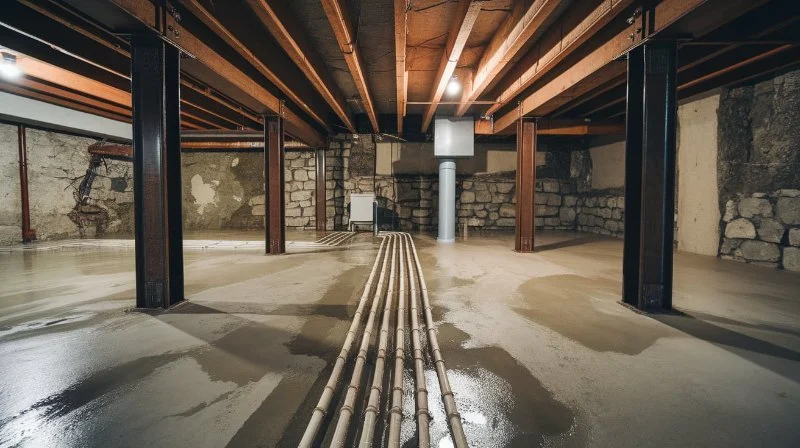
Step-by-Step Basement Floor Drain Installation
Follow these simple steps to install a basement floor drain:
Step 1: Mark the Drain Location
Start by marking the spot on the floor where you want to install the drain. Use a pencil or chalk to outline the area for the drain and the pipe. Be sure to measure the distance to nearby walls to ensure it’s centrally located for optimal drainage.
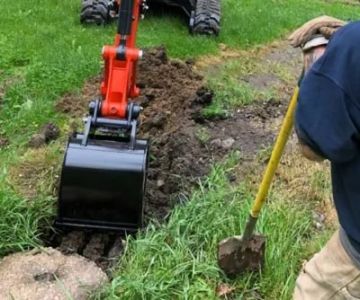
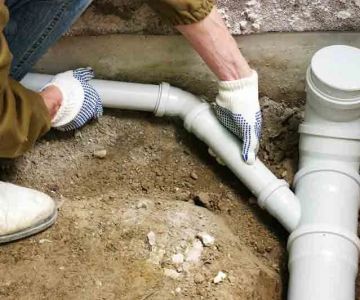
Step 2: Cut the Floor
Using a concrete saw, cut along the marked lines. Be careful not to damage any existing plumbing or electrical wiring underneath the floor. If your basement floor is made of concrete, you may need to break the surface with a hammer and chisel to create the hole.
Step 3: Install the Drain Basin
Once the hole is prepared, place the drain basin into the hole. The basin should fit snugly, with the top edge level with the rest of the floor. Use concrete mix to secure the basin in place.
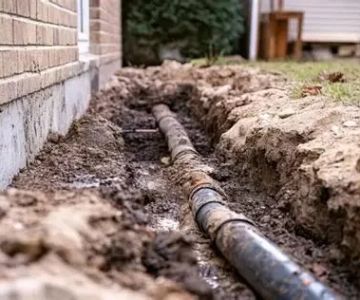
Step 4: Attach the Pipe
Connect a PVC or ABS pipe to the drain basin. Ensure the pipe is sloped towards your sump pump or the main drainage system. This slope is crucial for the drain to work effectively, as water needs to flow towards the exit point.
Step 5: Backfill and Seal
After securing the pipe and basin, backfill the hole with gravel or sand. This will help ensure proper drainage. Once the backfill is in place, seal the area with concrete, leaving the drain cover exposed. Let the concrete set before using the drain.
Common Issues to Avoid During Installation
When installing a basement floor drain, be aware of potential issues that could affect performance. Here are some common mistakes to avoid:
Incorrect Slope
Without the proper slope, water won’t flow toward the drain. Ensure the floor is graded correctly to prevent standing water or drainage issues.
Improper Sizing
Make sure to select a drain and pipe size that matches your basement’s needs. A drain that’s too small will struggle to handle water flow, while a drain that’s too large could be unnecessary and harder to maintain.
Neglecting Local Codes
Always check local building codes before installing a floor drain to ensure compliance. Not following the necessary regulations can result in fines or the need to redo the installation later.
After Installation: Maintenance and Tips
Once the installation is complete, regular maintenance is key to ensuring your basement floor drain continues to work effectively.
Check for Clogs Regularly
It’s important to inspect your drain periodically for blockages. Check the drain cover and remove any debris or dirt buildup that could cause a clog.
Test the Drainage
Test the system by pouring water into the basin and ensuring it flows smoothly through the pipe. This will confirm that your installation was successful and there are no leaks or issues.
Clean the Drain Annually
Perform an annual cleaning of the drain system. Remove any sediment or debris that may have accumulated in the basin or pipe to keep the drain functioning properly.
 City Plumbers Heating Air Conditioning & Drain Cleaning4.0 (15 reviews)
 Know the Flo Sewer & Drain4.0 (22 reviews)
 Jersey Trenchless5.0 (55 reviews)
 Marquette Gary5.0 (2 reviews)
 Adam & Sons Plumbers4.0 (119 reviews)
 Atlantic Re-Plumbing2.0 (7 reviews)
 How to Handle Plumbing Emergencies in Your Home
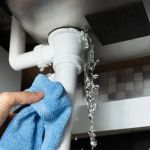 Why Is My Home Detecting a Hidden Water Leak?
 Avoid These Mistakes When Understanding Plumbing Codes
 What to Know About Roof Insurance Claims After Hail or Wind Damage
 How to Prevent and Fix Winter Plumbing Issues
 Expert Advice on Fixing a Running Toilet: Causes, Fixes, and When to Call a Plumber