
Why Your Water Pressure Drops After a Leak Repair—and How to Bring It Back
- Why Low Water Pressure Happens After Leak Repair - hidden plumbing side effects explained
- Air, debris, and valve issues inside the system after repairs
- How to fix low water pressure after a leak repair at home
- Real homeowner story - when a “fixed” pipe created new problems
- Knowing when DIY stops and professional help is needed
- How to prevent pressure drops after future plumbing repairs
When a “Fixed Leak” Doesn’t Feel Fixed at All
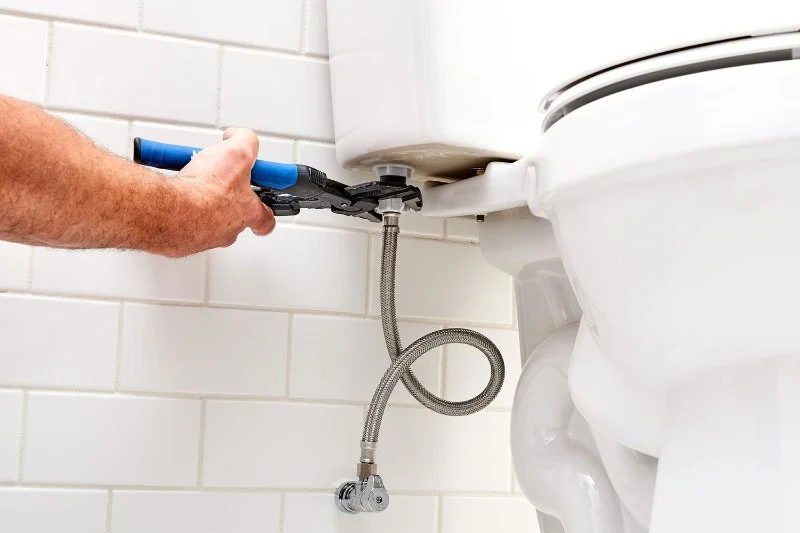
It’s a strange feeling—paying for a leak repair, thinking the plumbing nightmare is over, only to turn on the faucet and realize the water is barely flowing. That frustrating moment is exactly what many homeowners experience when dealing with low water pressure after a leak repair.
The assumption is usually simple: fix the leak, restore normal flow. But plumbing systems are more sensitive than they appear. A repair can disturb sediment, introduce air pockets, or even partially block flow somewhere else in the system.
Understanding why this happens is the first step to learning how to fix low water pressure after a leak repair without unnecessary stress or repeated service calls.

coastal & son, llc / aj appliance toms river nj
Toms RiverOcean CountyNew Jersey
1106 Verdant Rd, Toms River, NJ 08753, USA
Why Low Water Pressure Happens After Leak Repair
When a pipe bursts or leaks, water movement inside the system becomes chaotic. Once repairs are done, the system doesn’t always reset itself cleanly. Instead, several hidden issues may appear at the same time.
Sewer Xpress Corp / pipe xpress inc
Eastampton TownshipBurlington CountyNew Jersey
649 Powell Rd, Eastampton Township, NJ 08060, USA
1. Sediment displacement inside pipes
Older plumbing systems often have mineral buildup inside pipe walls. When a leak occurs and water pressure changes suddenly, that buildup loosens and shifts. After repair, it can settle in narrower sections of the pipe and restrict flow.
2. Partial valve restriction after repair
During repairs, shut-off valves are frequently turned off and back on. If a valve isn’t fully reopened or gets slightly damaged, it can reduce overall pressure without obvious signs.
3. Pressure imbalance in multi-line systems
Homes with multiple bathrooms or floors may experience uneven pressure distribution after repairs, especially if air enters one branch of the system.
Air, Debris, and Valve Issues After Plumbing Repairs
One of the most common reasons homeowners search for how to fix low water pressure after a leak repair is trapped air in the system. This happens more often than people realize.
When pipes are opened during repair, air replaces water inside sections of the plumbing. Once the system is turned back on, that air can create sputtering faucets, inconsistent flow, or weak pressure.
Air pockets behaving like blockages
Air doesn’t compress like water, so it can temporarily interrupt flow until it is flushed out. This is especially common in upstairs bathrooms or long pipe runs.
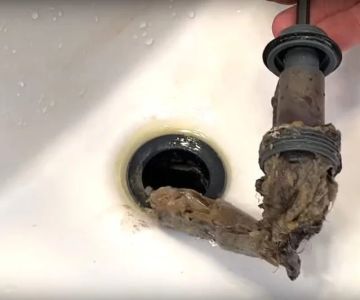
Debris moving through the system
Even a small amount of rust or mineral flakes can act like a partial clog. It may not fully block water but can reduce pressure significantly.
In one real case from a suburban homeowner in Illinois, a repaired kitchen leak led to weak water pressure in only one bathroom. The issue wasn’t the repair itself—it was a small rust fragment that migrated and lodged inside a faucet aerator.
How to Fix Low Water Pressure After a Leak Repair
The good news is that many pressure issues can be resolved without tearing into walls or calling for another major repair. A structured approach often reveals the real cause quickly.
Step 1: Check all faucets individually
Start by testing each water outlet. If only one faucet has low pressure, the issue is likely local (like a clogged aerator) rather than system-wide.
Step 2: Clean faucet aerators and showerheads
Mineral buildup often collects in aerators after plumbing disturbances. Removing and rinsing them can instantly restore flow in many cases.
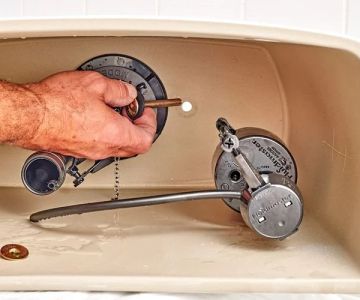
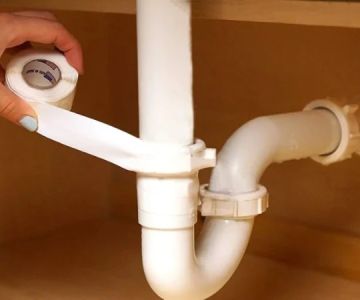
Step 3: Inspect main shut-off and branch valves
Ensure every valve is fully open. Even a slight turn can reduce overall pressure significantly.
Step 4: Flush the system
Run all faucets simultaneously for several minutes. This helps push trapped air and debris out of the system.
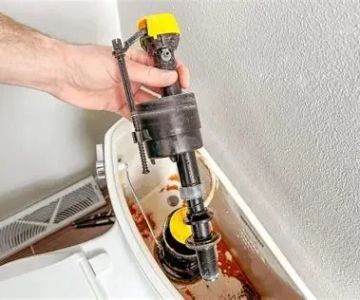
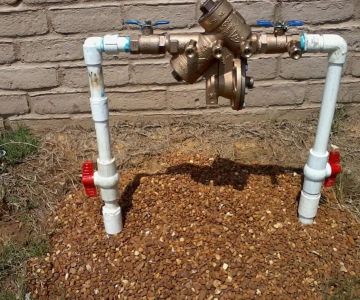
Step 5: Check pressure regulator (if installed)
Some homes have a pressure-reducing valve near the main water line. If this was disturbed during repair, it may need recalibration.
If you’re still struggling after these steps, the issue may be deeper in the plumbing line and require a professional diagnostic tool.
Real Homeowner Case - When Repair Created a New Problem
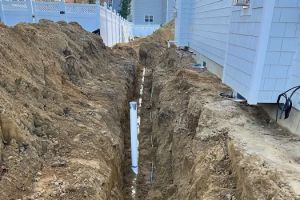
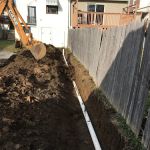
A homeowner in Texas once shared a situation where a slab leak under the kitchen was repaired quickly and professionally. Everything looked fine—until the next morning.
The kitchen faucet worked normally, but the shower pressure dropped dramatically. At first, they assumed a new leak had formed. After inspection, it turned out the repair had dislodged sediment that traveled into a mixing valve in the shower.
The plumber resolved it by cleaning the valve cartridge instead of reopening the repaired pipe. The fix took 20 minutes, not another excavation.
This kind of scenario is more common than people think, which is why understanding system behavior after repairs is so important.
Knowing When DIY Stops Being Enough
While many pressure issues are minor, there are times when professional help becomes necessary. Persistent low pressure across multiple fixtures often signals a deeper obstruction or pressure regulator failure.
Warning signs you shouldn’t ignore
If pressure drops suddenly across the entire home, or if water flow fluctuates unpredictably, the issue may be in the main line or municipal supply connection.
At this stage, specialized tools like pressure gauges and pipe inspection cameras are needed to diagnose the problem accurately.
How to Prevent Pressure Drops After Future Repairs
Once you’ve dealt with one plumbing issue, the goal becomes avoiding repeat problems. A few simple habits can help maintain stable water pressure after any future repairs.
Regular valve testing
Turning main valves on and off periodically helps prevent stiffness or partial closure over time.
Annual faucet cleaning
Cleaning aerators every few months reduces the chance of sediment buildup after system disturbances.
Professional pressure checkups
Having a plumber check system pressure annually ensures early detection of regulator issues or hidden restrictions.
For homeowners looking to go deeper into plumbing maintenance tools and solutions, resources like Plumbers Supply Hub can help explore equipment and replacement parts designed for restoring stable water flow after repairs.
If you’re currently dealing with weak water pressure, don’t ignore it—small issues often reveal bigger system imbalances. Taking action early can prevent costly future repairs and restore your home’s plumbing performance quickly.

 David P. Kristman Septic Services and Plumbing Inc.4.0 (9 reviews)
 HEPCO Heating & Plumbing4.0 (7 reviews)
 RF Plumbing & Heating Inc5.0 (5 reviews)
 Liberty Sewer Drain & Plumbing5.0 (2 reviews)
 Wolf Plumbing and Heating3.0 (14 reviews)
 Nichols Plumbing Heating & Cooling Co3.0 (10 reviews)
 How to Find a Reliable Plumber in Your Area
 How to Install a Bathroom Sink: A Beginner's Guide
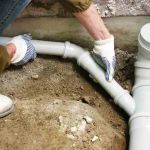 What Is the Cost to Replace a Broken Sewer Pipe? Find Out Today
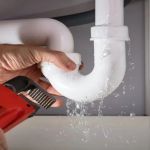 What Causes Plumbing Leaks and How to Prevent Them
 What to Do if You Have Low Water Pressure: Easy Fixes You Can Do Yourself
 Why Is My Toilet Tank Filling Slowly? Causes and Fixes Explained