
Step-by-Step Instructions for Installing a New Under-Sink Water Filter
- Preparation Steps-Before Installation
- Choosing the Right Under-Sink Water Filter
- Installation Procedure-Step by Step
- Common Challenges and How to Avoid Them
- Testing and Ensuring Proper Operation
- Maintenance Tips to Extend Filter Life
- Real-Life Example of Successful Installation
- Guidance for Purchasing Your Next Filter
1. Preparation Steps-Before Installation
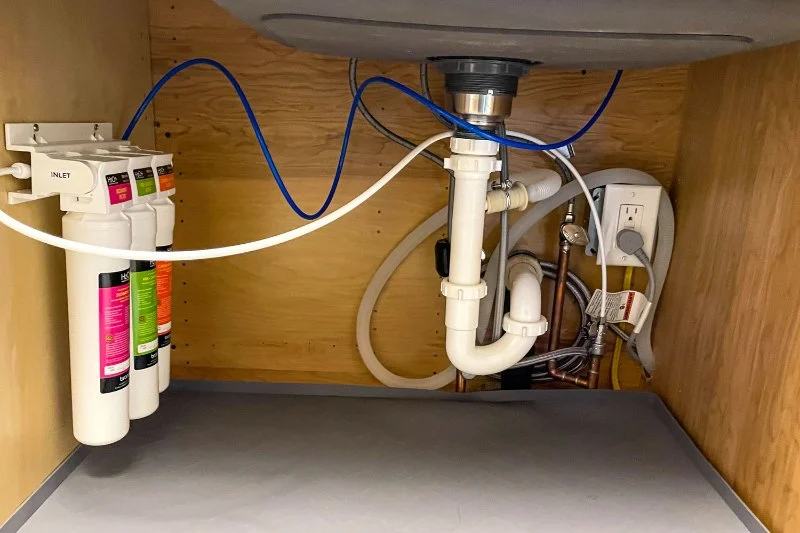
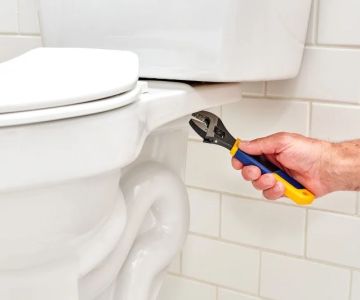
Before installing an under-sink water filter, gather all necessary tools and materials to make the process smooth and safe. Essential items include a wrench, tubing, Teflon tape, a bucket, and the new filter system itself. Ensure that the water supply is turned off to prevent leaks. Clearing out the cabinet beneath the sink provides enough working space and prevents accidental damage to stored items.

coastal & son, llc / aj appliance toms river nj
Toms RiverOcean CountyNew Jersey
1106 Verdant Rd, Toms River, NJ 08753, USA
Measure and Assess
Measure the available space under your sink to ensure the new filter fits comfortably. Check existing plumbing connections to determine if adapters or additional fittings are needed.

Mike the Plumber / mike the plumber
1545 Ocean Ave A3, Bohemia, NY 11716, USA
2. Choosing the Right Under-Sink Water Filter
Selecting the right filter ensures optimal water quality and system longevity. Consider the following:
- Filter Type: Carbon filters for taste and odor, reverse osmosis for broader contaminant removal.
- Flow Rate: Ensure compatibility with your household water usage.
- Certifications: Look for NSF or WQA certified products.
- Replacement Frequency: Check recommended filter lifespan to plan maintenance schedules.
For homeowners who want guidance, Total Plumbing Hub provides detailed product comparisons and reliable recommendations for under-sink filtration systems.
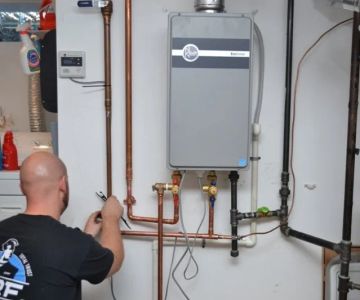
3. Installation Procedure-Step by Step
Step 1: Turn Off Water Supply
Shut off the cold water supply under the sink and open the faucet to release pressure.
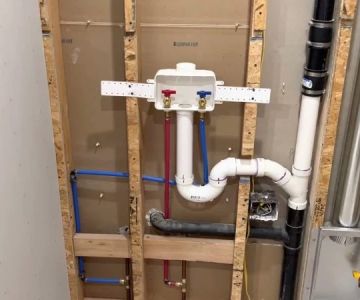
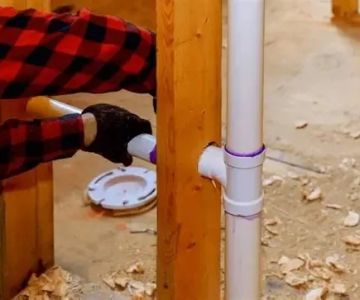
Step 2: Install the Mounting Bracket
Secure the filter bracket to the wall or cabinet side, following the manufacturer’s instructions. Ensure it is level and stable.
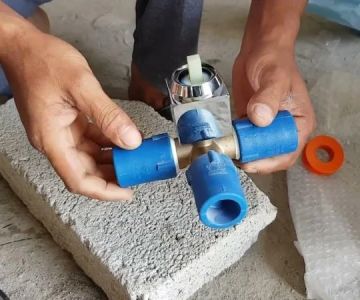
Step 3: Connect Water Lines
Attach the inlet and outlet hoses using the provided fittings. Use Teflon tape on threaded connections to prevent leaks. Make sure the tubing is snug but not over-tightened to avoid damage.
Step 4: Insert Filter Cartridge
Slide the filter cartridge into the housing until it clicks or locks securely. Verify correct orientation.
Step 5: Turn On Water and Check for Leaks
Slowly turn on the water supply and observe all connections. A small drip is normal at first, but tighten fittings if necessary.
4. Common Challenges and How to Avoid Them
- Leaky Connections: Ensure all fittings are tight and use Teflon tape properly.
- Incorrect Cartridge Orientation: Always follow the manufacturer’s instructions; installing backwards can prevent filtration.
- Limited Cabinet Space: Plan installation layout ahead and remove unnecessary items for access.
These small adjustments prevent major headaches and ensure a smooth installation process.
5. Testing and Ensuring Proper Operation
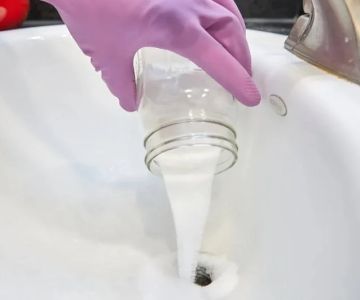
After installation, flush the system according to manufacturer instructions. Run water through the new filter for 5–10 minutes to remove any carbon dust or loose particles. Taste and odor tests can confirm that the filter is functioning properly. Monitor the system for a few days to ensure there are no leaks or irregular water flow.
6. Maintenance Tips to Extend Filter Life
Regular maintenance is essential for optimal performance:
- Replace cartridges according to manufacturer schedule, usually every 6–12 months.
- Clean housing components when replacing the filter.
- Check hoses and fittings for wear or minor leaks periodically.
- Keep the area under the sink dry to prevent mold or corrosion.
Proper maintenance ensures clean water and extends the life of your under-sink system.
7. Real-Life Example of Successful Installation
Jessica, a homeowner in Denver, installed a reverse osmosis under-sink filter using these steps. She noticed immediate improvements in water taste and clarity. By following the proper preparation and installation procedure, she avoided leaks and ensured easy future filter replacements. Her story highlights that with careful planning, installing a water filter can be a straightforward DIY project.
8. Guidance for Purchasing Your Next Filter
Choosing the right under-sink water filter is key to enjoying clean water without frequent interruptions. Consider products that balance performance, durability, and cost. Total Plumbing Hub offers a curated selection of high-quality filters and detailed guides to help you select the best option for your home.
For a safe and efficient water filtration system, follow these step-by-step instructions, maintain your filter regularly, and consult trusted sources like Total Plumbing Hub to explore the latest under-sink water filter options. Click here to view top-rated products and ensure your household enjoys fresh, safe water every day.
 James Simpson & Son Inc.5.0 (8 reviews)
 Roto-Rooter Plumbing & Water Cleanup4.0 (102 reviews)
 MD Plumbing & Heating, LLC4.0 (23 reviews)
 Len The Plumber2.0 (3 reviews)
 Gentry & Son Plumbing4.0 (59 reviews)
 Alliance Service Pros - Plumbing & Heating4.0 (208 reviews)
 How to Prevent and Fix Frozen Pipes: Essential Tips for Homeowners
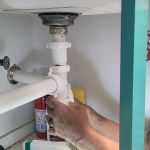 Should I Replace or Repair a Hidden Water Leak? Key Considerations
 Understanding the Cost to Replace a Water Heater Expansion Tank
 How to Troubleshoot Plumbing Noises in Your Pipes
 How to Identify and Fix Plumbing Issues Before They Get Worse
 Ultimate Guide to Fixing a Garbage Disposal: Troubleshoot & Repair