
How to Fix a Leaking Water Shut-Off Valve: Step-by-Step Guide
- 1. Understanding Water Shut-Off Valves and Why They Leak
- 2. How to Identify a Leaking Shut-Off Valve
- 3. Step-by-Step Instructions for Fixing a Leaking Shut-Off Valve
- 4. Tools and Materials You’ll Need
- 5. Safety Tips for DIY Plumbing Repairs
- 6. Real-Life Example: Fixing a Leaking Valve on a Budget
- 7. Where to Buy Replacement Parts and Tools
1. Understanding Water Shut-Off Valves and Why They Leak
Water shut-off valves are crucial components in your home’s plumbing system. They control the flow of water to various parts of the house, and if they start leaking, it can lead to water damage, higher water bills, or more serious plumbing issues. There are a variety of reasons why a shut-off valve might leak, ranging from wear and tear over time to faulty installation or improper maintenance. Fortunately, fixing a leaking valve is often a straightforward DIY project that you can do yourself without calling a plumber.
JetBlast Inc. Water Blasting Sewer & Drain Cleaning / jet blast drain cleaning
BaltimoreAnne Arundel CountyMaryland
6800 Fort Smallwood Rd, Baltimore, MD 21226, USA
2. How to Identify a Leaking Shut-Off Valve
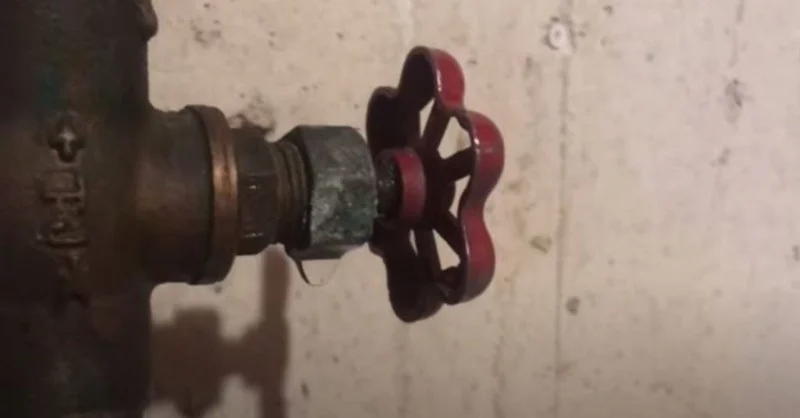
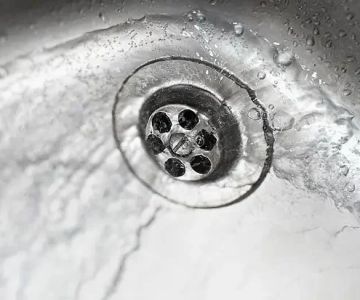
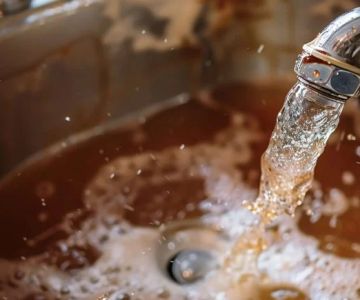
Before you begin any repairs, it's important to properly identify the source of the leak. A leaking shut-off valve can usually be detected by looking for signs of moisture around the valve or hearing the sound of dripping water. Check the area around the valve for any visible water stains, puddles, or drips. If the valve itself seems to be the source, you may notice that the leak is coming from either the valve stem, the valve body, or where the valve connects to the pipe.
Hardy Plumbing / hardy plumbing
Port ClintonSchuylkill CountyPennsylvania
149 Penn St, Port Clinton, PA 19549, USA
Types of Leaks
Leaks in a shut-off valve typically fall into one of two categories:
- Leaking from the valve stem: This can happen if the stem seal is worn or damaged.
- Leaks from the valve body: This is often due to a crack or defect in the valve material itself.
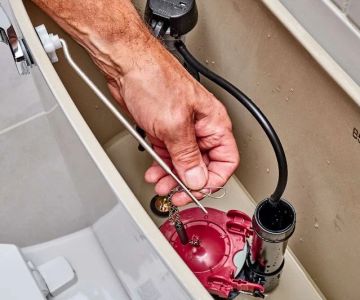
3. Step-by-Step Instructions for Fixing a Leaking Shut-Off Valve
Once you've identified the source of the leak, it's time to begin the repair. Here’s a simple step-by-step process to fix your leaking water shut-off valve:
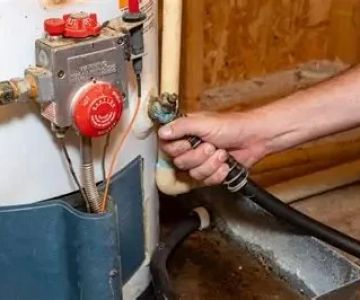
Step 1: Turn Off the Water Supply
Before beginning any plumbing repair, make sure to turn off the main water supply to your home. This will prevent any water from flowing while you work on the valve.
Step 2: Open the Faucet
Open a faucet in your home to relieve any remaining pressure in the pipes and ensure no water is trapped behind the valve.
Step 3: Inspect the Valve
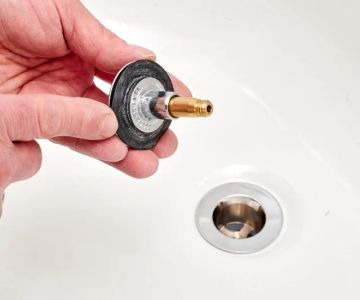
Remove any visible cover or casing around the valve and check for damage. If you see visible cracks or damage to the valve body, it may need to be replaced.
Step 4: Replace the Valve Stem or Seal
If the leak is coming from the valve stem, you can often fix it by replacing the valve stem seal. This involves loosening the valve nut, removing the stem, and replacing the worn or damaged seal.
Step 5: Tighten the Valve
Once you’ve replaced the damaged part, reassemble the valve and tighten everything securely. Be careful not to overtighten, as this can cause more damage to the valve.
Step 6: Turn the Water Back On
Once the repair is complete, turn the water supply back on slowly and check for any remaining leaks around the valve.
4. Tools and Materials You’ll Need
To repair a leaking water shut-off valve, you’ll need a few basic tools. Here’s a list of materials you should have on hand:
- Pipe wrench or adjustable wrench
- Replacement valve stem or seal
- Plumber's tape (optional)
- Plumber's grease (optional)
- Bucket or towel to catch any water
- Pipe sealant (for more severe leaks)
5. Safety Tips for DIY Plumbing Repairs
While fixing a leaking valve is usually safe, there are a few safety precautions to keep in mind:
- Always wear rubber gloves to protect your hands from debris or bacteria.
- Ensure the water supply is fully turned off to avoid any accidental flooding.
- If you're unsure about the repair, consider consulting a professional plumber.
6. Real-Life Example: Fixing a Leaking Valve on a Budget
Consider John, a homeowner in Florida who noticed a small leak in his kitchen's shut-off valve. Instead of calling an expensive plumber, he followed a step-by-step guide to replace the valve stem seal himself. By purchasing the replacement part for just $8 and spending 30 minutes on the repair, John saved hundreds of dollars in plumbing fees. His DIY repair prevented further damage to his kitchen floor and restored his plumbing system's functionality.
7. Where to Buy Replacement Parts and Tools
If you're ready to tackle your own plumbing repairs, here are some great places to find replacement parts and tools:
- Home improvement stores: Local hardware stores like Home Depot or Lowe’s carry a wide range of plumbing parts, including valve stems and seals.
- Online retailers: Websites like Amazon and eBay offer a variety of plumbing tools and parts with fast shipping options.
- Plumbing specialty shops: These stores often carry high-quality parts and can offer expert advice on your repair.
 Beal Plumbing & Heating, LLC4.0 (63 reviews)
 Ken Cyr Plumbing4.0 (57 reviews)
 Proline Home Renovations Inc. 24/7 Emergency Plumber and Drain Cleaning5.0 (16 reviews)
 Robert O'Brien Plumbing & Heating Inc5.0 (1 reviews)
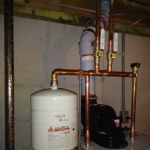 Martel Plumbing & Heating Inc4.0 (52 reviews)
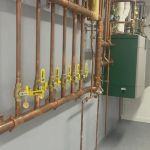 Luna and Sons Plumbing & Heating5.0 (12 reviews)
 Should You Repair or Replace Old Pipes? Homeowners’ Guide
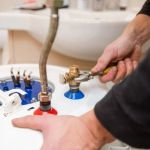 Avoid These Critical Mistakes When Dealing With a Broken Water Heater
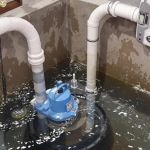 How Often Should You Address Sump Pump Failure? Key Insights for Homeowners
 How to Prevent Drain Blockages with Simple Maintenance Tips
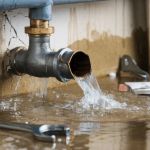 What Causes a Burst Pipe and How to Prevent It in Winter | Essential Tips
 Signs You Need Detecting a Hidden Water Leak | Tips for Homeowners