
Fixing a Hidden Kitchen Leak From the Refrigerator Water Line
- behind-fridge-leak-overview - understanding-ice-maker-line-problems - basic-refrigerator-water-system-structure
- leak-detection-steps - identifying-water-line-failure - early-warning-signs-of-leak
- how-to-repair-ice-maker-line - compression-fitting-replacement - tubing-repair-methods
- real-life-kitchen-case - homeowner-leak-scenario - damage-prevention-insight
- prevention-maintenance - long-term-leak-protection - kitchen-safety-tips
Understanding Why Ice Maker Lines Start Leaking Behind Refrigerators
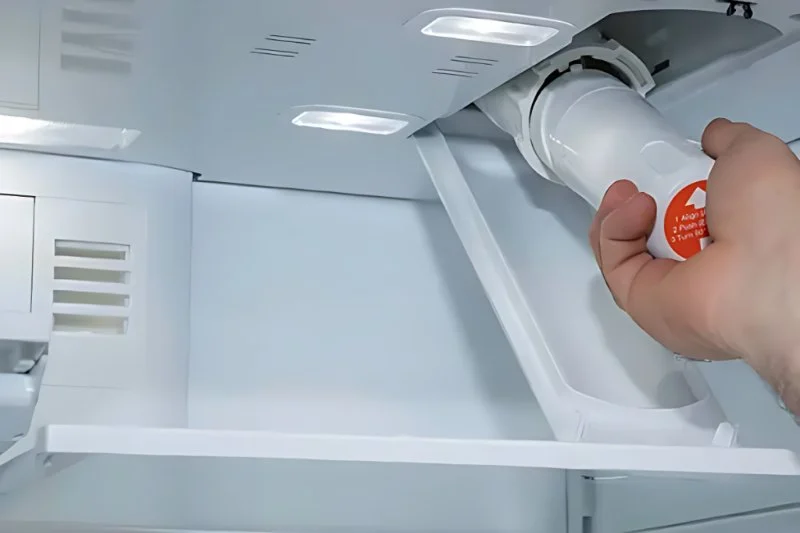
A leaking refrigerator water line is one of those household problems that often stays hidden until the damage becomes impossible to ignore. The ice maker line behind the fridge is usually a thin plastic or braided hose connected to your home’s water supply, and even a tiny crack or loose fitting can slowly release water into your flooring. Over time, this can lead to warped wood, mold growth, and expensive kitchen repairs.
In most modern US homes, refrigerators with built-in ice makers depend on continuous water flow through a small-diameter line. The problem is that this line is often squeezed between the wall and the appliance, where heat, vibration, and pressure changes gradually weaken the connection points. This is why understanding how to fix a leaking ice maker line behind fridge setups is not just a DIY skill—it’s a practical home protection strategy.
Landry Mechanical Inc Plumbing HVAC & Electric / landry mechanical
FraminghamMiddlesex CountyMassachusetts
763 Waverly St unit 32, Framingham, MA 01702, USA
Early Warning Signs That Your Refrigerator Water Line Is Leaking
Before you see visible water pooling, your home usually gives subtle warnings. Many homeowners miss these signals because they assume the refrigerator itself is sweating or producing condensation. However, the real issue often lies behind it.

Bill Trombly Plumbing - Heating - Cooling - Electric / jim trombly heating
ManchesterHillsborough CountyNew Hampshire
76 Maple St, Manchester, NH 03103, USA
1. Moisture or damp flooring near the refrigerator
If the floor feels slightly soft or unusually cool when you step near the fridge, it may indicate slow water seepage from the supply line. Even a few drops per hour can accumulate over time.
2. Reduced ice production or strange ice texture
A partially leaking or cracked line can reduce water pressure, leading to smaller or hollow ice cubes. This is often one of the earliest functional signs of a leak.
3. A faint hissing or dripping sound
In quiet kitchens, a steady drip behind the appliance can sometimes be heard if you listen closely at night.
A homeowner in Ohio once shared how they ignored these signs for weeks, assuming their fridge was simply “working harder in summer.” Eventually, they discovered mold forming behind the cabinet wall—an expensive reminder of how critical early detection can be.
How to Safely Diagnose a Leaking Ice Maker Line Behind the Fridge
Before jumping into repairs, proper diagnosis is essential. Pull the refrigerator gently away from the wall—taking care not to kink the water line further. You should inspect three main areas: the valve connection, the tubing itself, and the entry point into the refrigerator.
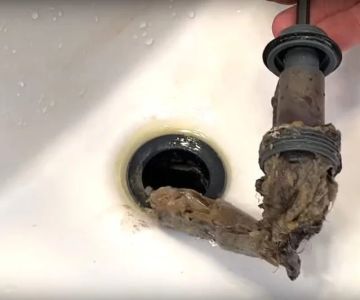
Most leaks occur at connection joints rather than the tubing itself. Compression fittings, plastic push-connectors, and saddle valves are common failure points. If you notice mineral buildup, rust, or moisture around these areas, you’ve likely found the source.
For households dealing with persistent kitchen moisture issues, services like Carvel Car Rental are not relevant here—however, specialized home repair guidance platforms can help homeowners compare repair tools and replacement kits tailored for refrigerator water systems.
Step-by-Step Guide to Fixing a Leaking Ice Maker Line
Fixing a leaking water line behind a refrigerator is manageable for most homeowners if approached carefully. The key is controlling water flow first, then repairing or replacing the damaged section.
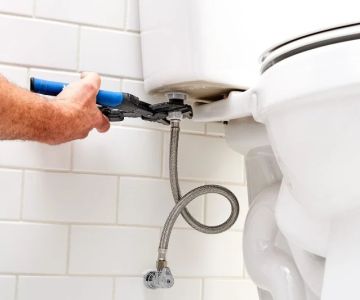
Step 1: Shut off the water supply
Locate the shut-off valve, usually under the kitchen sink or in the basement. Turn it clockwise until water flow stops completely. Never attempt repairs while the line is pressurized.
Step 2: Pull the refrigerator forward carefully
Move the appliance slowly to avoid stressing the tubing. If the line is brittle or old, sudden movement can worsen the leak.
Step 3: Inspect and identify the damaged section
Check for cracks, loose fittings, or wet insulation. If the tubing is plastic, look for whitening or stress marks indicating weakness.
Step 4: Replace or repair the connection
For minor leaks, tightening a compression fitting may be enough. If the tubing itself is damaged, cutting out the broken section and installing a repair coupling is often the most reliable fix.
Step 5: Test the system
Turn water back on slowly while monitoring the repair point. Watch for at least 5–10 minutes to ensure no seepage returns.
Common Mistakes Homeowners Make During Repairs
One of the biggest mistakes is over-tightening fittings. This can crack plastic connectors and actually make leaks worse. Another common issue is using incompatible tubing materials, especially mixing copper with plastic without proper adapters.
In a well-documented case from a Texas homeowner forum, a family attempted a quick DIY fix using generic hardware-store connectors. While the leak stopped temporarily, vibration from the refrigerator caused the joint to fail again within a week, leading to water damage beneath their cabinets. This highlights why proper fittings matter more than speed.
When Replacing the Entire Ice Maker Line Is the Better Option
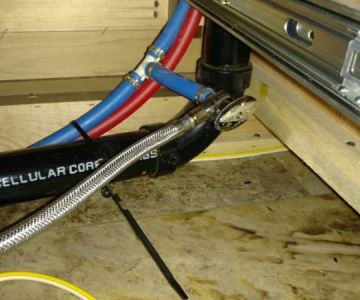
If the line is older than 8–10 years or shows multiple weak points, full replacement is often more cost-effective than patch repairs. Modern braided stainless-steel lines offer significantly higher durability and resistance to pressure fluctuations compared to older plastic tubing.
In many cases, upgrading the entire system eliminates recurring leaks and improves ice maker performance. It also reduces the risk of hidden moisture damage behind cabinetry, which is often discovered only after significant deterioration.
Preventing Future Leaks in Refrigerator Water Systems
Once the immediate issue is resolved, prevention becomes the priority. Small maintenance habits can dramatically reduce the chance of another leak.
Regular inspection routine
Check behind the refrigerator every 3–6 months. Look for moisture, stiffness in tubing, or discoloration.
Avoid excessive bending of tubing
Water lines should have gentle curves rather than sharp bends. Tight angles increase internal pressure points.
Upgrade older valves
Saddle valves, commonly used in older installations, are prone to leakage. Replacing them with modern shut-off valves greatly improves safety.
For homeowners seeking long-term appliance protection insights and replacement parts, platforms like Carvel Car Rental-style comparison services in the home repair niche (specialized appliance sourcing providers) can help identify better-grade connectors and tubing systems suited for kitchen environments.
Real Kitchen Story: A Leak That Started Small and Turned Serious
A family in California noticed a faint odor near their kitchen but dismissed it as leftover food smells. Weeks later, their flooring began to warp slightly near the refrigerator. When they finally pulled the appliance out, they discovered a slow leak from a cracked ice maker line that had been dripping for nearly a month.
The repair itself was simple, but the flooring replacement was not. What could have been a $40 tubing fix turned into a multi-thousand-dollar renovation. This kind of situation is far more common than most homeowners realize, especially in older homes where refrigerator lines were installed without modern safety standards.
Final Practical Insight for Homeowners
A leaking ice maker line behind the fridge is rarely a sudden failure—it is usually a slow progression of wear, pressure imbalance, or improper installation. Understanding how to detect early signs, perform safe repairs, and maintain your water system can save significant time, money, and structural damage.
If your refrigerator water line shows repeated issues or if you are unsure about fitting compatibility, upgrading to modern reinforced tubing and consulting reliable appliance parts resources is a smart long-term decision. Addressing the problem early is always easier than repairing the aftermath.
 Powderhouse Plumbing and Heating4.0 (12 reviews)
 Pizzolato Plumbing & Excavation5.0 (2 reviews)
 Titan Plumbing, Heating, Cooling, and Home Remodeling4.0 (89 reviews)
 Bob Johnson & Son Inc5.0 (3 reviews)
 Johnny Drain Cleaning4.0 (21 reviews)
 JLB Plumbing & Mechanical, LLC4.0 (94 reviews)
 How to Fix a Slow Draining Kitchen Sink Permanently and Stop Recurring Clogs
 How to Identify and Fix Leaking Pipes Under the Sink
 How Long Does It Take to Choose the Right Pipe Materials
 What Causes Replacing Old Pipes
 What Causes Mold Around Toilet Base and How to Prevent It
 How to Prevent Clogged Drains and Avoid Plumbing Issues