
Common Causes of Faucet Leaks
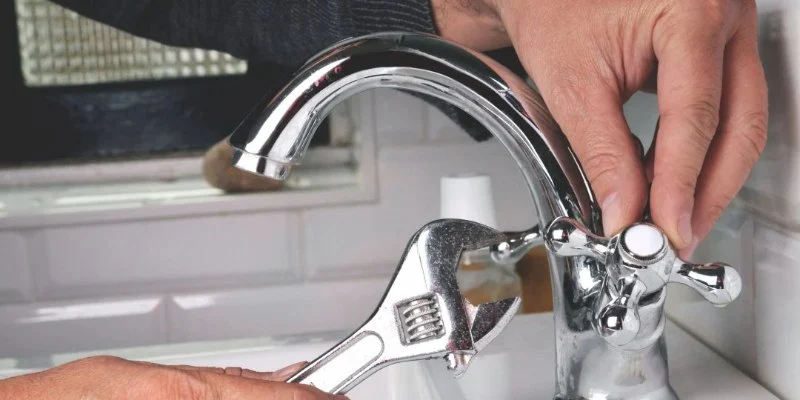
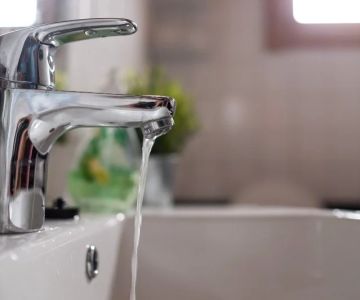
If you’ve noticed water pooling under your sink or hear a constant dripping sound from your faucet, you may be dealing with a faucet leak. There are several common causes behind faucet leaks, and understanding them can help you troubleshoot and fix the problem. Here are the most likely culprits:
- Worn-Out Washers: The most common cause of a faucet leak is a worn-out washer, especially in compression-style faucets. The washer seals the connection between the faucet handle and the valve seat. Over time, it can wear out, allowing water to leak through.
- Corroded Valve Seats: A corroded or damaged valve seat can also lead to a leaky faucet. The valve seat connects the faucet’s spout to the faucet body, and if it becomes worn or corroded, it will not form a tight seal.
- Loose Parts or Connections: In some cases, a loose nut, washer, or screw can cause water to leak from the faucet. This is often the result of improper installation or normal wear and tear over time.
- O-Ring Problems: In cartridge faucets, a damaged or worn O-ring can cause water to leak from the base of the spout or handle. The O-ring helps prevent water from leaking at the pivot point of the faucet handle.
- Mineral Build-Up: Over time, mineral deposits from hard water can build up inside your faucet, blocking water flow and potentially causing leaks. This is a more common problem in areas with hard water.
Identifying the cause of the leak is the first step to fixing it. If you’re unsure of the cause, you may need to remove parts of the faucet for inspection or consult a professional.
JetBlast Inc. Water Blasting Sewer & Drain Cleaning / jet blast drain cleaning
BaltimoreAnne Arundel CountyMaryland
6800 Fort Smallwood Rd, Baltimore, MD 21226, USA
Troubleshooting Your Leaking Faucet
Once you know the common causes of faucet leaks, it’s time to troubleshoot your faucet. Here’s how you can begin investigating the source of the leak:
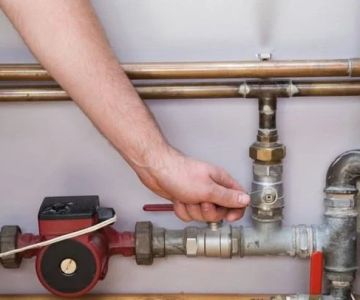
- Turn Off the Water Supply: Before you begin disassembling the faucet, make sure to turn off the water supply to avoid further leakage or water damage. You can usually find the shutoff valves under the sink.
- Check for Visible Damage: Inspect the faucet for any visible damage, such as cracks or corrosion. Look around the base, handle, and spout to see if you can spot any leaks.
- Disassemble the Faucet: If you don’t see any obvious damage, you may need to disassemble the faucet. Start by removing the handle and any other components. Pay attention to the condition of washers, O-rings, and other parts as you take it apart.
- Inspect the Valve Seat: If your faucet is still leaking after inspecting the parts, the valve seat may be corroded. In this case, it may need to be cleaned or replaced to stop the leak.
Once you’ve identified the source of the leak, you can proceed with the necessary repairs or replacements to stop the dripping water.

Landry Mechanical Inc Plumbing HVAC & Electric / landry mechanical
FraminghamMiddlesex CountyMassachusetts
763 Waverly St unit 32, Framingham, MA 01702, USA
How to Fix a Leaking Faucet
Fixing a leaking faucet is often a straightforward DIY repair, depending on the cause of the leak. Here’s a step-by-step guide for fixing the most common faucet problems:
- Replace a Worn-Out Washer: If the washer is the culprit, you’ll need to replace it. Start by removing the old washer and matching it with a new one of the same size and material. Reassemble the faucet and test it to ensure the leak is fixed.
- Fix a Damaged O-Ring: If the O-ring is the problem, simply remove the damaged O-ring and replace it with a new one. Make sure to lubricate the new O-ring to ensure it forms a proper seal.
- Clean or Replace the Valve Seat: If the valve seat is corroded, try cleaning it with a valve seat cleaner. If cleaning doesn’t work, you may need to replace the valve seat altogether. This requires removing the faucet and installing a new valve seat.
- Tighten Loose Parts: If loose parts or connections are the cause of the leak, simply tighten the nuts, bolts, or screws. Be careful not to overtighten, as this can cause damage to the faucet components.
- Descale the Faucet: If mineral deposits are blocking your faucet, you can clean the faucet with a vinegar solution to dissolve the minerals. For stubborn build-up, you may need to use a small brush or soak the faucet parts overnight in vinegar.
Once the repairs are complete, reassemble the faucet and turn the water back on. Check for any remaining leaks and ensure the faucet operates smoothly. If the leak persists, you may need to consult a professional plumber.
Tools You Need for Faucet Repair
To fix a leaking faucet, you’ll need a few basic tools to get the job done. Here’s a list of what you might need:
- Adjustable Wrench: Used to remove and tighten nuts and bolts on the faucet.
- Screwdrivers: Flathead and Phillips screwdrivers for removing faucet handles and other components.
- Plumber’s Tape: Plumber’s tape can help seal connections and prevent leaks around threaded parts.
- Replacement Parts: Be sure to have replacement washers, O-rings, or valve seats on hand, depending on the source of the leak.
- Faucet Grease: Used to lubricate parts such as O-rings and washers to ensure a tight seal.
Having these tools on hand will help make the faucet repair process much easier and more efficient.
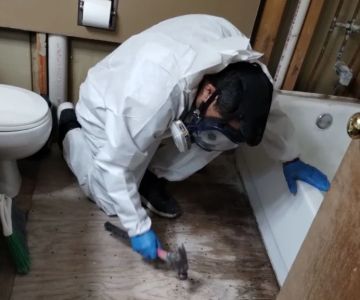
When to Call a Plumber
While many faucet leaks can be repaired at home, some situations may require the expertise of a professional plumber. Here are a few signs that it’s time to call in a pro:
- Persistent Leaks: If your faucet continues to leak after you’ve replaced washers, O-rings, or valve seats, there may be a deeper issue with the plumbing system that requires professional attention.
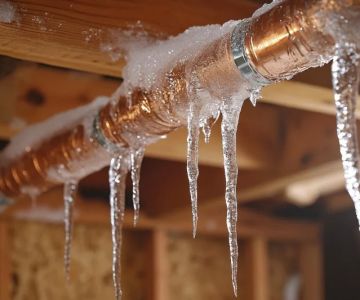
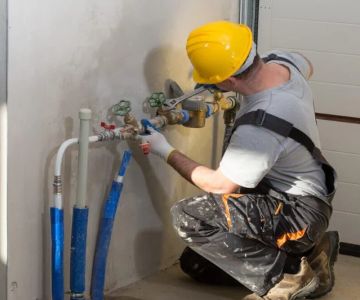
- Frozen or Burst Pipes: If the leak is caused by frozen or damaged pipes, it’s important to call a plumber immediately to prevent further damage to your home.
- Complex Faucet Models: Some modern faucets have complex internal mechanisms that require specialized knowledge to repair. A plumber can handle these issues more efficiently than a DIY attempt.
If you’re unsure about the cause of the leak or need help with repairs, consider contacting a licensed plumber to ensure the job is done right.
Real-Life Faucet Leak Fix Examples
Many homeowners face leaking faucets, and some real-life examples highlight how DIY repairs can be successful. For instance, Sarah from California discovered that a small drip from her bathroom sink was due to a worn-out washer. After replacing it herself, the leak stopped, and she saved on professional repair costs. Similarly, Mike from Texas noticed a leak in his kitchen faucet due to mineral build-up. By soaking the faucet in vinegar overnight, he was able to remove the deposits and stop the leak.
These examples demonstrate how simple fixes can resolve faucet leaks and save money on unnecessary plumbing services. However, when the problem is more complicated, seeking professional help can ensure a long-term solution.
If you're looking for high-quality faucet parts or professional plumbing services, visit PlumberNear for the best products and recommendations. We provide everything you need to handle your faucet repairs and more.
 1800HEATERS4.0 (1693 reviews)
 Just Plumbing4.0 (104 reviews)
 Eagle Plumbing Services5.0 (3 reviews)
 RF Lineage Plumbing & Heating4.0 (228 reviews)
 Pemati Plumbing Services LLC4.0 (36 reviews)
 Geary Plumbing & Heating Repair4.0 (16 reviews)
 Top Tips for Replacing Old Pipes
 Best Ways to Finding a Reliable Plumber
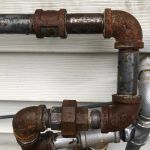 How Often Should You Replace Old Pipes?
 What to Do If Reducing Your Water Bill | Expert Tips
 Top Tips for Unclogging a Bathtub Drain
 Diagnosing Plumbing Noises: What They Mean and When to Call a Plumber