
- 1. Introduction: Common Water Heater Issues
- 2. Tools You'll Need for DIY Water Heater Repairs
- 3. Troubleshooting a Broken Water Heater
- 4. Step-by-Step Guide to Fixing Your Water Heater
- 5. Safety Tips When Repairing Your Water Heater
- 6. Expert Tips to Maintain Your Water Heater
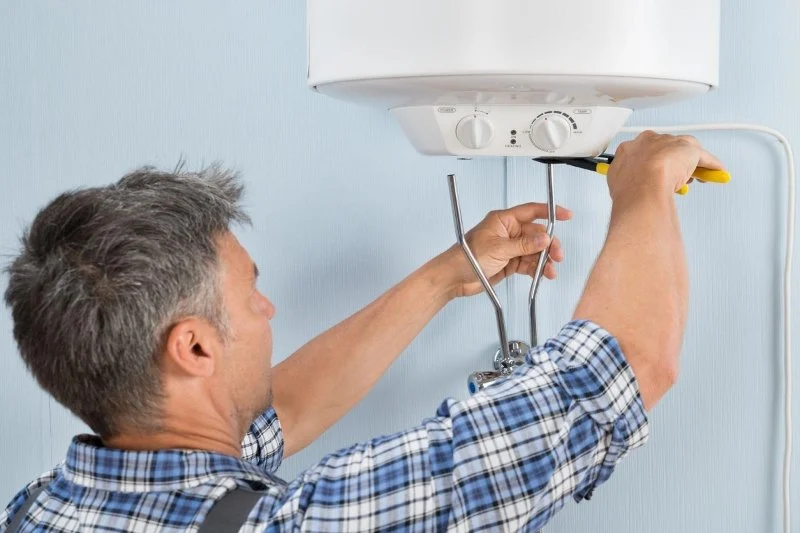
1. Introduction: Common Water Heater Issues
When your water heater stops working, it can be frustrating. Hot water is essential for daily activities like bathing, cooking, and cleaning. Luckily, many common water heater problems can be fixed with a bit of DIY know-how. Whether it's a lack of hot water, strange noises, or inconsistent temperatures, we’ll show you how to troubleshoot and fix these issues on your own, saving you time and money.

Warrior Plumbing & Heating / warrior plumbing
4123 Roland Ave, Baltimore, MD 21211, USA
2. Tools You'll Need for DIY Water Heater Repairs
Before attempting any DIY repairs on your water heater, it's important to have the right tools. Here’s a list of essential tools you’ll need:
- Multimeter for testing electrical components
- Adjustable wrench to loosen or tighten valves and connections
- Bucket and towels for draining the tank
- Screwdrivers for removing panels
- Pipe insulation for repairs involving pipes
- Replacement parts such as heating elements or thermostats
With these tools on hand, you’ll be prepared to tackle most common water heater issues.
O'Neill Bros. Plumbing / oneill plumbing
RockvilleMontgomery CountyMaryland
12348 Wilkins Ave, Rockville, MD 20852, USA
3. Troubleshooting a Broken Water Heater
The first step in fixing a broken water heater is determining what’s causing the issue. Here are some common water heater problems and how to identify them:
No Hot Water
If your water heater isn’t producing hot water, the issue could be due to a malfunctioning thermostat or heating element. Check the thermostat settings to make sure they're set correctly. If that doesn’t work, you may need to test the heating element using a multimeter to see if it needs replacement.
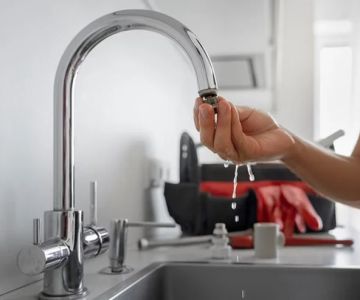
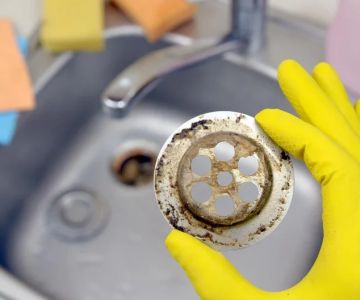
Inconsistent Water Temperature
If your water temperature fluctuates, it could be due to sediment buildup in the tank. Over time, minerals from hard water can accumulate, affecting the efficiency of the heating element. Flushing the tank can often resolve this issue.
Strange Noises
Unusual sounds like popping or rumbling can be a sign of sediment buildup or a failing heating element. Flushing the tank should help remove sediment. If the noise persists, it may be time to replace the heating element.
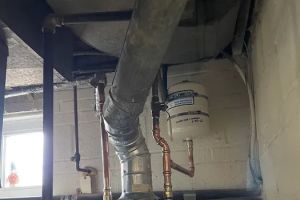
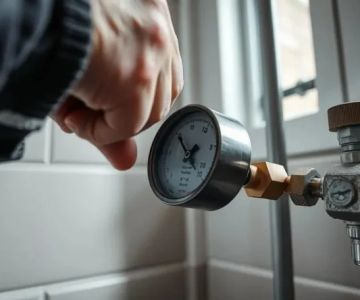
Water Leaks
If your water heater is leaking, check the pressure relief valve or the tank itself for cracks. A leak around the valve may indicate high pressure in the tank, which could be dangerous. In such cases, it’s best to call a professional. If the tank itself is leaking, you may need to replace the entire unit.
4. Step-by-Step Guide to Fixing Your Water Heater
Once you’ve identified the issue, it’s time to begin fixing your water heater. Here’s a simple step-by-step guide:
Step 1: Turn Off Power and Water Supply
Before you begin any repairs, make sure to turn off the power to your water heater. For electric models, this means flipping the circuit breaker. For gas models, turn the gas valve to the off position. Next, turn off the water supply to the heater to prevent flooding during the repair.
Step 2: Drain the Tank
If you're dealing with sediment buildup or replacing the heating element, draining the tank is necessary. Attach a garden hose to the drain valve and direct the water into a bucket or outside. Let the water flow out until the tank is empty.
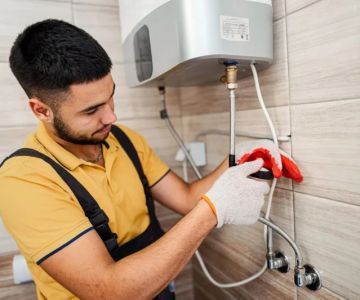
Step 3: Inspect and Replace the Heating Element (if necessary)
For electric water heaters, the heating element may be the culprit if you're not getting hot water. Use a multimeter to test the element for continuity. If it’s faulty, remove the old element using an adjustable wrench and install the new one. Ensure it's properly sealed to avoid leaks.
Step 4: Flush the Tank
If your water heater is making strange noises, sediment buildup is likely the cause. To flush the tank, open the drain valve and allow the water to flow out. You can also use a special flushing tool to help loosen stubborn sediment at the bottom of the tank.
Step 5: Reassemble and Test the Heater
Once you’ve completed the necessary repairs, close the drain valve and reconnect the water supply. Turn the power back on and set the thermostat to your desired temperature. Wait for the water to heat up, and then check for any issues like leaks or unusual sounds.
5. Safety Tips When Repairing Your Water Heater
When performing DIY water heater repairs, safety should always come first. Here are a few safety tips to keep in mind:
- Always turn off the power supply and water supply before starting any repairs.
- Wear appropriate protective gear, such as gloves and goggles, to avoid injury.
- If you're uncomfortable working with electricity or gas, don’t hesitate to call a professional.
- Never attempt to repair a leaking water heater tank; it’s usually a sign that the tank needs replacement.
6. Expert Tips to Maintain Your Water Heater
To extend the lifespan of your water heater and prevent future issues, follow these expert maintenance tips:
- Flush your water heater at least once a year to remove sediment buildup.
- Check the anode rod every 1–2 years and replace it when necessary to prevent corrosion.
- Set your thermostat to 120°F to prevent overheating and save energy.
- Inspect the temperature and pressure relief valve regularly to ensure it's functioning correctly.
By following these tips and performing regular maintenance, you can keep your water heater running efficiently for years to come.
 Rudi the Plumber Inc4.0 (25 reviews)
 The Pipe Doctor Plumbing & Drain Cleaning Services4.0 (163 reviews)
 Roto-Rooter Plumbing & Water Cleanup4.0 (2293 reviews)
 Dave's Town & Country Plumbing4.0 (10 reviews)
 RED WRENCH INC2.0 (9 reviews)
 Phil Masucci Plumbing Heating & Drain Cleaning4.0 (105 reviews)
 Expert Advice on Low Water Pressure: Causes and Solutions
 When Should You Call a Plumber for Clogged Drains?
 Best Ways to Prevent and Fix Sump Pump Failures
 Top Tips for Fixing a Garbage Disposal Without Breaking a Sweat
 What to Do If Maintaining Your Plumbing System
 Expert Advice on Water Damage in Your Bathroom for U.S. Homeowners