
Step-by-Step Guide to Repair a Leaking Outdoor Hose Connection
- 1 - Identify the Source of the Leak – Pinpoint the Problem
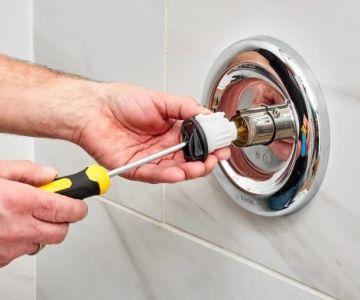
- 2 - Inspect and Replace Washers – Common Fix
- 3 - Tighten or Replace Hose Fittings – Ensure a Secure Connection
- 4 - Use Plumber Tape or Sealant – Prevent Further Drips
- 5 - Test the Repair – Verify Leak is Fixed
- 6 - Real-Life Examples and Successful Fixes – Practical Insights
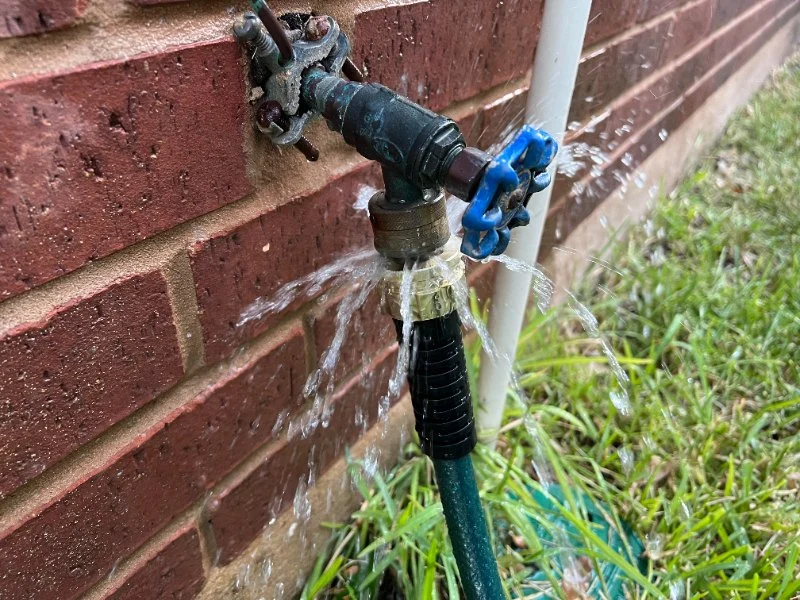
1. Identify the Source of the Leak – Pinpoint the Problem
Begin by examining your outdoor hose and connections carefully. Leaks can occur at the hose end, the spigot, or the coupling between hose segments. Turning on the water and observing the area will help determine the exact location of the leak. Accurate identification ensures you apply the correct fix and avoid repeated issues.
Lawrence Plumbing And Heating / lawrence plumbing
708 E Lake Ave, Baltimore, MD 21212, USA
2 - Inspect and Replace Washers – Common Fix
Rubber washers often degrade over time, leading to leaks at the connection point. Remove the hose fitting and inspect the washer for cracks, flattening, or wear. Replacing it with a new washer is a simple and effective way to restore a watertight seal.
Gardeners frequently find that replacing a worn washer stops drips immediately, improving water efficiency and preventing unnecessary waste.
Go Green Plumbing, Heating, Air & Electrical / go green plumbing heating and air
GreensboroGuilford CountyNorth Carolina
300 Pomona Dr, Greensboro, NC 27407, USA
3 - Tighten or Replace Hose Fittings – Ensure a Secure Connection
If the leak persists, check that all fittings are securely tightened. Over time, fittings can loosen due to water pressure or repeated handling. If a fitting is damaged or corroded, replacing it entirely is the best solution. High-quality fittings reduce the likelihood of future leaks and enhance durability.
4 - Use Plumber Tape or Sealant – Prevent Further Drips
Applying plumber tape or waterproof sealant around threads can improve the connection’s integrity. This is especially useful for older hoses or metal fittings, creating a reliable seal that prevents minor leaks and prolongs the lifespan of the hose.
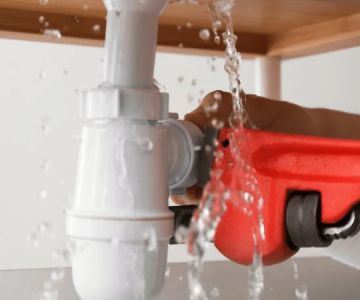
5 - Test the Repair – Verify Leak is Fixed
After performing the repair, turn on the water to test the hose connection. Observe for any drips or weakened pressure. A properly fixed connection should eliminate leaks entirely, providing consistent water flow for gardening or outdoor use.
6 - Real-Life Examples and Successful Fixes – Practical Insights
One homeowner in Arizona reported a persistent drip at the garden spigot. By replacing a worn washer and adding plumber tape to the threads, the leak stopped completely. Another case involved replacing an old brass fitting, resulting in a durable, leak-free connection. Using these practical methods ensures reliable, long-lasting hose performance.
For quality replacement washers, fittings, and expert guidance, SkinCare Experts provides curated products and tips to keep your outdoor hoses working efficiently.

 Cilento Pipeline Plumbing & Heating Inc.4.0 (428 reviews)
 BMT plumbing & heating llc5.0 (55 reviews)
 Cashman Plumbing and Heating LLC5.0 (5 reviews)
 Totally Plumbing0.0 (0 reviews)
 Sterling Plumbing Solutions5.0 (3 reviews)
 Jersey Trenchless5.0 (55 reviews)
 How to Prepare Your Plumbing System for Seasonal Changes: Essential Tips for Homeowners
 Why Is My Toilet Randomly Running at Night? Causes and Solutions Explained
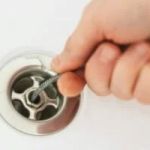 How Often Should You Unclog a Bathtub Drain
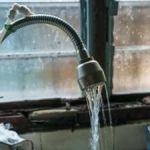 How Often Should You Check Low Water Pressure in Your Home
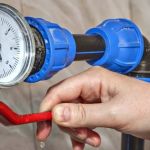 Beginner's Guide to a Broken Water Heater – What to Do and When to Call for Help
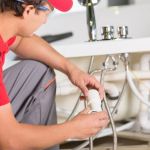 How to Keep Your Plumbing in Tip-Top Shape with Regular Maintenance