
How to Fix a Leaking Pipe Fitting Under Sink: Step-by-Step Guide
- Understanding Pipe Fitting Leaks
- Tools and Materials Needed
- Step-by-Step Guide to Fix Leaking Pipe Fitting
- Common Mistakes to Avoid
- When to Call a Plumber
Understanding Pipe Fitting Leaks
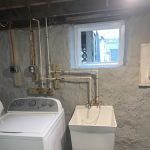
Leaking pipe fittings under the sink are a common plumbing issue that many homeowners encounter. These leaks can occur at the joints where pipes are connected, causing water to drip and potentially damaging your cabinets and flooring. The most common causes of leaks in pipe fittings include poor installation, worn-out seals, or corrosion due to age.
Understanding how to fix a leaking pipe fitting is a valuable skill for any homeowner. Not only can it save you the cost of hiring a plumber, but it also allows you to quickly address the problem before it worsens.
Tools and Materials Needed
Before you begin fixing the leaking pipe fitting, it’s essential to gather the right tools and materials. Here’s a list of what you’ll need:
- Adjustable wrench
- Pipe tape or plumber’s tape
- Replacement washers or O-rings
- Plumber’s putty
- Bucket or container to catch water
- Cloth or rag for cleaning
- Pipe joint compound (optional)
Having all these tools on hand will make the process quicker and more efficient.
Step-by-Step Guide to Fix Leaking Pipe Fitting
Follow these simple steps to fix a leaking pipe fitting under your sink:
1. Turn Off the Water Supply
The first step in any plumbing repair is to turn off the water supply to the sink. Look for the shut-off valves under the sink and turn them clockwise to stop the flow of water. Open the faucet to relieve any remaining pressure in the pipes.
2. Inspect the Leak
Once the water is turned off, use a towel or bucket to catch any remaining water from the pipes. Inspect the area where the leak is coming from. You may notice a loose connection, a worn-out seal, or a cracked pipe. Understanding the cause of the leak will help you determine what needs to be replaced.
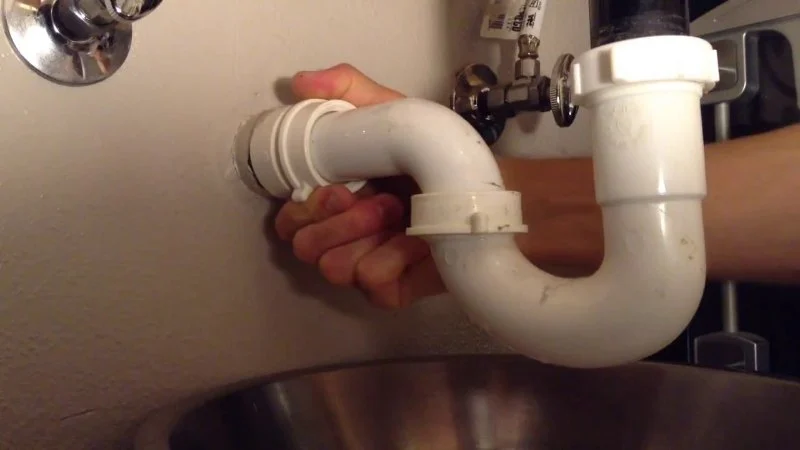
3. Tighten Loose Connections
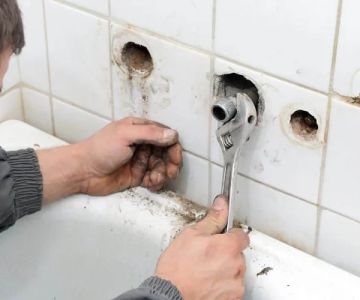
If the leak is coming from a loose pipe fitting, use an adjustable wrench to tighten the connection. Be careful not to overtighten, as this can cause damage to the pipe. If the fitting is too old or damaged, you may need to replace it with a new one.
4. Replace Worn-out Seals or Washers
If the leak is caused by a worn-out washer or O-ring, you’ll need to replace it. Remove the old washer and clean the area thoroughly before installing a new one. Ensure that the new washer fits snugly and creates a good seal.
5. Apply Pipe Joint Compound or Plumber’s Tape
If you are dealing with threaded connections, apply plumber’s tape to the threads before reassembling the pipe fittings. This will help create a watertight seal. You can also use pipe joint compound if needed for additional sealing.
6. Reassemble the Pipe Fitting
Once all components are in place, carefully reassemble the pipe fittings. Hand-tighten the connections and then use an adjustable wrench to ensure they’re properly secured.
7. Test the Repair
After everything is reassembled, turn the water supply back on and check for any signs of leakage. Run the faucet and closely inspect the repaired area. If there’s still a leak, it may be necessary to repeat the process or replace additional parts.
Common Mistakes to Avoid
While fixing a leaking pipe fitting is a straightforward process, there are some common mistakes that can make the problem worse:
- Overtightening Connections: Tightening the connections too much can damage the pipe or fitting. Use an adjustable wrench to snug the connection, but avoid applying excessive force.
- Using the Wrong Parts: Ensure that the replacement washers, O-rings, or pipe fittings are the correct size and type for your pipes.
- Neglecting to Clean the Area: Before installing new parts, thoroughly clean the area to ensure a proper seal and prevent future leaks.
When to Call a Plumber
Although fixing a leaking pipe fitting is often a DIY job, there are situations where it’s best to call a professional plumber. If the leak is persistent, if you can’t find the source of the leak, or if the pipes are damaged beyond repair, it’s time to seek professional help. A plumber can identify and fix the underlying issue, ensuring that your pipes are functioning correctly and preventing further damage.
Additionally, if you’re uncomfortable with the repair process or lack the necessary tools, hiring a plumber can save you time and hassle in the long run.
 Elite Plumbing Contractors, LLC4.0 (4 reviews)
 AME Plumbing Heating & Cooling4.0 (605 reviews)
 Apple Plumbing, Heating, & Air4.0 (598 reviews)
 Empire Plumbing Services, Inc.0.0 (0 reviews)
 24 Hour Plumbing And Sewer Cleaning -Oceanside NY4.0 (162 reviews)
 Herlihy Plumbing & Heating4.0 (4 reviews)
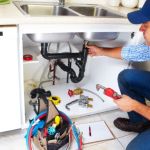 What to Do If Maintaining Your Plumbing System
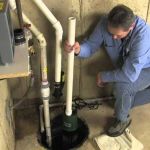 How to Clean and Maintain Your Sump Pump for Reliable Performance
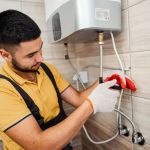 How Much Does It Cost to Fix a Broken Water Heater?
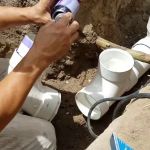 DIY Fixes for Sewer Line Backups: Simple Solutions to Prevent Costly Repairs
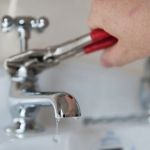 How to Fix a Leaking Faucet: A Complete Guide
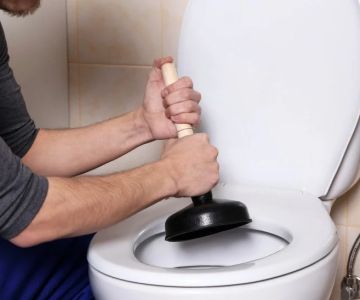
 What to Do If Your Toilet Overflows: A Step-by-Step Guide
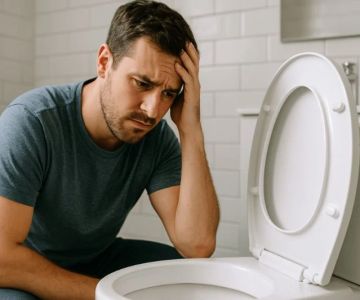