
How to Fix a Leaking Bathtub Faucet Stem: Easy DIY Repair Guide
- Understanding the Leak: What Causes Bathtub Faucet Stem Leaks?
- Essential Tools You’ll Need for the Job
- Step-by-Step Guide: Fixing the Leaking Faucet Stem
- Finishing Touches: Ensuring a Tight Seal
- Pro Tips for Preventing Future Leaks
Understanding the Leak: What Causes Bathtub Faucet Stem Leaks?
A leaking bathtub faucet stem is a common household problem. The primary cause of a leak is often a worn-out washer or an issue with the faucet’s valve seat. Over time, constant use can cause the components to degrade, leading to water escaping when the faucet is turned off. Understanding the underlying issue can help you fix the problem more efficiently.

Mike the Plumber / mike the plumber
1545 Ocean Ave A3, Bohemia, NY 11716, USA
Common Causes of Leaking Faucet Stems
- Worn washers or seals
- Corrosion in the valve seat
- Loose faucet components
Essential Tools You’ll Need for the Job
Before diving into the repair, make sure you have all the necessary tools at your disposal. Having the right equipment ensures a smooth repair process and minimizes the chances of making mistakes.

Stashluk Mechanical Contractors Inc. / stashluk
Franklin TownshipHunterdon CountyNew Jersey
998 Croton Rd, Pittstown, NJ 08867, USA
Tools Required for Fixing a Leaking Bathtub Faucet Stem
- Adjustable wrench
- Flathead and Phillips screwdrivers
- Replacement faucet parts (washer, O-rings, or valve stem)
- Plumber’s tape or sealant
- Clean cloth
Step-by-Step Guide: Fixing the Leaking Faucet Stem
Now that you have the right tools, it’s time to get started with the repair. Follow these steps to fix your leaking bathtub faucet stem and restore the water-tight seal.
Step 1: Turn Off the Water Supply
The first step in any plumbing repair is to turn off the water supply to the faucet. Locate the water shutoff valves beneath the sink or near the water heater and close them tightly.
Step 2: Remove the Handle and Cover Plate
Use a screwdriver to remove the handle and the cover plate from the faucet. This will expose the faucet stem, which is where the leak originates.
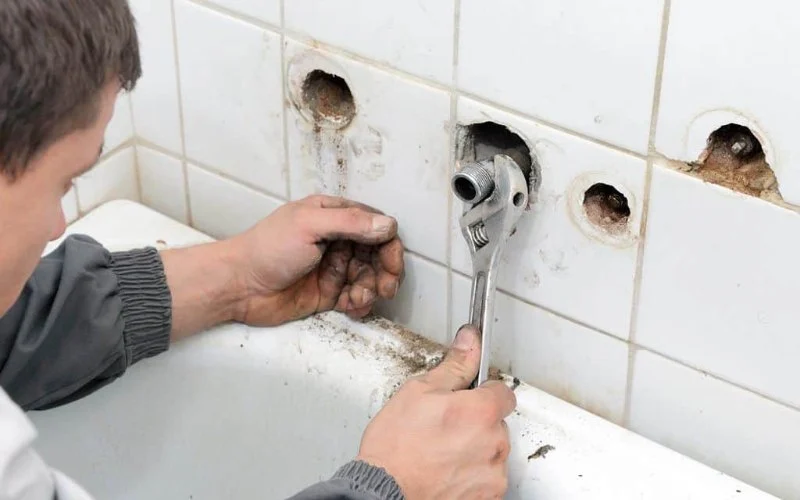
Step 3: Take Out the Faucet Stem
Using an adjustable wrench, loosen the nut holding the faucet stem in place. Once it’s loosened, carefully remove the stem. Inspect it for any visible signs of wear or corrosion.
Step 4: Replace the Worn Components
If the washer, O-ring, or valve seat is damaged, replace it with a new one. Be sure to choose the correct size for your faucet model. This is the most common cause of leaks and should stop the water from escaping once the parts are replaced.
Step 5: Reassemble the Faucet
Once you’ve replaced the necessary components, reassemble the faucet by carefully reattaching the stem, securing it with the wrench, and putting the cover plate and handle back in place.
Finishing Touches: Ensuring a Tight Seal
To ensure a proper seal, wrap some plumber’s tape around the threads of the faucet stem before reattaching it. Tighten all components securely to prevent further leaks. Finally, check the faucet by turning the water supply back on and testing the faucet for leaks.
Pro Tips for Preventing Future Leaks
Now that you’ve successfully fixed your leaking bathtub faucet stem, it’s important to take steps to avoid future issues. Here are some tips to keep your faucet in great condition:
- Regularly check the faucet for signs of wear and tear.
- Use high-quality replacement parts to prevent early degradation.
- Consider upgrading to a more durable faucet model if your current one is outdated.
If you’re unsure about handling this repair on your own, consider consulting a professional plumber. For those who love DIY, learning how to fix a leaking bathtub faucet stem can save time and money.


 Large View Plumbing & Heating4.0 (74 reviews)
 El Olam Plumbing And Heating Inc.5.0 (6 reviews)
 Theide Plumbing Heating & Hvac3.0 (34 reviews)
 AP Plumbing4.0 (514 reviews)
 Doody Calls Drain Service LLC4.0 (16 reviews)
 Cardinal Plumbing & Drain Services4.0 (242 reviews)
 How to Install a Backflow Preventer at Home
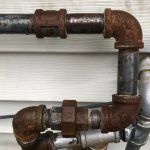 Signs You Need Replacing Old Pipes
 Avoid These Common Mistakes When Dealing with Low Water Pressure
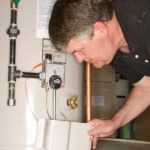 Top Tips for a Broken Water Heater | Troubleshooting & Repair Solutions
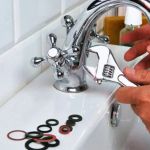 How to Fix a Broken Sink Faucet: Step-by-Step Repair Guide
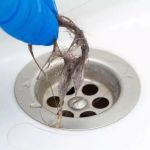 How to Prevent Drain Blockages from Hair and Soap Scum