
- Understanding Faucet Leaks
- Gathering Tools for Faucet Repair
- Step-by-Step Guide to Fixing a Leaky Faucet
- Preventive Measures to Avoid Future Leaks
1. Understanding Faucet Leaks
A leaky faucet in the bathroom can be more than just an annoying sound. It can waste a significant amount of water, leading to higher utility bills. Leaks typically occur due to wear and tear on the faucet's components, such as washers, O-rings, or valves. The good news is that fixing a leaky faucet is usually a simple task that you can complete with a few basic tools.
Faucet leaks often happen in compression, ball, cartridge, or disc faucets. Identifying the type of faucet you have will help you understand the specific repair process required. This guide will walk you through the most common causes of leaks and how to fix them yourself.

Warrior Plumbing & Heating / warrior plumbing
4123 Roland Ave, Baltimore, MD 21211, USA
2. Gathering Tools for Faucet Repair
Before you start the repair, it’s important to gather the right tools. Having the right equipment will make the process smoother and ensure you don’t run into any roadblocks.
Hardy Plumbing / hardy plumbing
Port ClintonSchuylkill CountyPennsylvania
149 Penn St, Port Clinton, PA 19549, USA
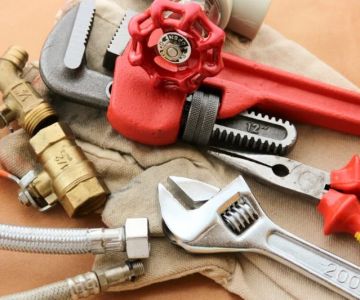
2.1 Tools You’ll Need
- Adjustable wrench
- Screwdriver (flathead and Phillips)
- Plumber’s tape (Teflon tape)
- Replacement washers, O-rings, or valve parts (based on your faucet type)
- Clean cloth or towel
- Pliers
Make sure to have these tools ready before starting the repair. It's also a good idea to turn off the water supply to your bathroom sink to avoid any unexpected water spills during the repair process.
3. Step-by-Step Guide to Fixing a Leaky Faucet
Follow these detailed steps to fix a leaky faucet in your bathroom:
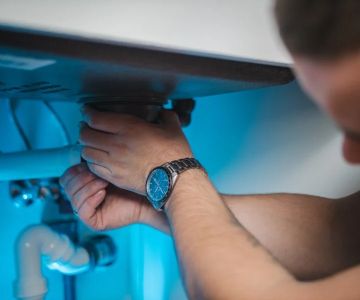
3.1 Step 1: Turn Off the Water Supply
Before doing any work on your faucet, turn off the water supply to prevent further leaking and flooding. Locate the shutoff valves under the sink, turn them clockwise, and make sure no water is running from the faucet.
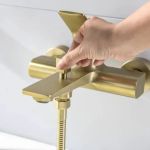
3.2 Step 2: Remove the Faucet Handle
Using a screwdriver, remove the faucet handle. Most faucets have a decorative cap that hides the screw holding the handle in place. Once you remove the cap, unscrew the handle and set it aside.
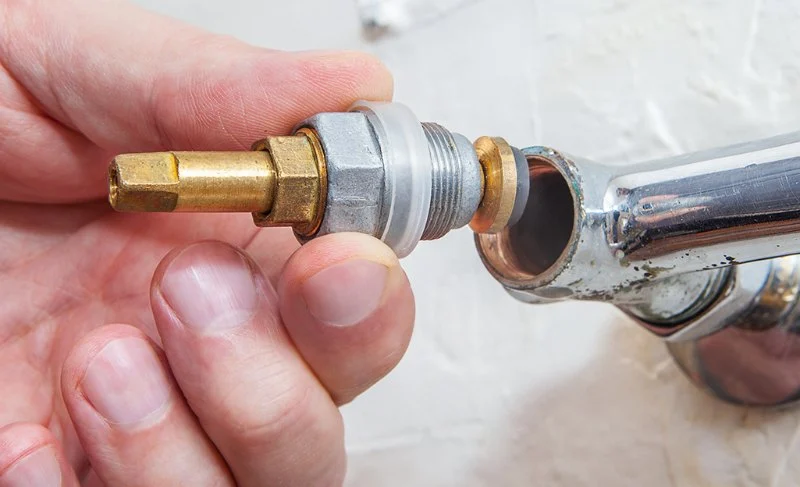
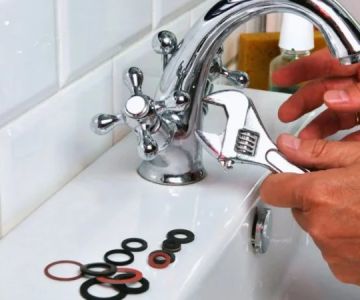
3.3 Step 3: Inspect the Faucet Components
Once the handle is removed, examine the internal components of the faucet. Look for worn-out washers, O-rings, or seals. These are typically the cause of the leak. If any parts look damaged, take them to a hardware store to find an exact replacement.
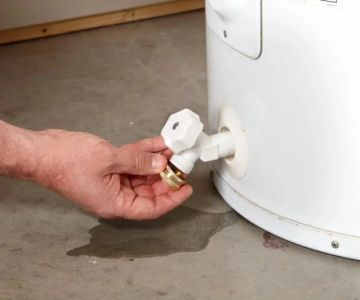
3.4 Step 4: Replace the Faulty Parts
Carefully remove the damaged components, such as the washer or O-ring, using your pliers. Install the new parts by fitting them into place and ensuring they’re seated properly. Make sure to apply plumber’s tape to threaded areas to prevent future leaks.
3.5 Step 5: Reassemble the Faucet
Once the replacement parts are in place, reassemble the faucet by reversing the disassembly steps. Attach the faucet handle and screw it back in securely. Make sure all parts are tightened properly, but avoid overtightening, which could cause damage.
3.6 Step 6: Turn on the Water Supply
Finally, turn the water supply back on and test the faucet. Check for any leaks around the repaired areas. If everything looks good, you have successfully fixed the leaky faucet!
4. Preventive Measures to Avoid Future Leaks
Now that your faucet is fixed, you’ll want to ensure it stays in good working condition. Here are some preventive measures to avoid future leaks:
4.1 Regular Maintenance
Inspect your faucets regularly for signs of wear, such as leaks or stiff handles. Catching problems early can help you avoid more costly repairs down the line.
4.2 Replace Washers and O-Rings Periodically
Washers and O-rings are prone to wear and tear. Replacing them every couple of years can help maintain your faucet’s performance and prevent leaks from forming.
4.3 Use the Right Water Pressure
Excessive water pressure can wear out faucet components more quickly. Consider installing a pressure regulator if you have high water pressure in your home.
 Jim Manley Plumbing & Heating5.0 (13 reviews)
 Stonebridge Commercial Plumbing & Gas Inc.5.0 (1 reviews)
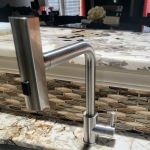 Wright Choice Plumbing5.0 (715 reviews)
 A Maurais & Son Inc4.0 (37 reviews)
 Mitchell Plumbing & Heating Inc.3.0 (7 reviews)
 Dolan Plumbing, Heating, Cooling, Electric & Remodeling4.0 (444 reviews)
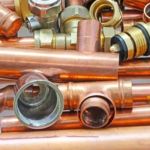 How Long Does It Take to Choose the Right Pipe Materials
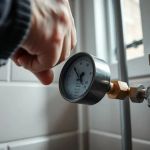 How to Fix Low Water Pressure
 How Long Does It Take to Diagnose Plumbing Noises?
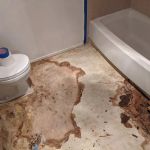 Beginner's Guide to Water Damage in Your Bathroom
 Expert Advice on Understanding Plumbing Codes for Your Home or Business
 Signs You Need Detecting a Hidden Water Leak | Tips for Homeowners